1.1 PURPOSE
1.1 PURPOSE
This document gives instructions on assembling and installing an enclosure on your mill.
1.2 PRODUCT INFORMATION
Product: 770M Enclosure Kit (PN37548)
Note: If any items are missing, we can help. Create a support ticket with Tormach Technical Support at tormach.atlassian.net/servicedesk
for guidance on how to proceed.
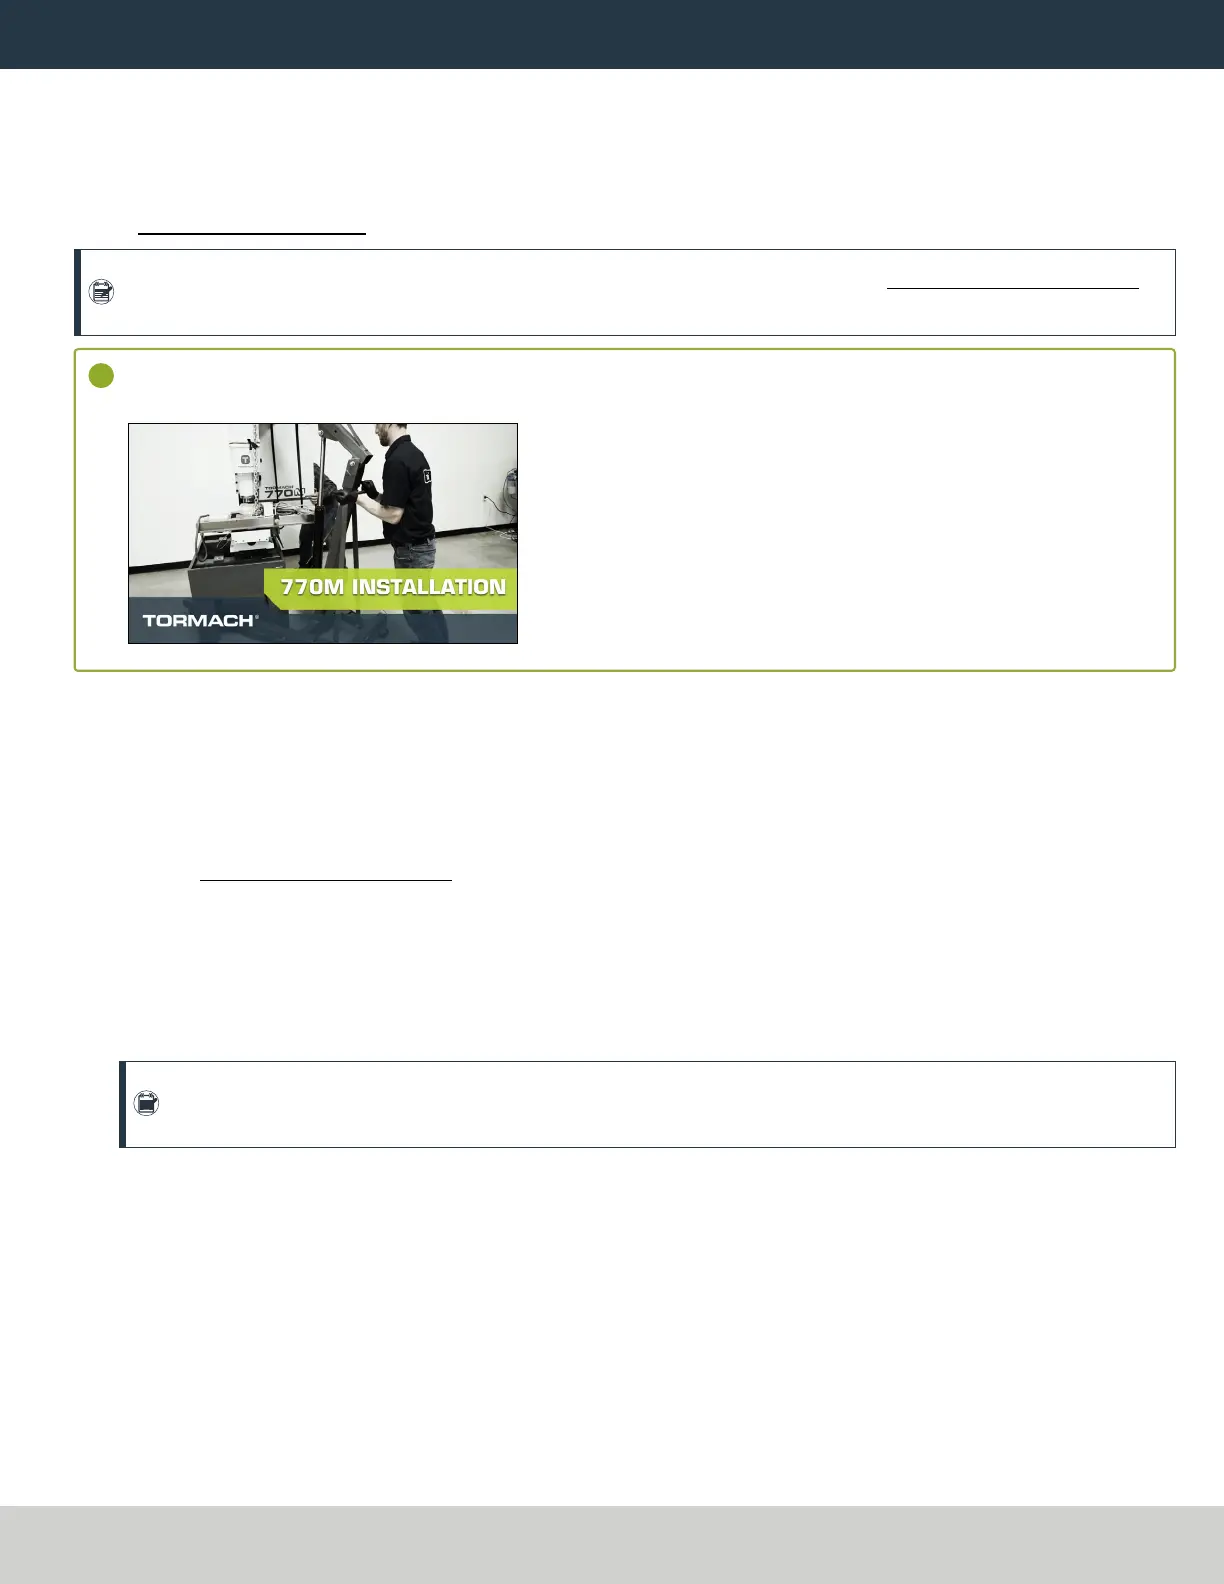
LOOKING FOR A VIDEO?
Before you begin, select the image below to watch a walk-through video of this entire installation procedure.
1.3 BEFORE YOU BEGIN
1. Inspect the item(s):
l Photograph any damage that may have occurred during shipping.
l Verify the received goods against the packing list.
If there is any damage or shortages, you must contact Tormach within 30 days of receipt. Create a support ticket with Tormach Technical
Support at tormach.atlassian.net/servicedesk for guidance on how to proceed.
2. Read the packing list and locate all items. During the installation, remove labels from the items as needed.
3. Clean all chips and swarf from the:
l Chip basket
l Chip pans
l Machine
Note: The procedure to install the enclosure uses many screws. If you start with a clean machine, it's easier and safer to find and pick
up any screws that might drop during the procedure.
4. Verify that the coolant tank and chip basket are under the Machine Stand.
5. If previously installed, you must first remove the stainless steel wear guard from the chip pans, and set it aside for later installation.
1.4 REQUIRED TOOLS
This procedure requires the following tools. Collect them before you begin.
l Metric hex wrench set
l Permanent marker
l Shears or knife
Page 2
©Tormach® 2022
Specifications subject to change without notice.
tormach.com
TD10536: Installation Guide: 770M Enclosure (0522A)
 Loading...