41
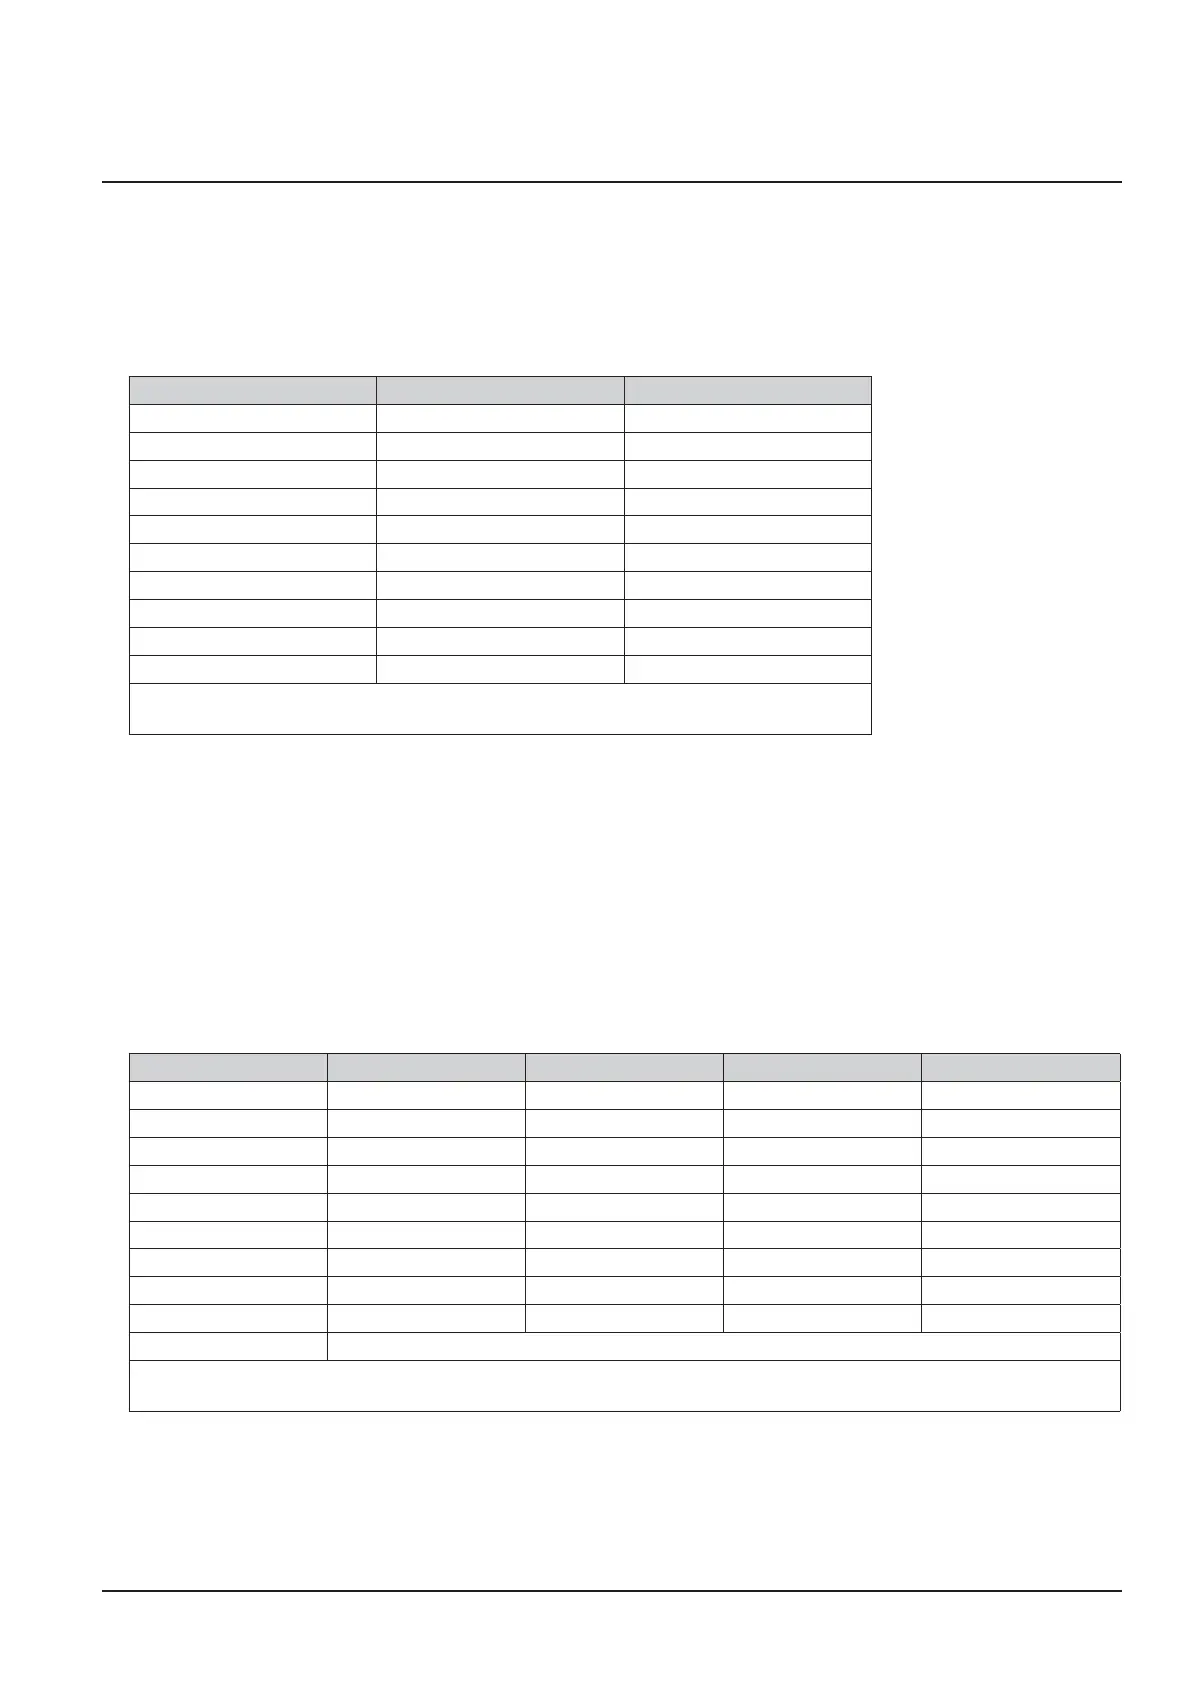
Installation
R-500/R-700
Menu 7:
Adjust the light phases
1. Select menu item “7”.
After about 2 seconds the display blinks and the set value for light time appears.
The factory setting is "0”.
2. If desired, adjust the setting with the aid of the OPEN (B) and CLOSE (C) buttons.
Menu value Light time Warning time
0 60 s 0 s
1 120 s 0 s
2 240 s 0 s
3 0 s 0 s
4 0 s 3 s
5 60 s 3 s
6 120 s 3 s
7 60 s 0 s
8 120 s 0 s
9 240 s 0 s
Remarks:
- If a warning time is set, the light will switch on before the drive starts up.
3. Press the programming button (PROG button) (D).
The display shows “8”.
Menu 8:
Door adjustments
1. Select menu item “8”.
After about 2 seconds the display blinks and the set value time appears.
The factory setting is "4”
This setting should be maintained. A change in the soft run routes may be made only with the express
permission of the door manufacturer.
2. If desired, adjust the setting with the aid of the OPEN (B) and CLOSE (C) buttons.
Menu value Start OPEN Stop OPEN Start CLOSE Stop CLOSE
00000
1 15 0 15 0
2 015040
3 15151535
4 25302540
5 15151555
6 15151515
7 35356545
8 55 15 15 100
9 only soft run
Remarks:
- These values correspond to the soft run courses measured on carriages.
3. Press the programming button (PROG button) (D).
The display shows “9”.