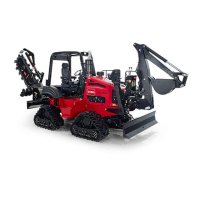
Figure46
1.Dustvalve3.Latch
2.Air-cleanercover
CheckingtheRestrictedAir-cleaner
Light
ServiceInterval:Beforeeachuseordaily
1.Starttheengine;refertoStartingtheEngine(page25).
2.Checktherestrictedair-cleanerlightontheinstrument
cluster(Figure47).
Figure47
1.Instrumentcluster2.Restrictedair-cleanerlight
3.Replacetheair-cleanerelement(s)asfollows:
A.Replacetheprimaryair-cleanerelement;referto
ReplacingthePrimaryElement(page42).
B.Repeatsteps1and2.
C.Iftherestrictedair-cleanerlightstillcomeson,
replacethesecondaryair-cleanerelement;referto
ReplacingtheSecondaryElement(page42).
RemovingtheAir-cleanerCover
1.Removetheleftsidepanel;refertoRemovingtheSide
Panels(page36).
2.Pullthelatchfortheair-cleanercoveroutward(Figure
46).
3.Rotatethecleanercovercounterclockwisesothatthe
dustcapisatthe7o’clockposition(Figure48).
Figure48
1.Latch3.Dustcap
2.Air-cleanercover
4.Pulltheair-cleanercoverawayfromthecleanerhousing
toremovethecover(Figure49).
Figure49
1.Air-cleanercover2.Air-cleanerhousing
5.Cleantheinsideofthecoverwithacleandampcloth.
41