15
1
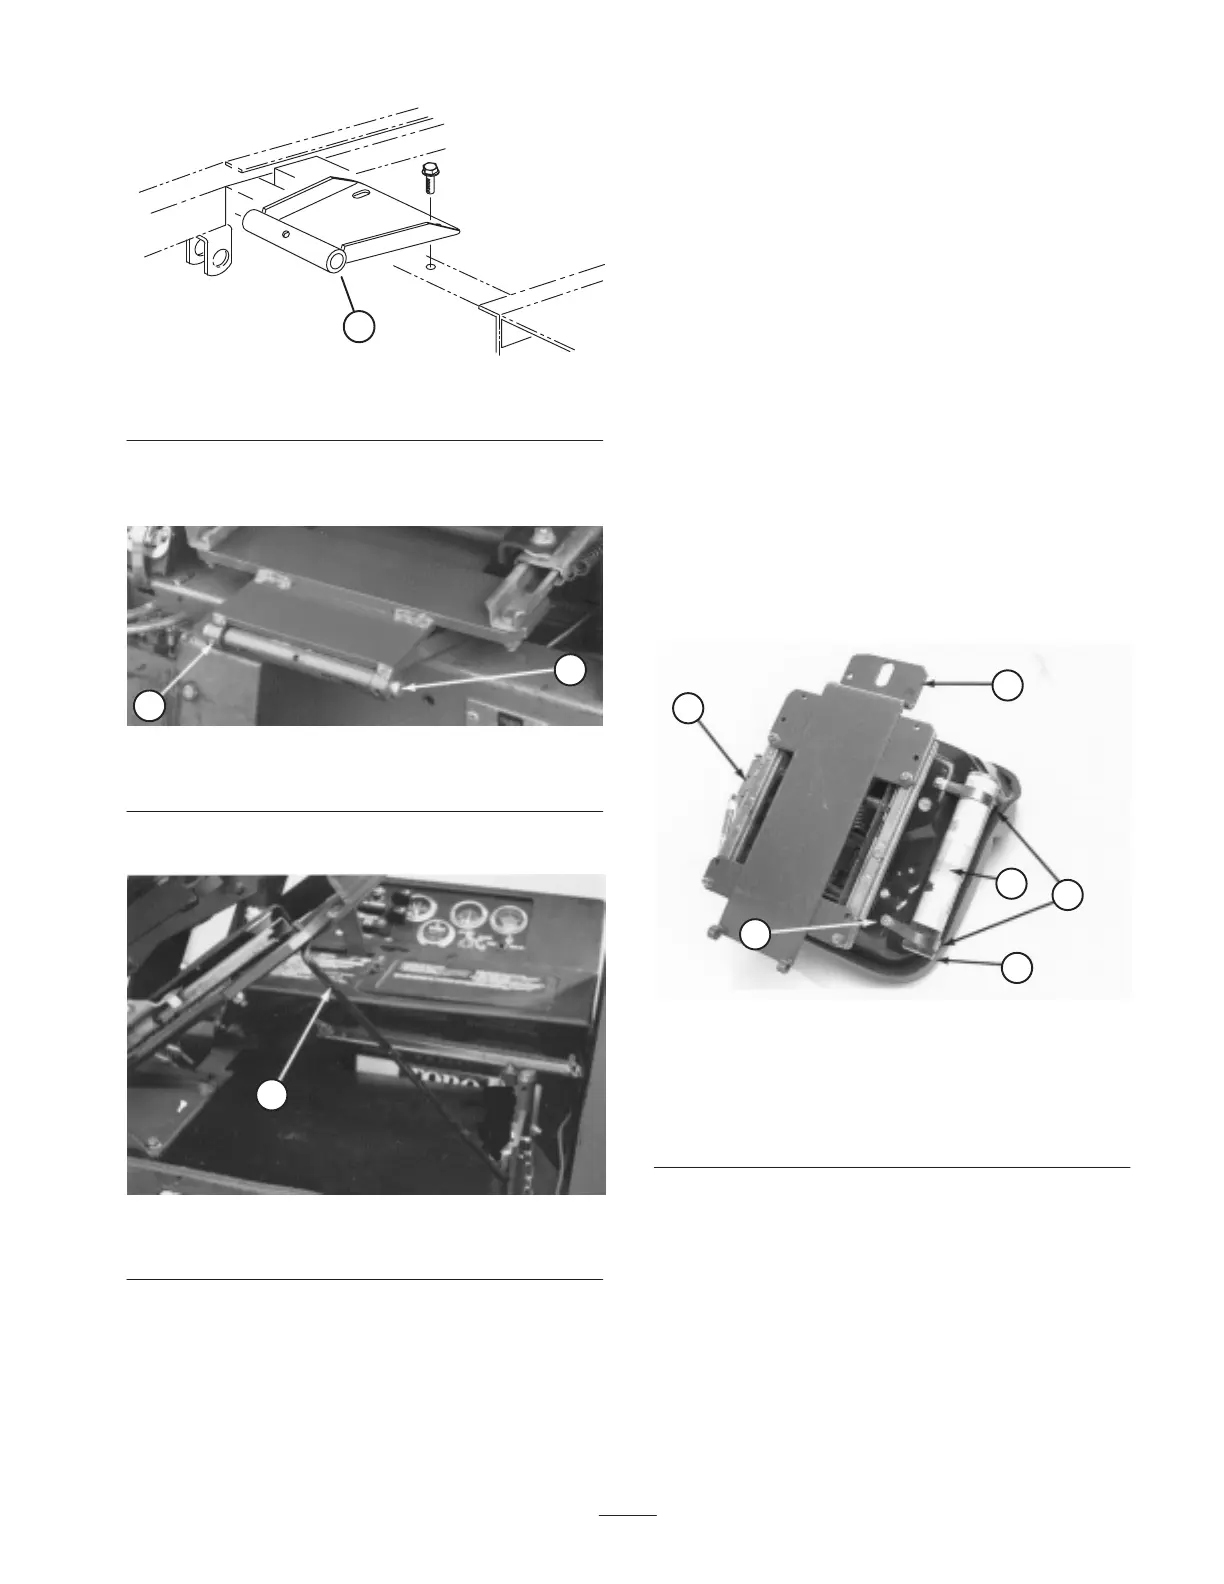
Figure 5
1. Seat pivot bracket
3. Mount seat and seat support to seat pivot bracket with
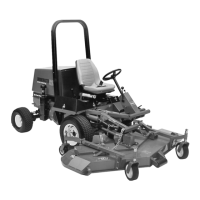
pivot shaft and roll pin (Fig. 6).
1
2
Figure 6
1. Pivot shaft 2. Roll pin
4. Hold seat up with seat support rod (Fig. 7).
1
Figure 7
1. Seat support rod
5. Connect seat switch connector to traction unit wire
harness connector.
Seat Kit, Model No. 30625, Deluxe Seat
with Model No. 30628 Seat Adapter Kit
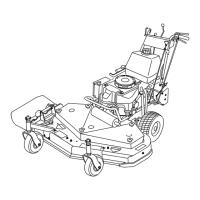
1. Mount seat suspension assembly to 4 capscrews on seat
bottom and secure with 4 lock washers, flat washers,
and nuts (Fig. 8).
2. Loosely secure 2 R-clamps to right side of seat bottom
with 2 capscrews and flat washers supplied in kit
(Fig. 8). Install manual tube into R-clamps and tighten
capscrews (Fig. 8).
3. Mount seat support over four threaded studs at the
bottom of seat suspension assembly and secure in place
with flangenuts (Fig. 8).
Note: When mounting seat suspension, use forward set of
mounting holes for a shorter operator, as shown in figure 7,
or rear set for a taller operator.
4. Mount seat pivot bracket to frame with (2) flange
screws supplied in kit (Fig. 5)
5. Mount seat and seat support to seat pivot bracket with
pivot shaft and roll pin (Fig. 6).
1
6
4
2
5
3
Figure 8
1. Seat suspension
assembly
2. R-clamps
3. Lock washer, flat washer,
and nut
4. Manual tube
5. Cap
6. Seat support
6. Hold seat up with seat support rod (Fig. 7).
7. Connect seat switch connector to traction unit wire
harness connector.