35
1
2
3
5
4
7
6
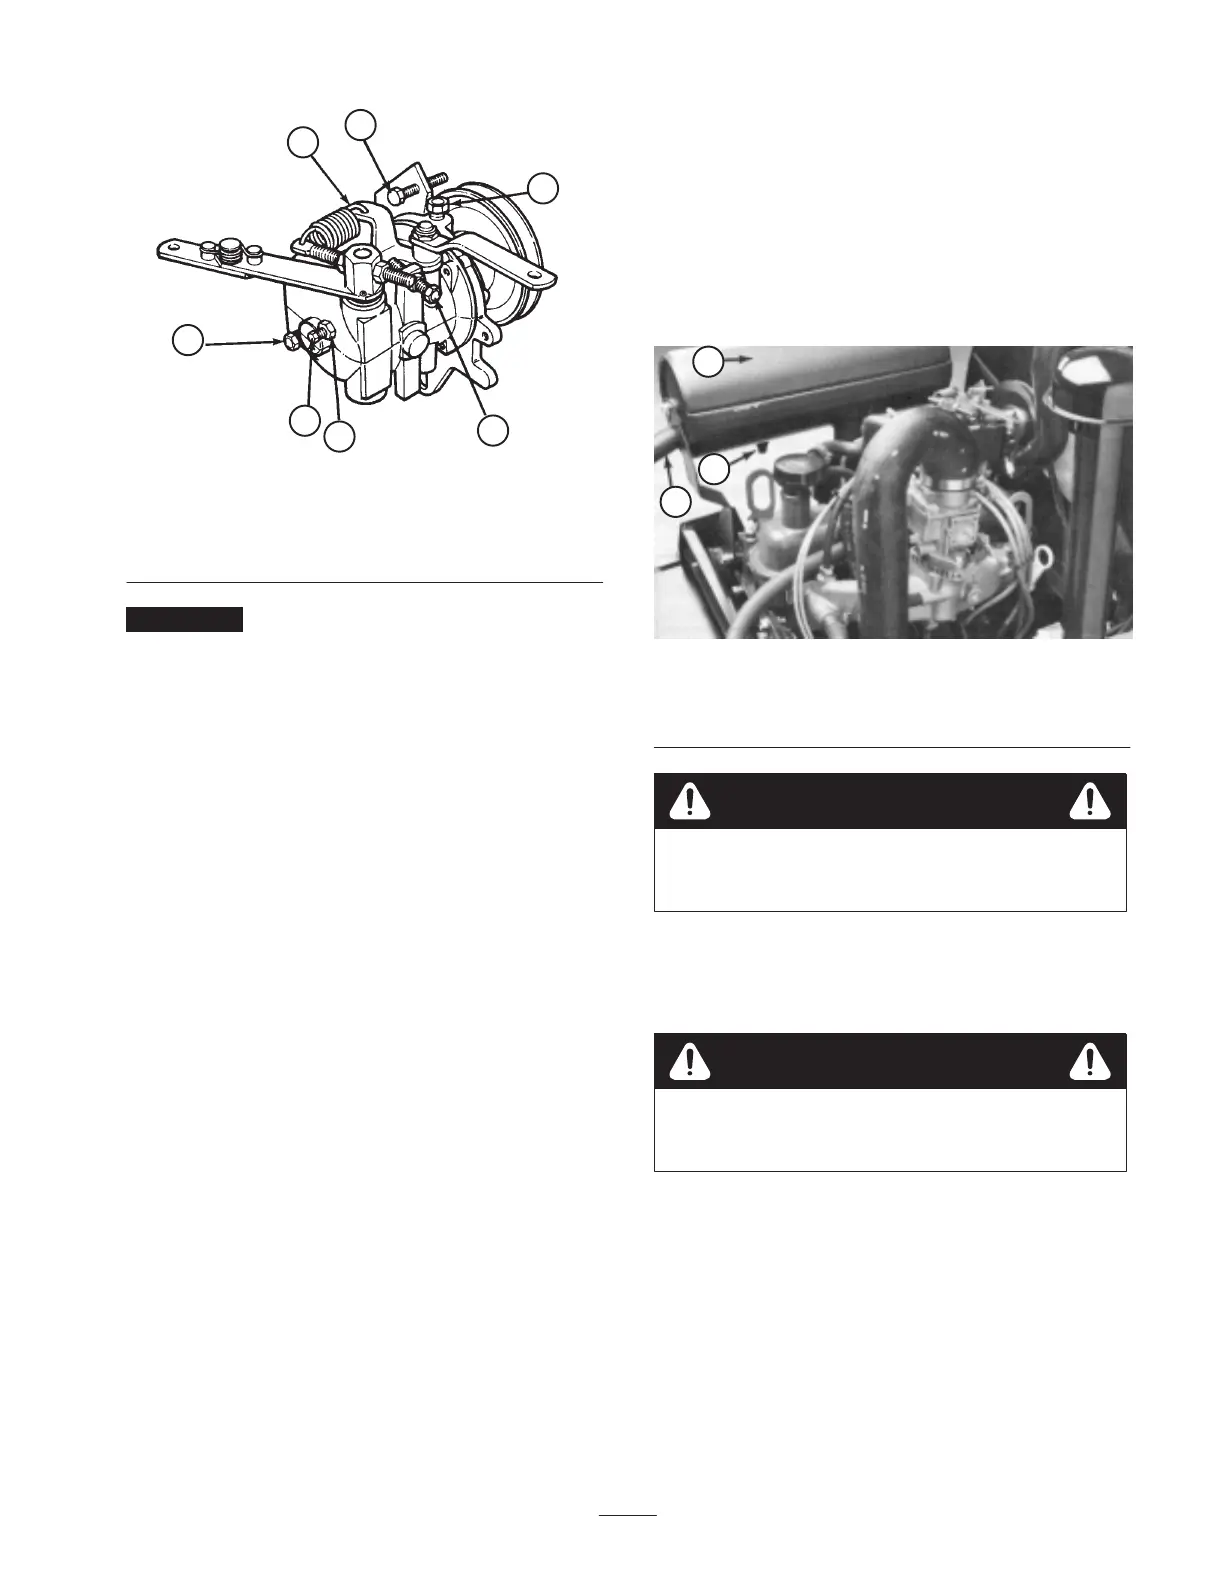
Figure 34
1. High idle stop screw
2. Speed control lever
3. Jam nut
4. Anti–surge screw
5. Oil check plug
6. low idle stop screw
Important Never rotate anti–surge screw in too far so
that speed of engine increases.
9. Bump the throttle lever with your hand so engine speeds
up momentarily. If governor is working properly,
engine speed should return to normal within one or two
surges of the governor. More than two surges of the
governor usually indicates than the anti–surge screw
must be turned in slightly more than it is. When
adjustment is correct, lock jam nut against governor
body.
10. Check low and high idle speed to be sure there is no
change from the initial setting. If high idle sped has
increased, anti–surge has been turned into the governor
too far and it must be backed out. Then repeat the entire
adjustment procedure.
Note: If the throttle control on the instrument panel will not
stay in the FAST position during operation, remove the
panel cover and tighten the nut and capscrew at base of
throttle lever assembly.
Checking Oil Level In Governor
The governor is shipped with oil in it, but the level of oil
must be checked after every 250 hours of operation.
1. Position machine on level surface and shut engine off.
2. Disengage hood latch and open the hood.
3. Clean area around check plug on governor (Fig. 34)
4. Remove check plug. Oil level must be up to bottom of
filler hole. If oil level is low, remove oil fill plug and
add same oil that is being used in engine. When oil is at
point of overflowing out of check plug hole, install the
check plug and fill plug.
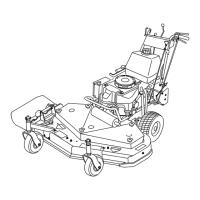
Servicing Spark Arrestor
Muffler
Every 200 hours operation, clear the muffler of carbon
buildup.
1. Unlatch and raise hood assembly.
2. Remove pipe plug from clean–out port at lower side of
muffler (Fig. 35).
1
2
3
Figure 35
1. Muffler
2. Pipe plug
3. Outlet port
Be careful while working around muffler as it may
be hot and could cause injury.
Caution
3. Start engine. Plug the normal muffler exit with block of
wood or metal plate so exhaust flow will be forced out
of the clean–out port (Fig. 53). Continue to block exit
until carbon deposits cease coming out port.
Do not stand in line with the clean–out port.
Always wear safety glasses.
Caution
4. Stop engine, replace pipe plug, and lower and latch
hood.