6.Removebothwingnuts(1/4inch)securingthe
batteryclamp(Figure39).
7.Removethebattery.
InstallingtheBattery
1.Positionbatteryinthetraywiththeterminalposts
towardtheengine(Figure39).
2.First,installthepositive(red)batterycableto
positive(+)batteryterminal.
3.Theninstallthenegativebatterycableandground
wiretothenegative(-)batteryterminal.
4.Securethecableswith2bolts(1/4x3/4inch),
2washers(1/4inch),and2locknuts(1/4inch)
(Figure39).
5.Slidetheredterminalbootontothepositive(red)
batterypost.
6.SecurebatterywithJ-bolts,holddownclampand
2washers(1/4inch),and2wingnuts(1/4inch)
(Figure39).
ChargingtheBattery
Chargingthebatteryproducesgassesthatcan
explode.
Neversmokenearthebatteryandkeepsparks
andamesawayfrombattery.
Important:Alwayskeepthebatteryfullycharged
(1.265specicgravity).Thisisespeciallyimportant
topreventbatterydamagewhenthetemperatureis
below32°F(0°C).
1.Removethebatteryfromthechassis.
2.Chargebatteryfor10to15minutesat25to30amps
or30minutesat4-6amps.
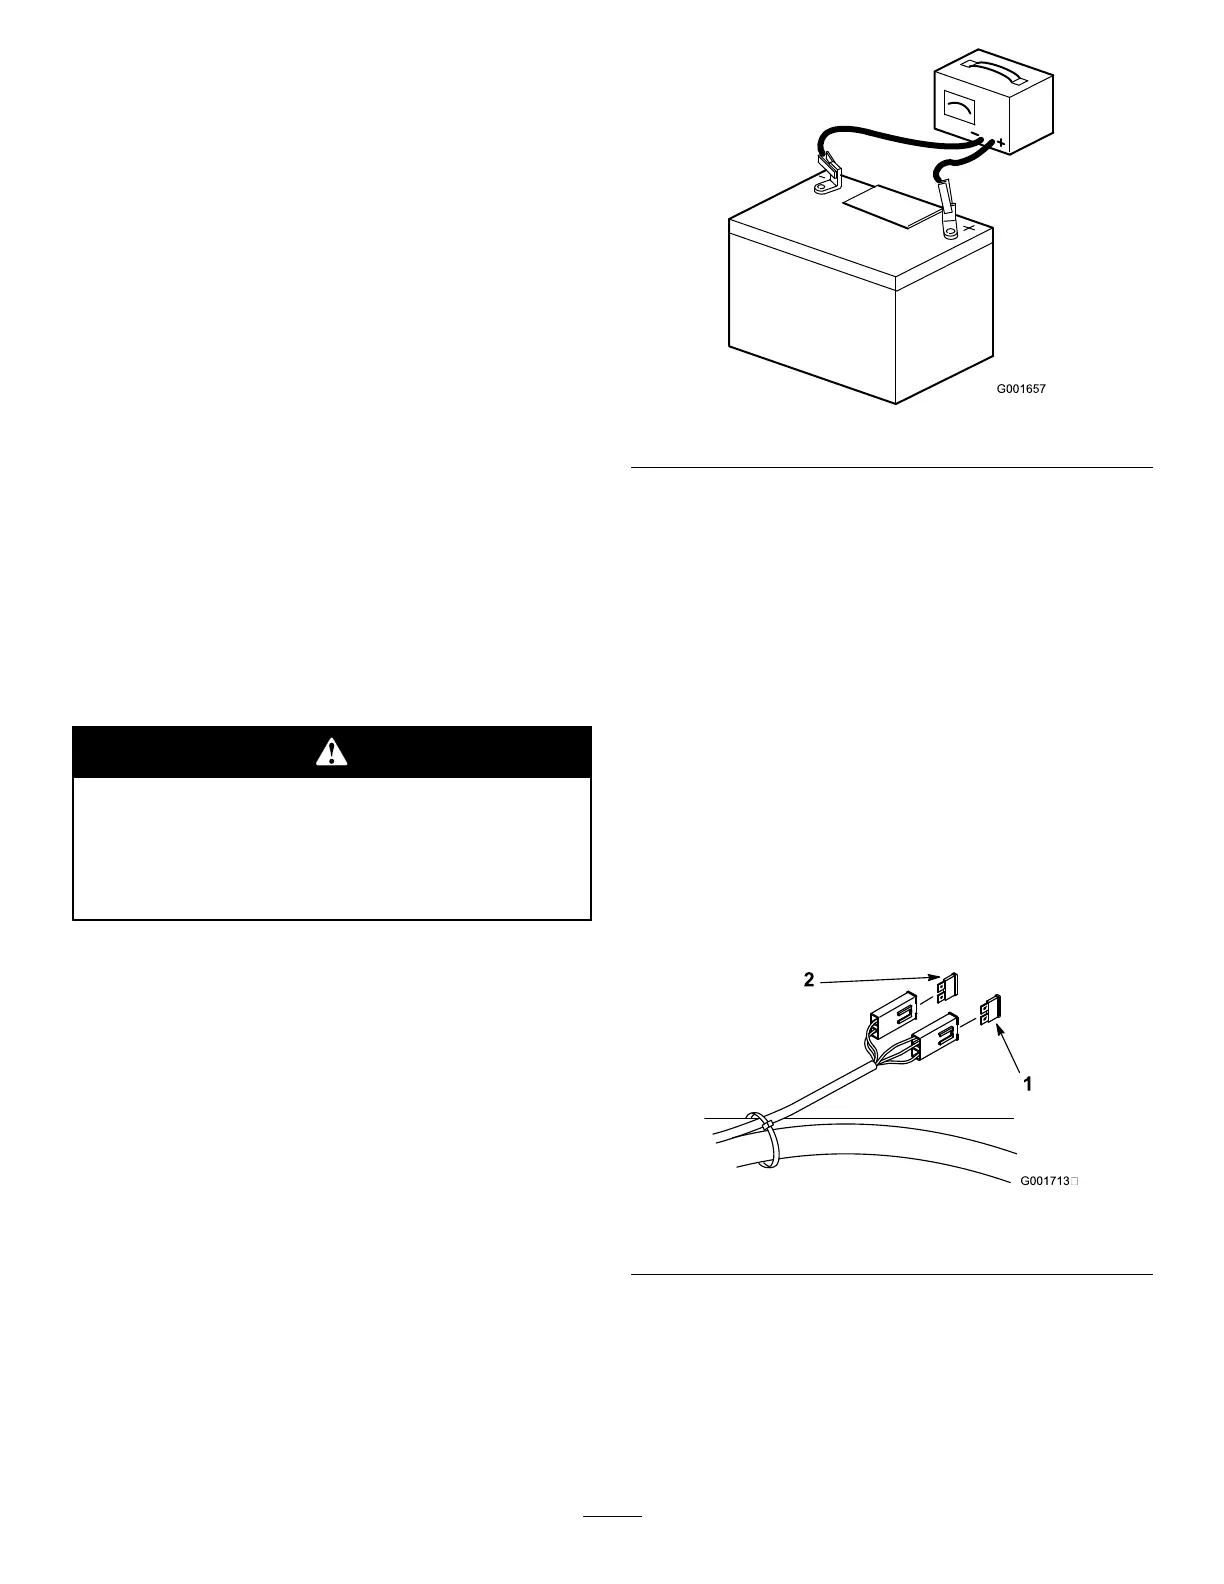
3.Whenthebatteryisfullycharged,unplugthecharger
fromtheelectricaloutlet,thendisconnectthe
chargerleadsfromthebatteryposts(Figure40).
Figure40
4.Installthebatteryinthemachineandconnectthe
batterycables;refertoInstallingtheBattery.
Note:Donotrunthemachinewiththebattery
disconnected,electricaldamagemayoccur.
ServicingtheFuses
Theelectricalsystemisprotectedbyfuses.Itrequires
nomaintenance,however,ifafuseblowscheck
component/circuitformalfunctionorshort.
Thefusesareasfollows:
•MainF1-30amp,blade-type
•AlternatorF2-25amp,blade-type
1.Unlatchtheseatandraisetheseattogainaccessto
fuseholder(Figure41).
Figure41
1.MainF1-30amp2.AlternatorF2-25amp
2.Toreplacethefuses,pulloutonthefusetoremove
it.
3.Installanewfuse(Figure41).
36