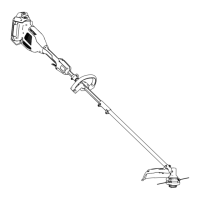
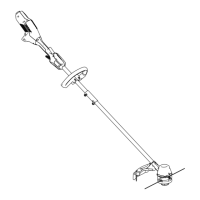
Maintenance
Aftereachuseofthetrimmer,completethefollowing:
1.Removethebatteryfromthetrimmer.
2.Wipethetrimmercleanwithadampcloth.Do
nothosethetrimmerdownorsubmergeitin
water.
CAUTION
Thelinecutoffbladeonthedeectoris
sharpandcancutyou.
Donotuseyourhandstocleanthe
deectorshieldandblade.
3.Wipeorscrapecleanthecuttingheadareaany
timethereisanaccumulationofdebris.
4.Checkandtightenallfasteners.Ifanypartis
damagedorlost,repairorreplaceit.
5.Brushdebrisawayfromairintakeventsand
exhaustonmotorhousingtopreventthemotor
fromoverheating.
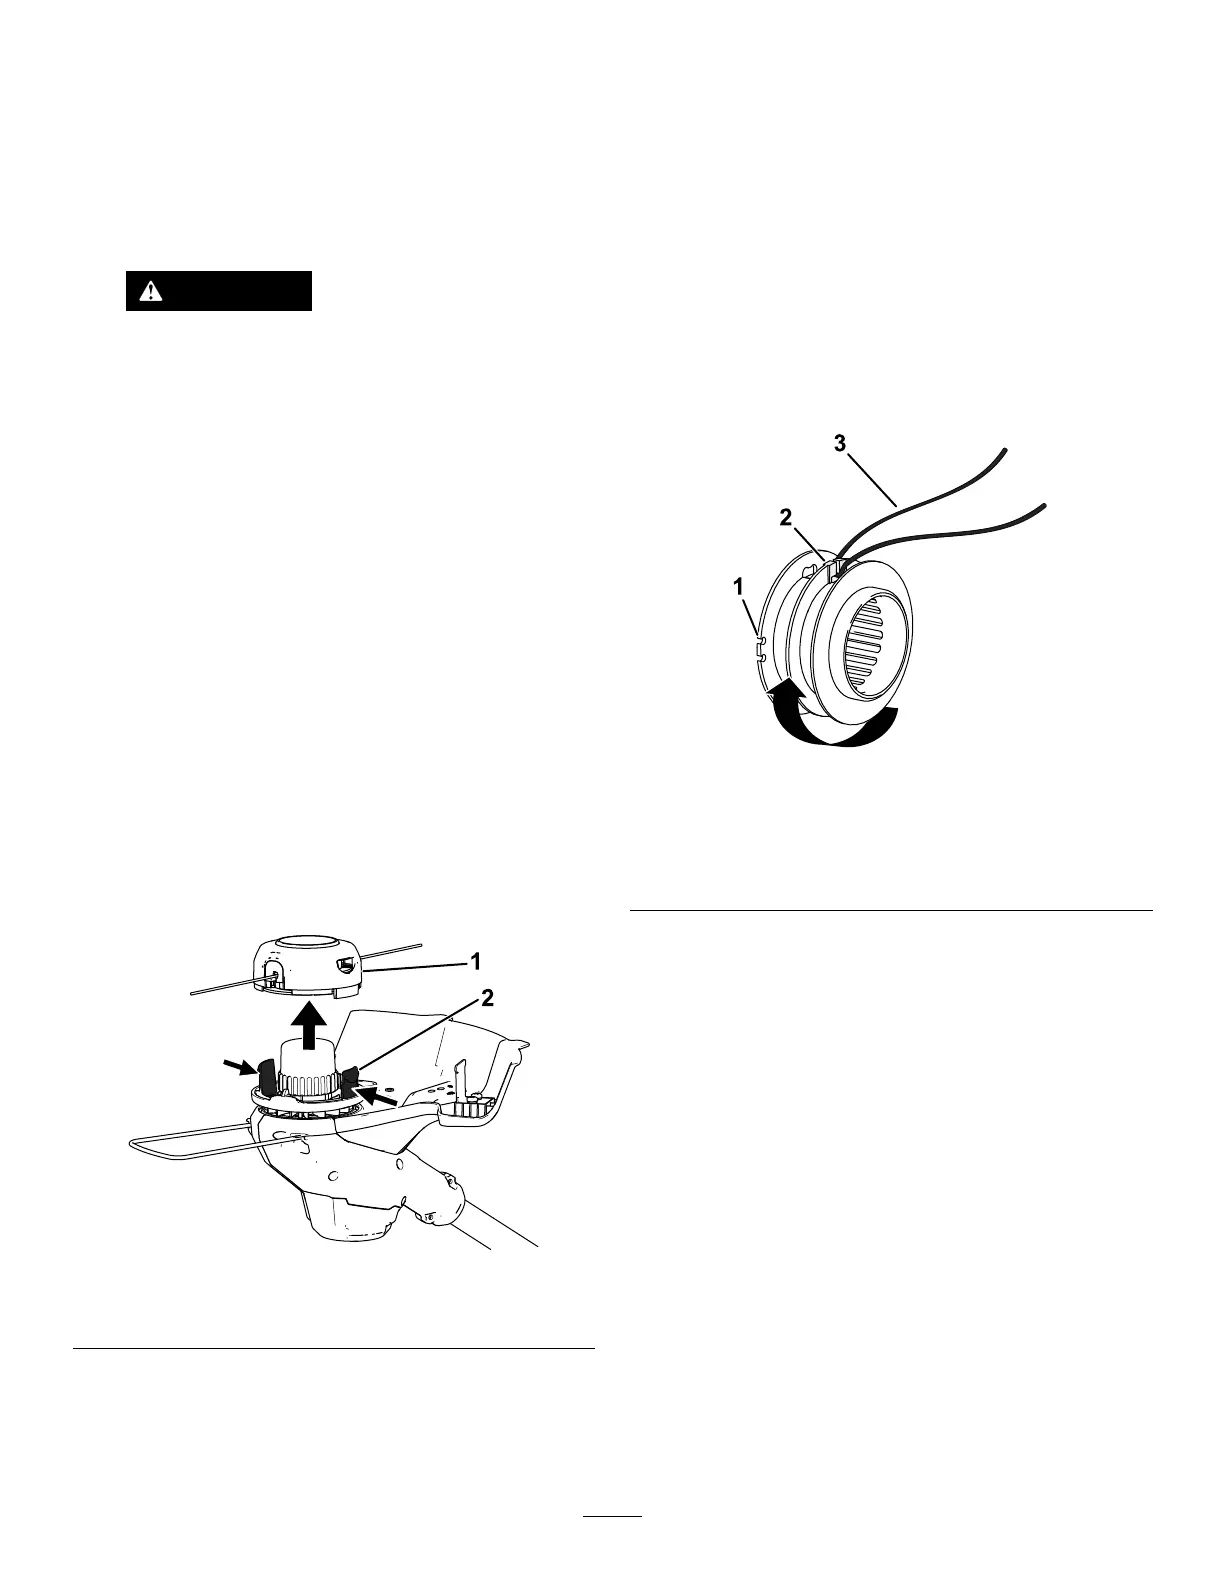
ReplacingtheString
Important:Useonly2mm(0.080inch)
monolamentstring(ToroPartNo.88201).
1.Removethebatterypackandcleananydebris
fromthetrimmerhead.
2.Pressthetabssimultaneouslyonthesideof
thetrimmerheadandremovecoverandspool
(Figure15).
g333516
Figure15
1.Coverandspool2.Covertabs
3.Removethespoolfromthecoverandremove
anyremainingstringfromthespool.
4.Cut1pieceof2mm(0.080inch)stringto
approximately3m(10ft).
Important:Donotuseanyothergauge
ortypeofstring,asthiscoulddamagethe
trimmer.
5.Bendthenewstringatthemidpointandinsert
thebendintothestarterslotinthecenterrimof
thespool(Figure16).
Note:Ensurethatthelinesnapsintoposition
intheslot.
6.Wrapthe2halvesofthestringevenlyandrmly
aroundthespoolasshowninFigure16.
Note:Ensurethatthestringiswrapped
counterclockwisearoundthespoolwhenlooking
atthebottomofthespool.
g330440
Figure16
1.Newstring
3.Centerrimspoolstarter
slot
2.Guideslotforstringend
(oncefullywound)
7.Windthestring,leavingjustenoughextending
fromthespooltocontacttheswathblade,and
snaptheendsintotheguideslotsonthespool
(Figure16).
8.Installthespoolintothecoverandroutethe
endsofthestringthroughtheholesinthecover
asshowninFigure17.
16
 Loading...