12
Appendix B: Site Selection and Earth Installation
Site Selection
Choosing the right location for the sensor is important for the
overall eectiveness of the Precision Soil Sensor system.
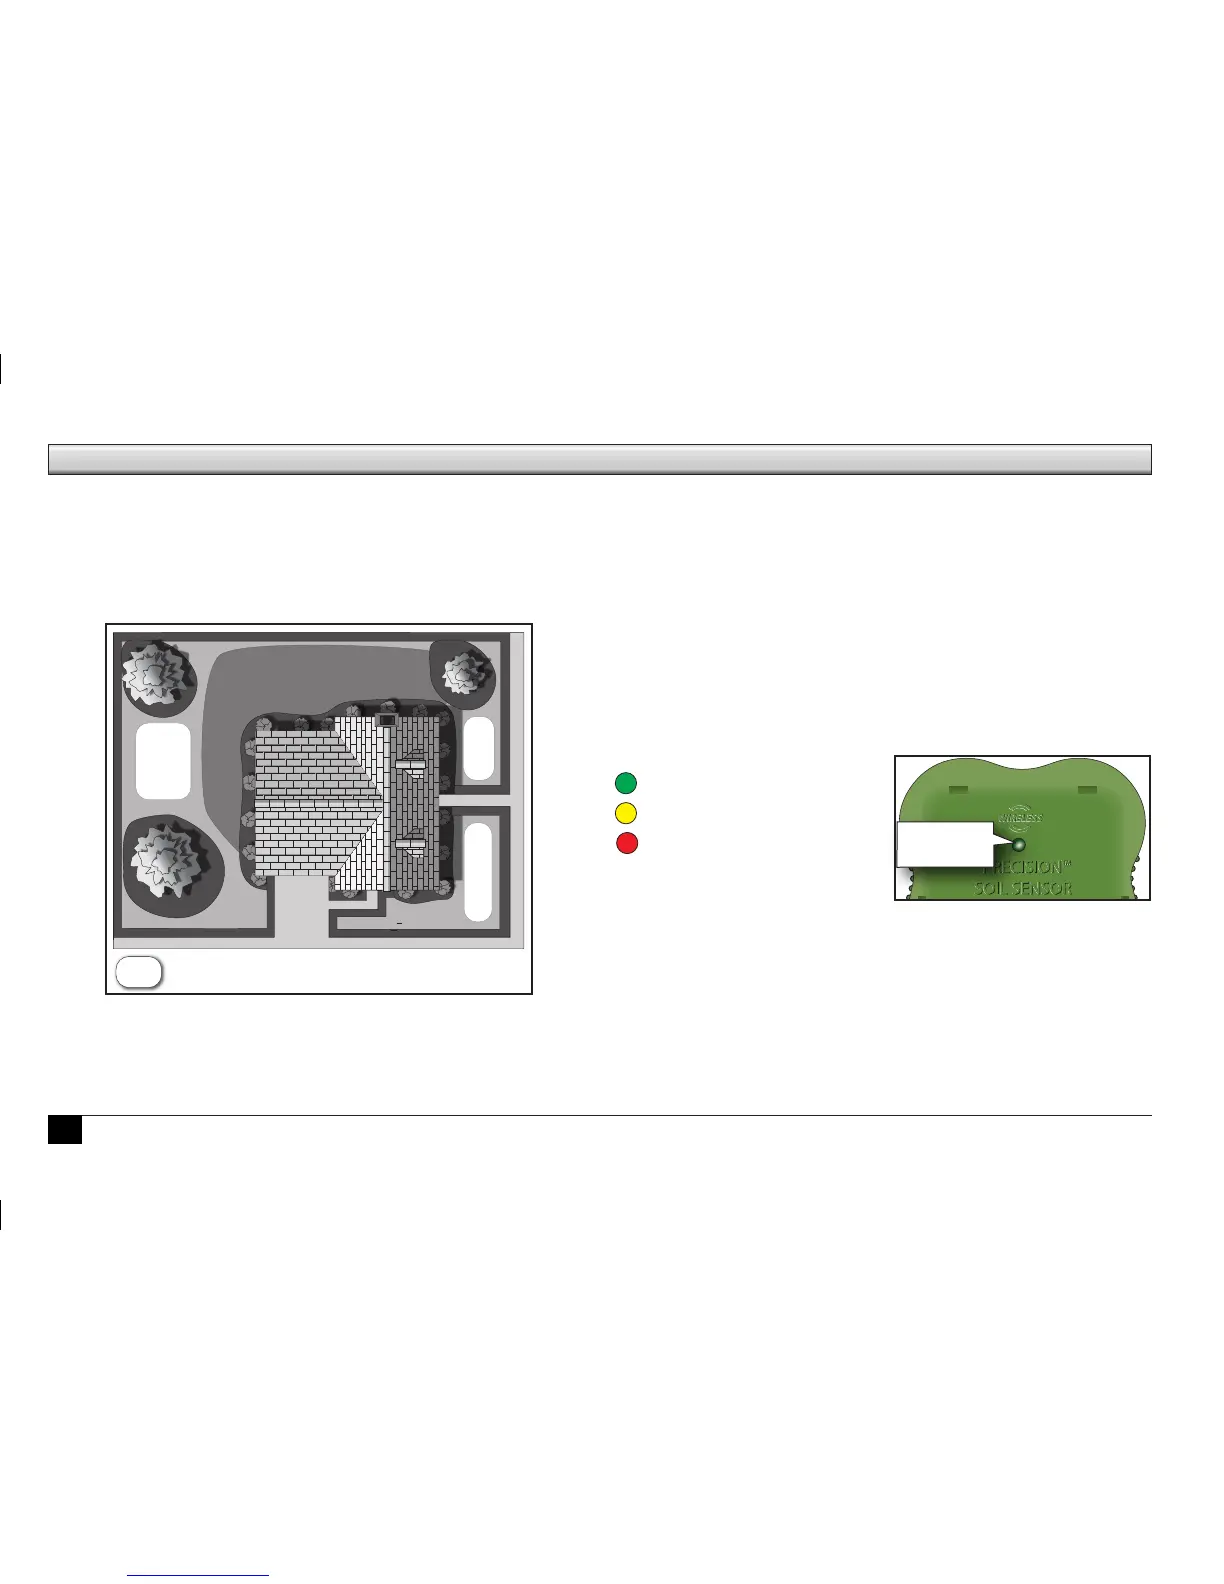
e below graphic represents a typical residential landscape. ‘X’
indicate good locations for sensor placement.
For your garden, make sure the site selected is:
• representative of the overall soil type and condition
• the highest elevation
• not over a septic tank or drain eld
• well within receiver communication range
(500’ line-of-sight)
• at least 4 feet away from a driveway, roof overhang or
downspout
• not in a footpath or recreational area
• not exposed to overspray from nearby watering zones
Earth Installation
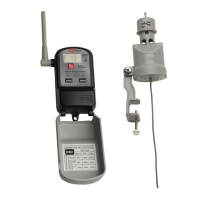
1. Move the sensor to the proposed installation site.
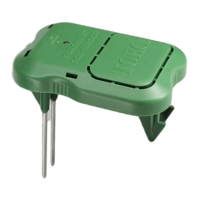
Signal strength is indicated by the LED color as follows:
Green = Excellent
Yellow = Acceptable
Red = Not Acceptable -
Relocate Sensor
2. oroughly irrigate the
sensor location and surrounding landscape area. is step
is crucial to establish the “100%” moisture level for sensor
calibration.
3. Trim the grass close to ground level where the sensor will
be placed.
X
X
X
X
= good sensor location
LED Signal
Indicator