13.De-burreachhole.
14.EnsurethattheProPassHitchTubeiscleanand
freefromdirtordebris.
15.Unpacktheengineassembly.
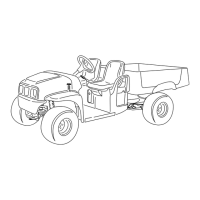
16.Loosen,butdonotremove,the2boltsand
nutssecuringtheenginemountbracketstothe
enginemountingplate(Figure3).
g013858
Figure3
1.Mountingbolts(2)
17.Removethetwonutsholdingthebatteryhold
downstrapsinplaceandsetthenuts,washers
andbolttubeofftotheside(Figure4).
g013861
Figure4
1.Batteryholddownstrap
2.Batteryholddownbolt(2)
18.Removethebatteryfromitspositiononthe
assemblyandrestthelteronthebaseplate.
19.Chargethebattery;refertoActivatingand
ChargingtheBattery(page10).
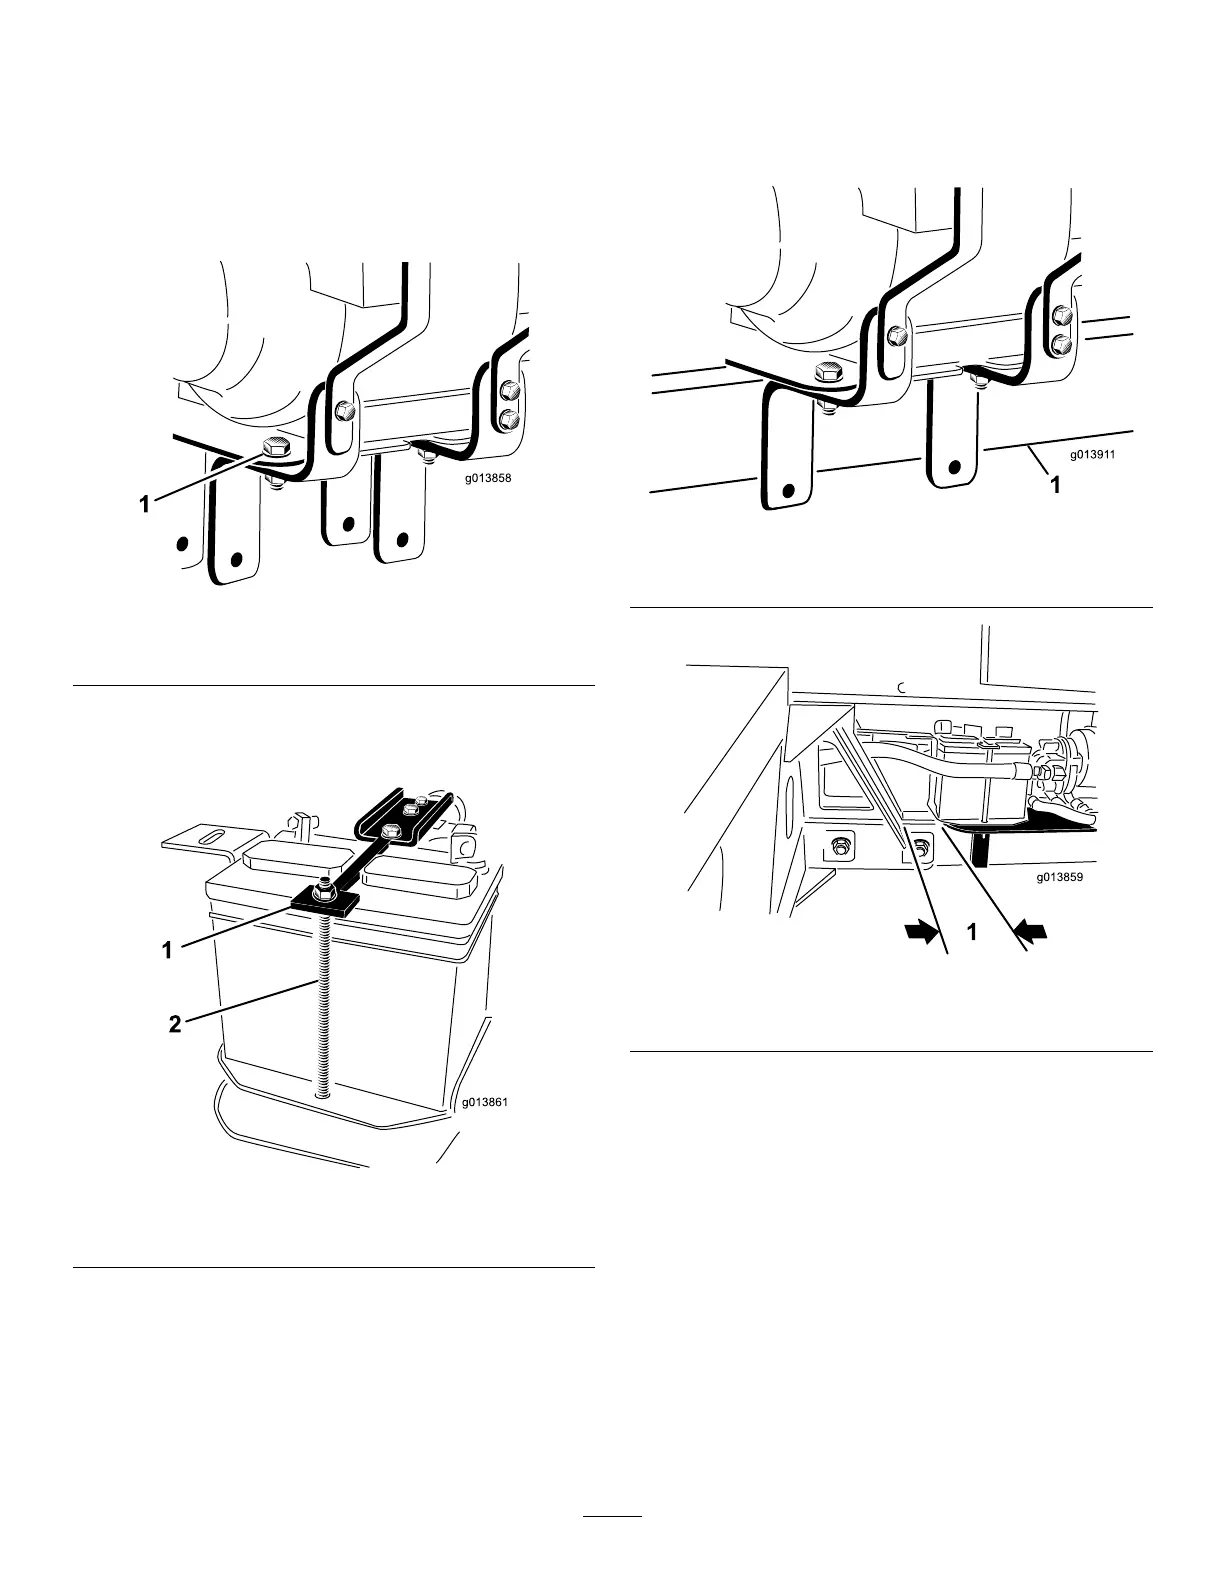
20.Sincetheengineassemblyisheavy,positioning
ofthiscomponentcanbedifcult.Withthehelp
ofanassistant,positiontheengineassembly
ontotheProPasshitchtube.Ensurethatthe
enginemountbracketsstraddlethehitchtube
(Figure5andthattherearoftheenginemount
plateisapproximately25mm(1inch)fromthe
ProPasshitchtubereceiver(Figure6).
g013911
Figure5
1.Hitchtube
g013859
Figure6
1.Oneinch
21.Insertthe2bolts(1/2x3inches)throughthe
enginemountbracketholesensuringthata
atwasheristtedagainsteachouterfaceof
theenginemountbracketandensuringthat
theboltspassclearbeneaththebottomofthe
ProPasshitchtube.Handtightenthe2nuts(1/2
inch)(Figure7).
4

 Loading...