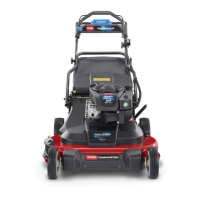
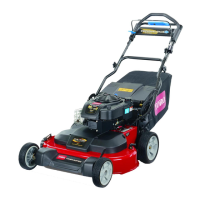
g017523
Figure 34
1. Rear deector and handle-lock-lever assembly
8. Remove the cover from the battery .
9. Disconnect the leads from the battery .
10. Remove the battery and recycle it.
Note: Recycle the battery according to your
state and local regulations.
Installing the New Battery
1. Clean the battery-holding area on the machine
housing.
2. Set the new battery in place on the machine
housing.
3. Connect the leads to the new battery .
Note: Ensure that you connect the black
(negative) wire to the negative (-) terminal and
the red (positive) wire to the positive (+) terminal.
4. Install the cover onto the battery .
Note: Ensure that the cover ts properly over
the wire harness.
5. Install the rear deector and handle-lock-lever
assembly onto the machine.
6. Raise the handle to the vertical position.
7. Secure the shroud with the 4 small bolts that you
removed in step 5 of Removing the Old Battery
( page 25 ) .
8. Install the rear-discharge plug.
9. Return the handle to the operating position.
Adjusting the Self-Propel
Drive
For Self-Propel-Drive Models Only
Whenever you install a new self-propel cable or if
the self-propel drive is out of adjustment, adjust the
self-propel drive.
1. T urn the adjustment nut counterclockwise to
loosen the cable adjustment ( Figure 35 ).
g452491
Figure 35
1. Handle (left side)
4. T urn the nut clockwise to
tighten the adjustment.
2. Adjustment nut 5. T urn the nut
counterclockwise to
loosen the adjustment.
3. Self-propel-drive cable
2. Adjust the tension on the cable ( Figure 35 ) by
pulling it back or pushing it forward and holding
that position.
Note: Push the cable toward the engine to
increase the traction; pull the cable away from
the engine to decrease the traction.
3. T urn the adjustment nut clockwise to tighten the
cable adjustment.
Note: T ighten the nut rmly with a socket or
wrench.
26