InstallingtheSteelCargoBed
1.Removethe3ange-headscrews(5/16x3/4inch),
proprodUbracket,andproprodfromthebottomof
thesteelcargobed(Figure5).
Important:Retainthehardware.
Figure5
1.Proprod3.ProprodUbracket
2.Flange-headscrew(5/16
x3/4inch)
2.Usinganoverheadhoist,lowerthesteelcargobed
ontothemachine.
3.Alignthesteelcargobedwiththeholesattherear
ofthemachinewherethe2pivotbolts(1/2x4-1/2
inches)and2locknuts(1/2inch)werepreviously
removed.
4.Installthe2ange-headscrews(1/2x4-1/2inches)
throughthepivotbracketandsecurethemwiththe2
locknuts(1/2inch)asshowninFigure6.
Figure6
1.Flange-headscrew(1/2x
4-1/2inches)
3.Locknut(1/2inch)
2.Pivotbracket
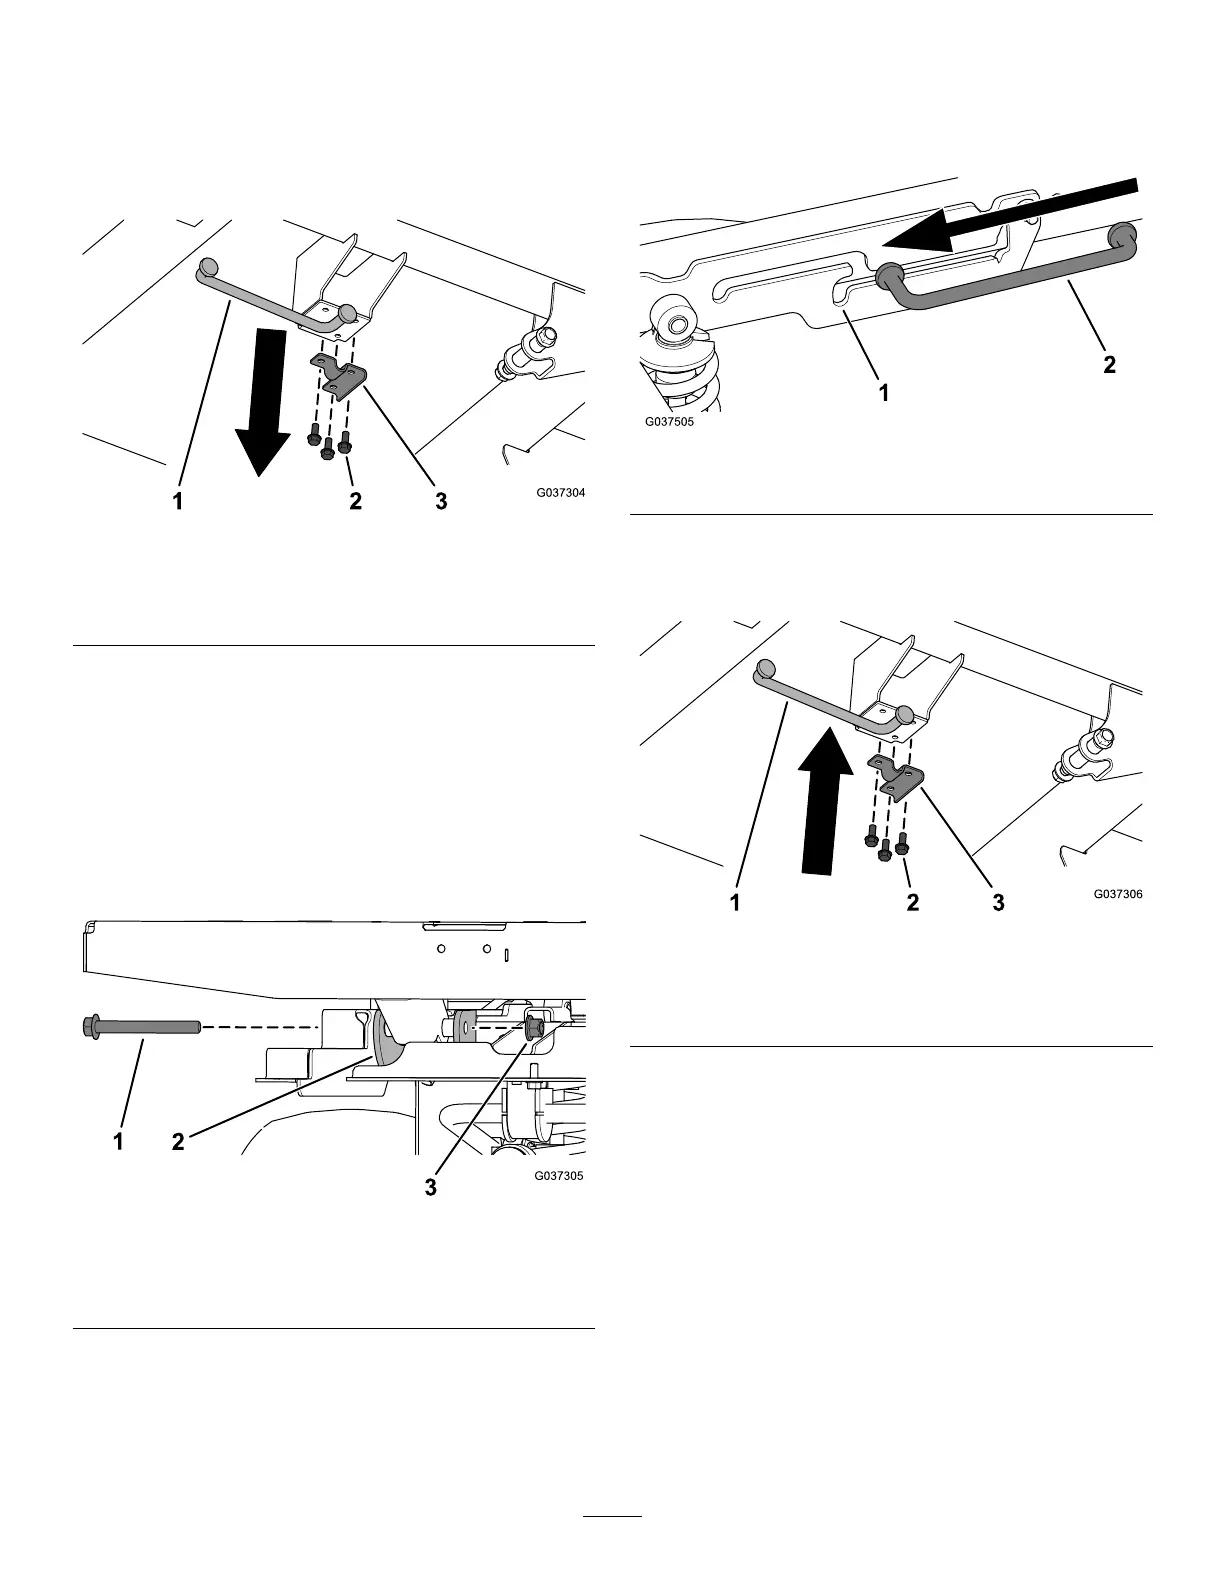
5.Releasethecargo-bedleverandraisethecargobed
usinganoverheadhoist.
6.Slidetheshortendoftheproprodintothedetent
slot(Figure7).
Figure7
1.Detentslot2.Proprod
7.InstalltheproprodUbracketandproprodtothesteel
cargobedusingthe3ange-headscrews(5/16x3/4
inch)asshowninFigure8.
Figure8
1.Proprod3.ProprodUbracket
2.Flange-headscrew(5/16
x3/4inch)
3

 Loading...


