31
EN
Introduction Connections
Basic Setup /
TV View Operation
Recording Playback Editing Function Setup Others
You can select either “Main” or “Sub” audio to record a
bilingual broadcast in video mode or +VR mode.
This setting is only for recording analogue channel.
1 In stop mode, press [SETUP]. Select “General
Setting” using [K \ L], then press [ENTER\OK].
2 Select “Recording” using [K \ L], then press
[ENTER\OK].
3 Select “Bilingual Recording Audio” using
[K \ L], then press [ENTER\OK].
4 Select “Main” or “Sub” using [K \ L], then
press [ENTER\OK].
5 Press [SETUP] to exit.
Note
• If you want to record onto a VR mode disc, both “Main” and
“Sub” will be recorded regardless of your setting here. And
when you play back, you can choose either audio format or a
combination of both as your playback audio.
You can enjoy high quality sound recording. This function
works only when the recording mode is set at XP.
1 In stop mode, press [SETUP]. Select “General
Setting” using [K \ L], then press [ENTER\OK].
2 Select “Recording” using [K \ L], then press
[ENTER\OK].
3 Select “Recording Audio Select (XP)” using
[K \ L], then press [ENTER\OK].
4 Select “PCM” or “Dolby Digital” using [K \ L],
then press [ENTER\OK].
5 Press [SETUP] to exit.
Note
• “PCM” stands for Pulse Code Modulation. It changes
analogue sound to digital sound without compressing audio
data.
• When the recording mode is set at other than XP, the unit
records “Dolby Digital” audio automatically even if you
selected “PCM”.
Basic Recording and One-touch Timer
Recording (OTR)
Follow the steps below to record a TV programme.
1 Press [B ON\STANDBY] to turn on the unit.
Turn on the TV and be sure to select the input to which the
unit is connected.
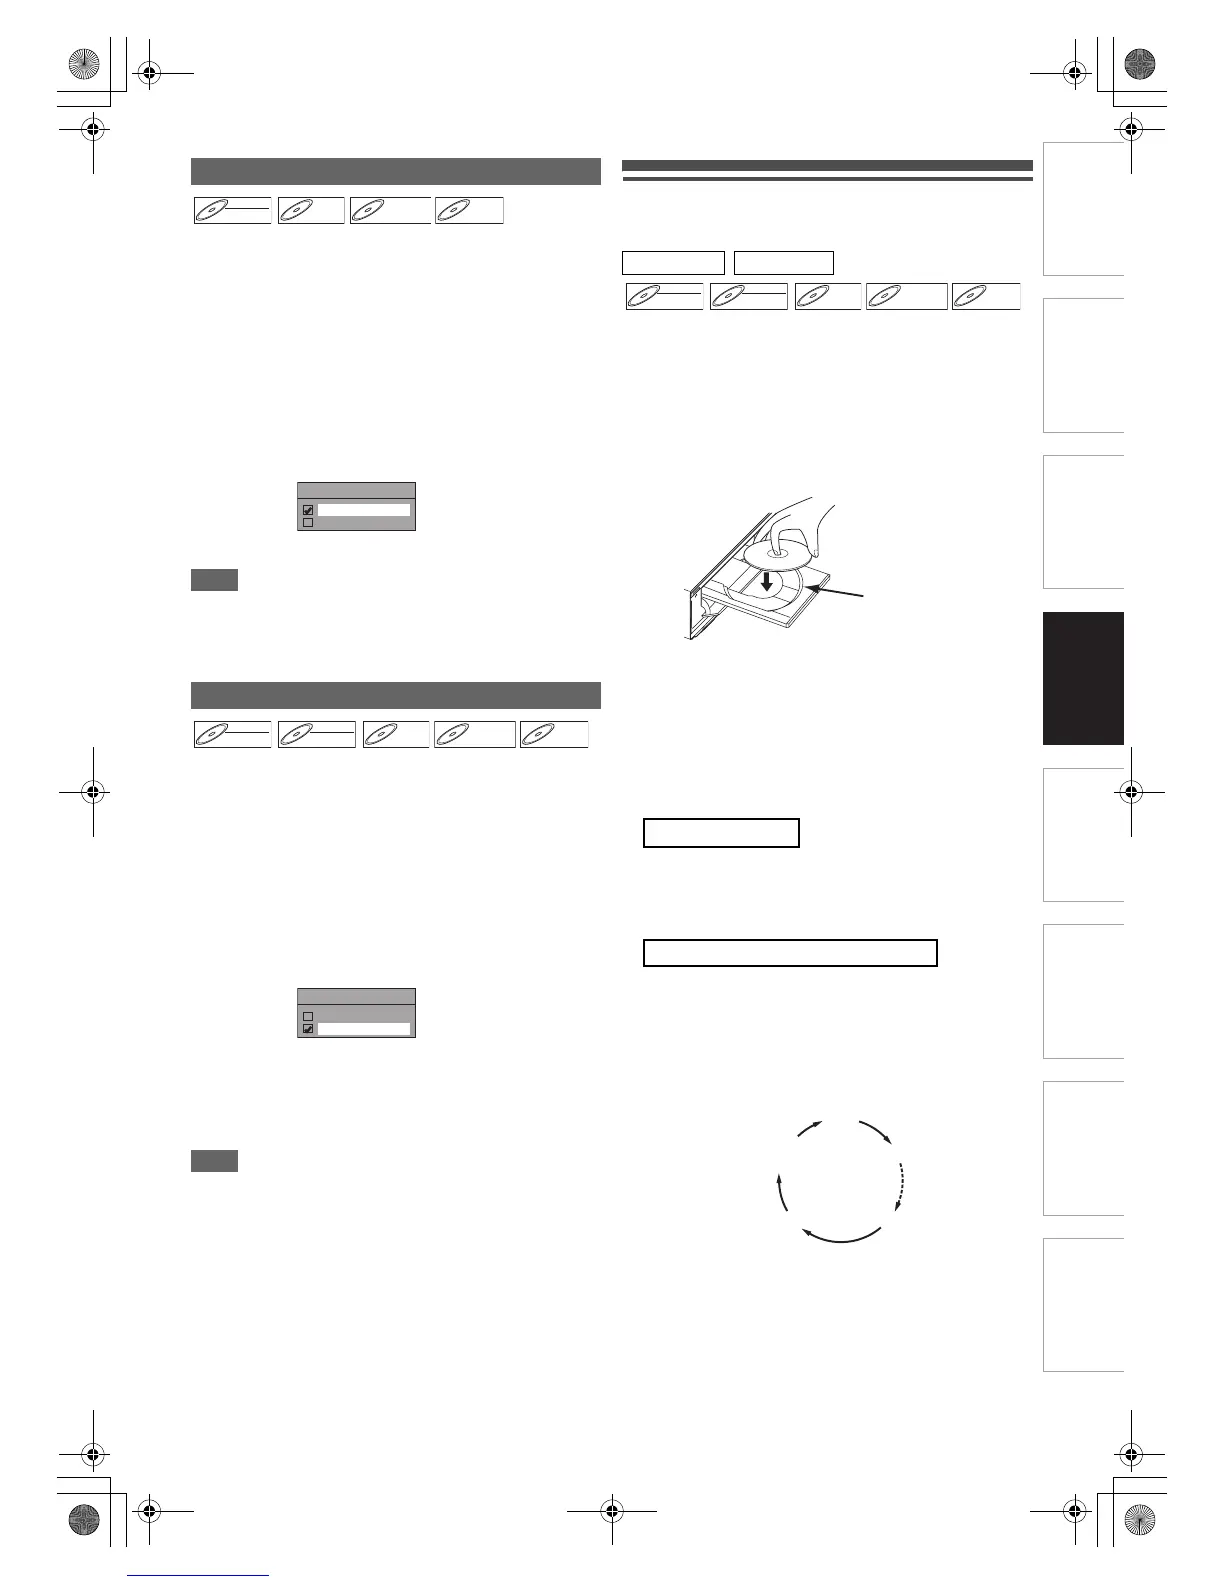
2 Press [OPEN\CLOSE A] to open the disc tray.
3 Place the disc on the disc tray with its label
facing up. Be sure to align the disc with the disc
tray guide.
4 Press [OPEN\CLOSE A] to close the disc tray.
5 Select the recording mode using [REC MODE].
(See page 27.)
6 Press [INPUT SELECT F] to select DVB,
analogue or external input mode, then select
the desired channel to record using
[PROG. G\H] or [the Number buttons].
Press [REC I] to start recording.
The “I” mark will be displayed on the TV screen briefly.
To pause the recording, press [PAUSE F]. Press
[PAUSE F] or [REC I] again to restart the recording.
This is a simple way to set the recording time in blocks of
30 minutes. Check that the disc you are recording onto
has enough space remaining for the time you set.
Press [REC I] repeatedly until the desired
recording time (30 minutes to 8 hours) appears
on the TV screen.
One-touch Timer Recording will start.
Setting Bilingual Recording Audio
Recording Audio Select (XP)
PCM: Records PCM audio for the best quality
sound.
Dolby Digital: Records Dolby Digital audio for good
quality sound.
DVD-RW
 Loading...