2 SENDING A FAX
12 Basic Procedure
6
Click [Print] in the print dialog box on the application software.
A fax starts being sent.
y Note that the command name to print a document (send a fax) may differ from [Print] depending on the
application software.
y A waiting fax job can be checked or deleted through the managing jobs function in TopAccess. A sent fax
job can also be checked through the displaying job logs function in TopAccess. For details, refer to the
TopAccess Guide.
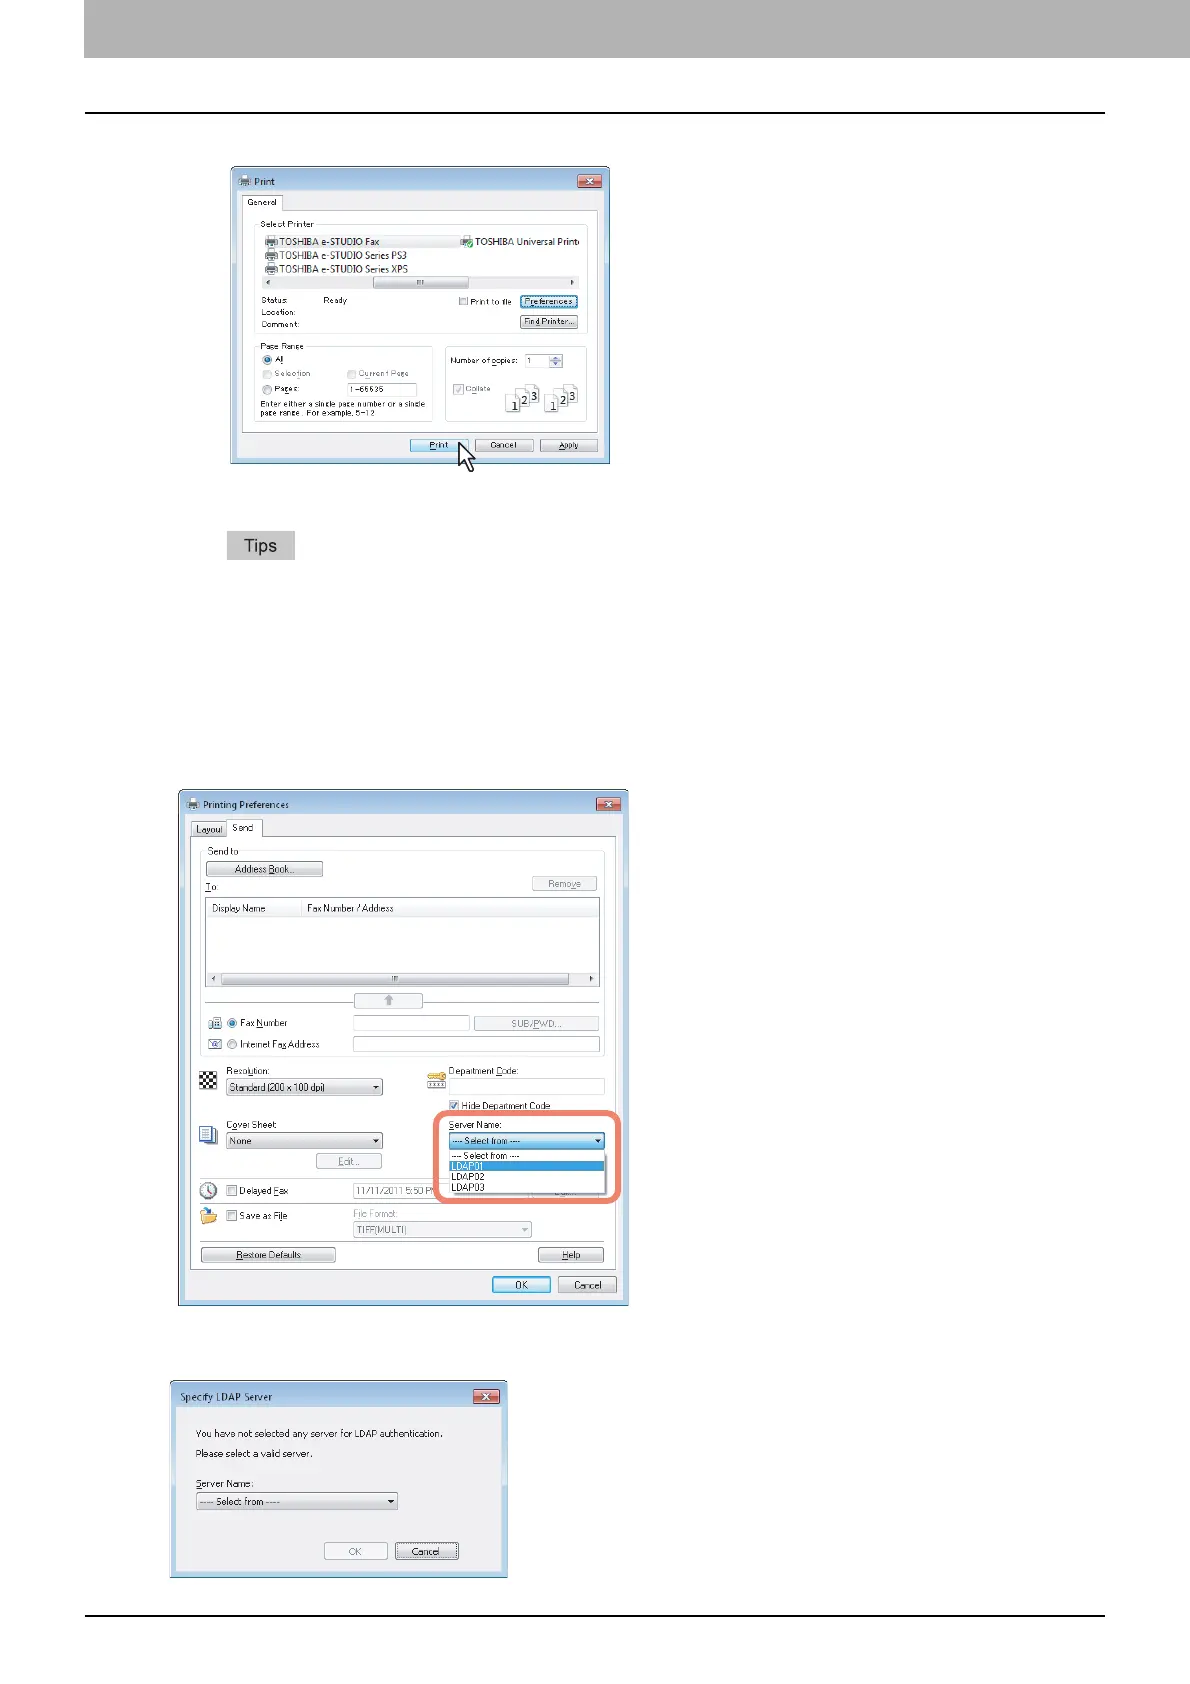
Cautionary points when LDAP authentication is used
When LDAP authentication is enabled on this equipment, you must specify an LDAP server in the [Server Name] box on
the [Send] tab before sending a fax.
If you attempt to send a fax without specifying an LDAP server, the [Specify LDAP Server] dialog box will appear to ask
you to do so.
 Loading...


