EasyManuals Logo

Toshiba e-STUDIO2550C Series Guide

Toshiba e-STUDIO2550C Series
50 pages
To Next Page IconTo Next Page
To Previous Page IconTo Previous Page
Page #42 background imageLoading...
Page #42 background image
3 SETTING OPTIONS
40 Sending With Extended Fax Functionality
11
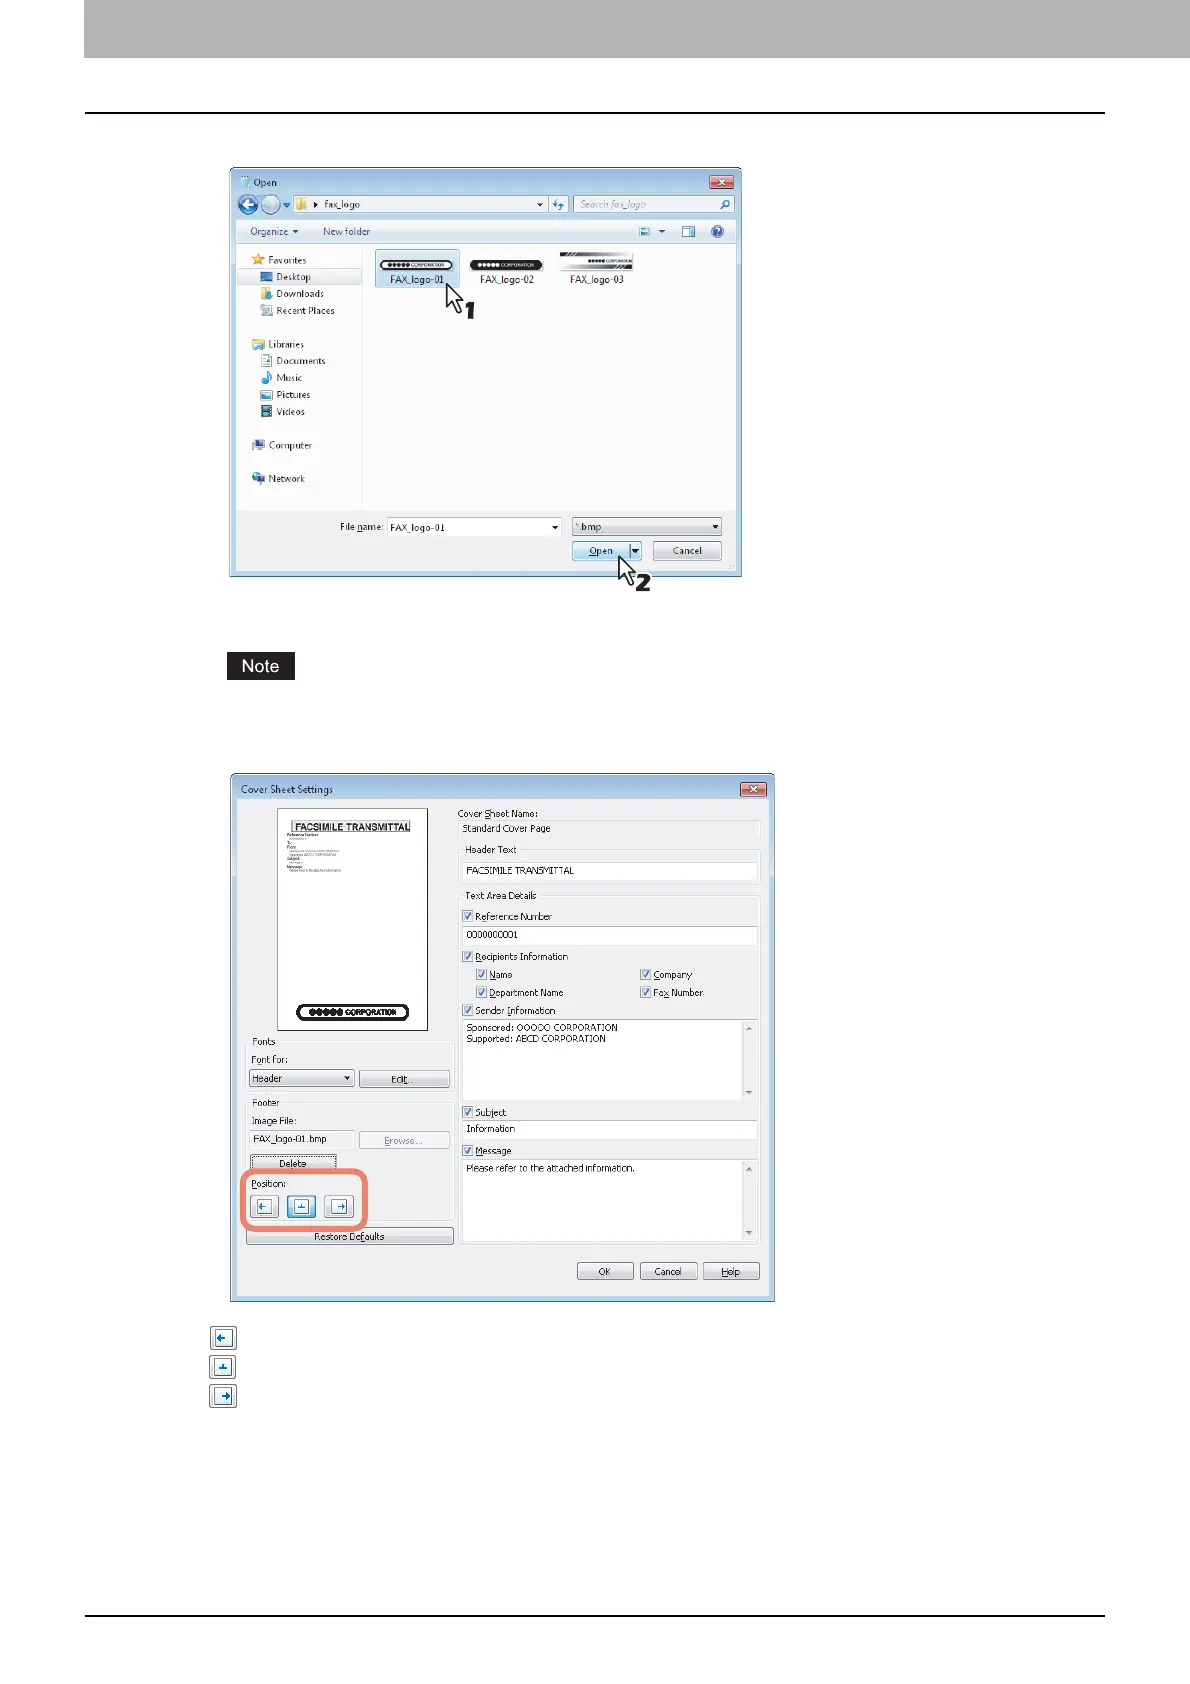
Select an image file to be attached and then click [Open].
The [Open] dialog box is closed and the selected image file is attached.
Attach the image file in a bitmap format (.bmp) within 1 MB.
12
Select the position of the image file.
- Select this to align the image to the left.
- Select this to align the image to the center.
- Select this to align the image to the right.
13
Specify the other options to send a document and click [OK].
14
Click [Print] to send a document to this equipment.

Other manuals for Toshiba e-STUDIO2550C Series

Questions and Answers:

Question and Answer IconNeed help?

Do you have a question about the Toshiba e-STUDIO2550C Series and is the answer not in the manual?

Toshiba e-STUDIO2550C Series Specifications

General IconGeneral
BrandToshiba
Modele-STUDIO2550C Series
CategoryAll in One Printer
LanguageEnglish

Related product manuals