– 21 –
41-EN 42-EN
◆ Group control through a Remote Controller
Group control of multiple indoor units (8 units) through a single remote controller switch
AB AB AB AB AB AB
(A.B)
No.1
No.2
No.3
No.4
No.7
No.8
Indoor unit
Remote controller
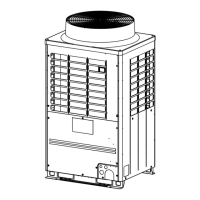
■ Connection of power wires and communication wires
Remove knockouts on the piping/wiring panel on the front of the unit and the panel on the bottom to get the power
and communication wires through the holes.
Piping/wiring panel
Knockout for the power
supply wire
Knockout for the power
wire
Knockout for the
communication wire
NOTE
Be sure to separate the power wire and communication wires.
JK0-B2F
Earth screw
Power supply terminal
block
Communication
terminal block
Communication
wires
Power supply wires
Cord clamp
Cord clamps
Clamp fi lter
(only MAP14A, MAP16A,
MAP180, MAP200 type)
◆ Power supply wire connection
1. Insert the power supply wire through the cutout on the side of the electrical control box and connect the power
supply wire to the power supply terminal block and the earth line to the earth screw. After that, fix the power
supply wire with the 2 cord clamps.
2. Be sure to use round-type crimping terminals for power connection.
Also, apply insulating sleeves to the crimping parts. Use a driver of appropriate size to fix the terminal screws.
L1
L2 L3 N
L1 L
2
L
3
N
10mm or more
Attached clamp fi lter
Fixed on attached binding band
(only MAP14A, MAP16A,
MAP180, MAP200 type)
Earth line
Power supply wire
1117101401-3_EN.indd 211117101401-3_EN.indd 21 1/12/16 3:18 PM1/12/16 3:18 PM
 Loading...


