Wireless remote controller kit Installation Manual
13 TEST.ON
• BeforeTEST RUN
• Before turning on the power supply switch, carry out the following procedure.
1) Using 500V-megger, check 1M[-) or more exists between the terminal block 1 to 3 and the earth.
If 1M[-) or less is detected, do not run the unit. Do not apply to the remote controller circuit.
2) Check the valve of the outdoor unit being opened fully.
• To protect the compressor at activation time, leave power-ON for 12 hours or more be for operating.
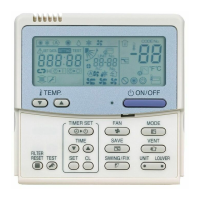
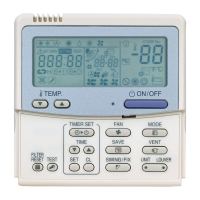
• How to execute a TEST RUN
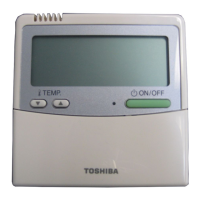
Using the remote controller, operate the unit as usual.
For the procedure of the operation, refer to the attached Owner's Manual. A forced TEST RUN can be
executed in the following procedure if the operation stops by thermo.-OFE In order to prevent a serial
operation, the forced TEST RUN is released after 60 minutes have passed and returns to the usual operation.
CAUTION
When the remote controller is used for the first time, it accepts an operation approx. 5 minutes after the power
supply has been turned on. It is not a trouble, but is because the setup of the remote controller is being checked.
For the second power-ON time and after, approx. 1 minute is required to start the operation by the remote controller.
NOTE
Do not use the forced TEST RUN for cases other than
the TEST RUN because it applies an excessive load
to the devices.
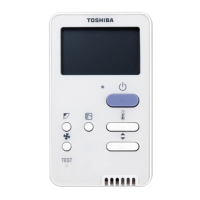
_1,In case of wireless remote controller
Be sure to set the_ I
air speed to :__
Procedure Operation contents
Turn on power of the set.
After installation, the operation is not accepted for 5 minutes when the power has been turned on at
the first time, and 1 minute when the power has been turned on at the second time and after.
Perform a test run after a specified time has passed.
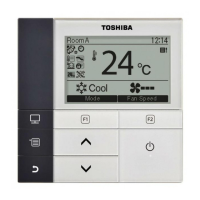
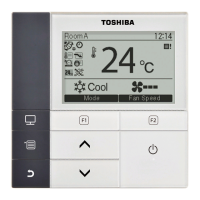
Push [ Lb ] button on the remote controller, change the operation mode to [ @ ] or [ _ ] by using [ /-_] ]
button, and then change the air speed to [ W} ] by [ # ] button.
Cooling test run Heating test run
Set temperature to 64°F (18°C) by using [ _ ] button. Set temperature to 86°F (30°C) by using [ _] button.
Push [ _ ] button to set temperature to 66°F (19°C) Push [ _ ] button to set temperature to 84°F (29°C)
just after confirming the receiving sound "Pi". just after confirming the receiving sound "Pi".
Push [ _ ] button to set temperature to 64°F (18°C) Push [ _ ] button to set temperature to 86°F (30°C)
just after confirming the receiving sound "Pi". just after confirming the receiving sound "Pi".
Repeat the procedure 4 _ 5 -e 4 -e 5.
After approx. 10 seconds, all the display lamps [ (D ] (Green), [ Q ] (Green), and [ @ ] (Yellow) of the
wireless sensors flash, and the operation starts.
If the lamps de not flash, repeat the procedure 2 and after,
When the TEST RUN has finished, push [ Lb ] button to stop the operation.
English-7 7
 Loading...