14
EN
27 VARIABLE SKIP button (HDD/DVD)
• Skips by the amount of time set in advance.
28 DISC MENU button (HDD/DVD)
• Press to display the Disc menu during playback.
• Press to change the Original and Playlist on the
TV screen.
29 ENTER/OK button
• Press to acknowledge or approve a menu
selection.
• While watching a DVB channel, press to display
the “Quick select” menu.
30 RETURN/BACK button
• Press to return to the previously displayed menu
screen.
31 FWD D button
• When playback is paused, press to forward slowly.
(HDD/DVD)
• During playback, press to fast forward.
(VCR)
• Press to advance the videotape rapidly.
• Press to view the picture rapidly in forward
during playback.
32 STOP C button
• Press to stop playing back or recording.
33 SKIP G button (HDD/DVD)
• During playback, press to skip to the next
chapter or track.
• When playback is paused, press to advance
step by step.
34 HDD button
• Press to select the HDD output mode.
35 DVD button
• Press to select the DVD output mode.
36 REC I button
• Press once to start a recording.
• Press repeatedly to start a One-touch Timer
Recording.
37 REC MODE button
• Press to switch the recording mode.
38 SAT.LINK button (HDD)
• Press to activate the Satellite Link Timer
Recording.
39 AUDIO D button
• For analogue channels when receiving a
bilingual broadcast, press to change the audio
out setting to “Main”, “Sub” or “Main/Sub”.
• Press to change the bilingual audio source of an
external equipment to “Main”, “Sub” or “Main/Sub”.
(Available only when the “External Input Audio” in
“Setup”
menu is set to “Bilingual” in advance.)
• Press to select the sound mode for DVB channels.
(HDD/DVD)
• Press to display the audio menu during playback.
(VCR)
• During playback of Hi-Fi videotape, press to
change the audio out setting to “STEREO”,
“LEFT”, “RIGHT” and “MONO”.
Note
• If you turn off this unit,
[OPEN
\
CLOSE
A
]
on the remote
control is not available. Be sure to use
[
A
OPEN
\
CLOSE]
or
[
A
/
C
EJECT/STOP]
on the unit.
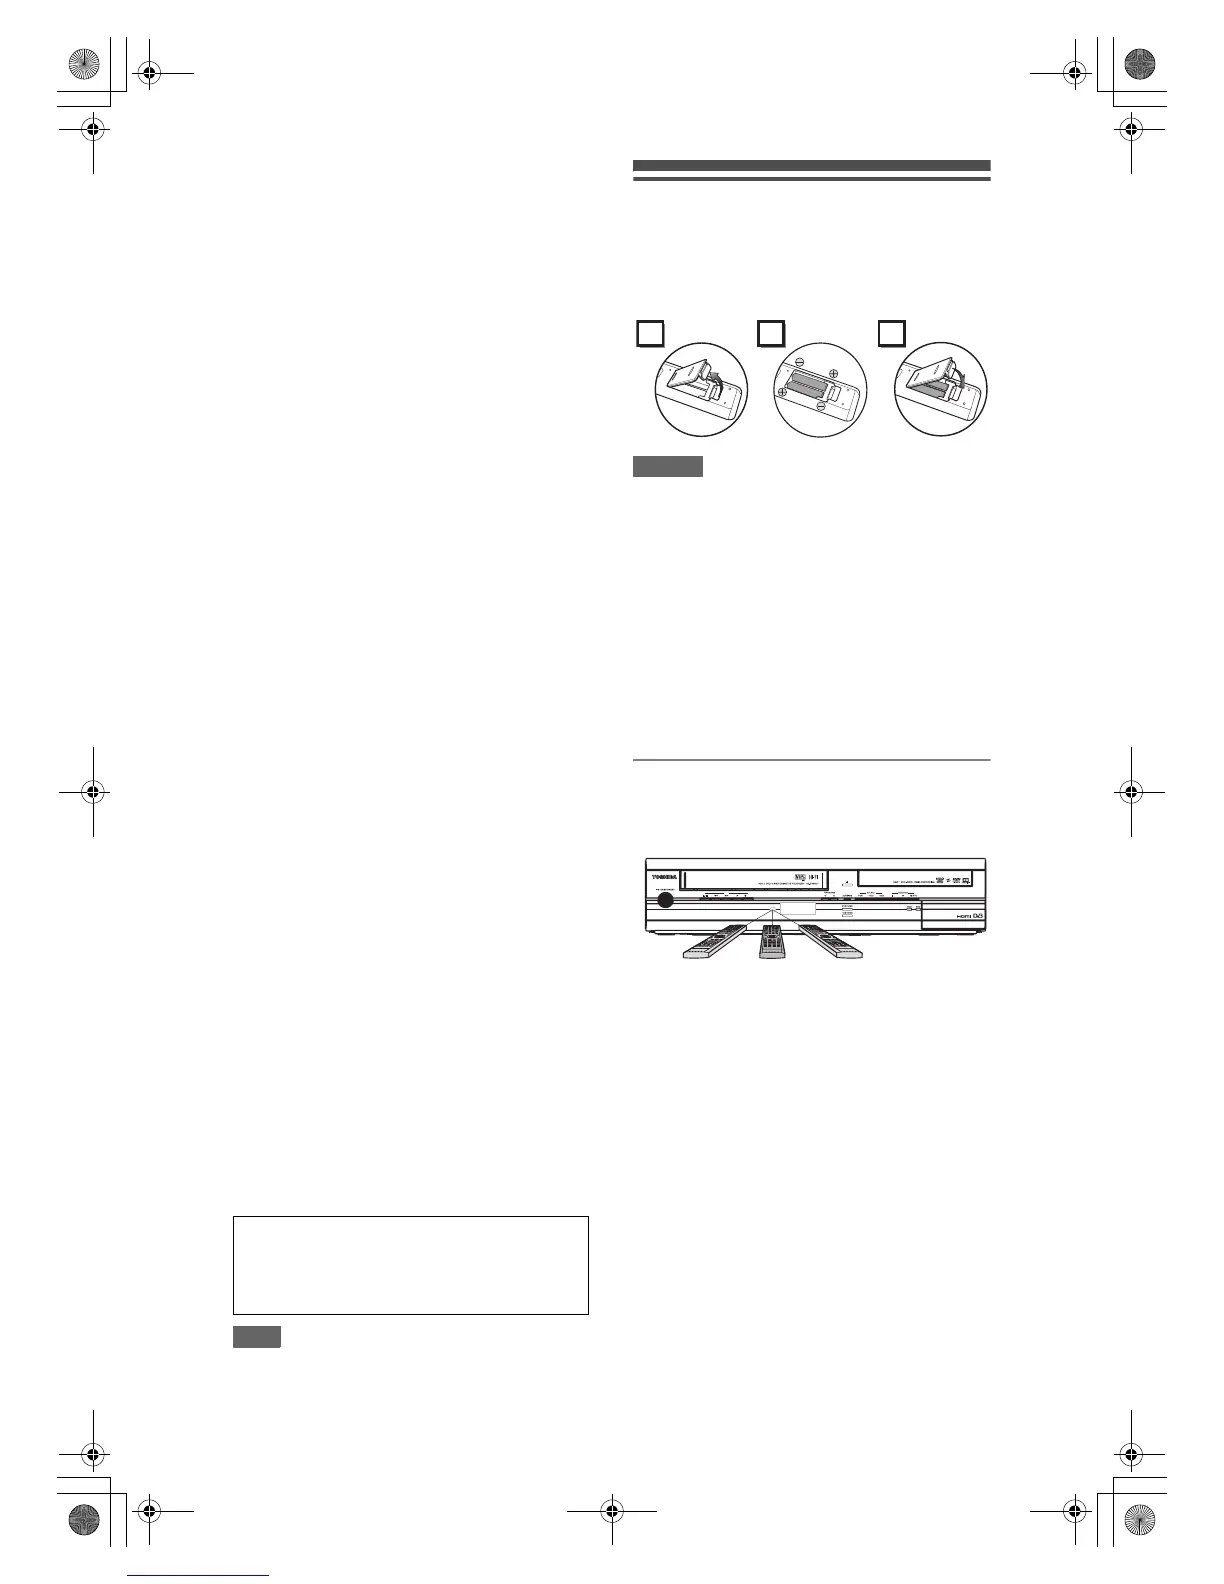
Installing Batteries in the
Remote Control
Install two R6 (AA) batteries (supplied) into the
remote control, carefully match with the polarity
indicated inside the battery compartment.
Caution
• Incorrect use of batteries can result in hazards such
as leakage and bursting.
• Do not mix new and old batteries together.
• Do not use different kinds of batteries together.
• Make sure that the plus (+) and minus (–) ends of
each battery match the indications inside the battery
compartment.
• Remove batteries if the equipment will not be used
for a month or more.
• When disposing of used batteries, please comply
with governmental regulations or the public
instructions for environmental protection that apply
in your country or area.
• Do not recharge, short-circuit, heat, burn or
disassemble batteries.
About the Remote Control
• Make sure there is no obstacle between the remote
control and the remote control sensor on the unit.
• Use within the operating range and angle as shown.
• The maximum operable range as follows:
• Remote control operation may become unreliable if
the remote control sensor of the unit is being
exposed by the strong sunlight or fluorescent light.
• Remote controls for different devices can interfere
with each other. Be careful when using remote
controls for other equipment located close to the
unit.
• Replace the batteries when the operating range of
the remote control reduces.
Button names described in the Owner’s Manual
The instructions in this manual are described mainly
with the operations using the remote control. Some
operations can be carried out using the buttons on
the front panel.
Line of sight: approximately 7 m
Either side of centre: approximately 7 m within
30 degrees
21 3
VCR
REC
Within
about 7 m
Remote control
7 m (30°)7 m
7 m (30°)
E3NG1BD_EN.book Page 14 Thursday, April 24, 2008 3:34 PM
 Loading...