25
Operations
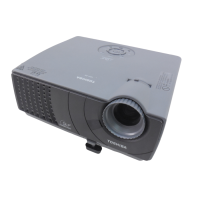
Turning the power on and off
■ Connecting the power cord
Insert the power cord connector into
the AC IN socket of the projector.
Insert the power cord plug into a
wall or other power outlet.
■ Removing the lens cover
Be sure to remove the lens cover when the power is
turned on. If it is left on, it could become deformed due
to heat.
■ Turning the power on
Press the ON/STANDBY
button.
The power turns on the green indica-
tors light: Power. After a moment, the
start-up screen appears.
CAUTION
• Do not look into the lens while the lamp is on. The strong light from the lamp may cause dam-
age to your eyes or sight.
• Do not block the air intake or exhaust. Doing so could cause a fire due to internal overheating.
• Do not place your hands, face, or other objects near the air exhaust. Doing so could cause
burns, deform/break the object.
Power cord connector
(Supplied)
POWER
KEYSTONE +
KEYSTONE -
Start-up screen
Control panel
Remote
Control
Notes
• The start-up screen will disappear after a moment. You can dismiss the start-up screen
before this by performing any operation. You can also configure the start-up screen not to
appear via the Display setting menu
.
• The first time you use the projector after purchase, after the start-up screen disappears,
the start menu is displayed
.
• When [
Key lock] is [On], the operation buttons of the projector do not work
.
• When [
Password] is [On], the start-up screen is displayed after the Password entry
screen disappears

 Loading...