2
Set Current Day — The Change Day button will change
the day shown on the thermostat display to the next day. If a
schedule has been entered, the thermostat will follow the
schedule of the new selected day.
Set Current Time — The Set Time/Temp button allows
the user to change the time displayed on the thermostat. Press
the Set Time button. The TIME indicator will flash. Press the
Up and Down buttons until the correct time is shown. Hold
down the buttons to quickly move through the time display.
The AM and PM indicators will automatically change. To en
-
sure the schedules are properly followed, make sure that AM or
PM is correct for the time chosen. When the correct time is
shown, press the End button to exit the Set Time mode.
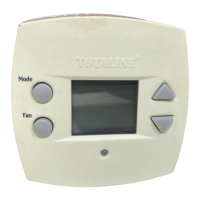
Set Mode Operation — The Mode button selects the
operation of the system (OFF, HEAT, COOL, AUTO). Press
the Mode button to select the desired setting. Heat pump ther
-
mostats also include Emergency Heat (EHEAT) mode.
Set Fan Operation — The Fan button will allow the
system fan to run continuously or only as desired during heat
-
ing and cooling.
Programming Thermostat Schedules — Be-
fore programming the thermostat, plan the thermostat daily
schedule. The schedule is divided into 4 time periods
(WAKE, DAY, EVENING, SLEEP). Each time period has a
start time, heating set point, and cooling set point. Fill in Ta
-
ble 1 below as an aid to programming the daily schedules.
PROGRAMMING MODE — To program the daily sched-
ules, perform the following procedure:
1. Enter Programming mode by pressing the Program
button. The PROGRAMMING indicator will appear
on the thermostat display. The current day of the
schedule will be displayed above the clock and the cur
-
rent programming time period of that day will be dis-
played. The TIME indicator will flash.
NOTE: If a programming button is not pushed for 2 minutes,
the thermostat will exit Programming mode and any changes
made will be saved.
2. Press the Up and Down buttons to set the desired start
time for the schedule day and period shown. Time
selection is in 15-minute increments.
3. Press the Set Time button once the correct time is
shown. The TIME indicator will stop flashing and the
HEAT indicator will flash.
4. Using the daily comfort schedule as a guide, program
the heating and cooling settings. The HEAT and
COOL indicators will flash for the heating and cooling
settings respectively. The Set Time button is used to
toggle between the time, heating, and cooling settings.
Use the Up and Down buttons to raise and lower the
temperature set points.
NOTE: There must be at least 2 degrees difference between
the cooling and heating settings. The thermostat will automati
-
cally change any settings closer than 2 degrees.
5. Press the Program button to advance to the next time
period.
6. Perform Steps 2 through 5 until the times and tempera-
ture settings have been entered for the entire day. Press
the Change Day button to move to the schedule for the
next day.
7. Repeat Steps 2 through 6 to program the remaining
schedule days. The Copy Previous Day button can be
used to copy the previous day’s schedule if the sched
-
ules are the same.
8. After all the times and settings for each day have been
entered, press the End Program button to finish enter
-
ing the schedule.
NOTE: The thermostat will continue to follow the schedule
until a new one is entered. The schedule may need to
be updated for different seasons or prolonged changes in
temperature.
FAN
Programmable
Thermostat
ENDCHANGE DAY
MODE
PROGRAMCOPY PREVIOUS DAY
HOLDRESET FILTERSET TIME
*Auxiliary Heat Indicator
lights up when a heat
pump system’s auxiliary
heat is on.
Mode Button selects
OFF, HEAT, COOL or
AUTO operation. Heat
pump thermostats
include EMERGENCY
HEAT mode.
Program Button starts
programming process
and moves you from
one step to the next.
Copy Previous Day
Button “memorizes” the
current day’s comfort
schedule and copies it into
the next day’s schedule.
Change Day Button
advances you to the
next day to be
programmed and
advances the day of
the week display.
Room Temperature
Display shows current
room temperature.
Outdoor Temperature
Display shows the outdoor
temperature.
Time of Day Display
Desired Temperature
Display shows desired
temperature for current
time period.
Clean Filter Indicator
lets you know it is time to
clean or replace your
system’s air filter.
Up and Down Buttons
change the desired
temperature setting, turn on
the LCD backlight, are used
for programming and, on
selected models, access
outdoor temperature.
Fan Button
chooses ON or
AUTO fan
operation.
Hold Button maintains the
current temperature and
overrides programmed
temperature changes until reset.
Reset Filter Button
restarts the timer that
determines the next air
filter change or cleaning.
End Program Button “locks
in” the most recently entered
temperatures and schedule.
Set Time
Buttom
PROGRAM
AUTO
HOLD
EHEAT
Fan
ON
PROGRAMMING
Mo Tu We Th Fr
Sa Su
WAKE DAY EVE SLEEP
TIME
AM PM
AUX HT
CLEAN FILTER
COOL
AUTO
Mode
OFF
HEAT
COOL
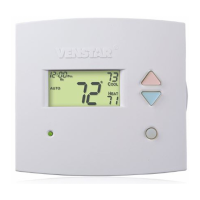
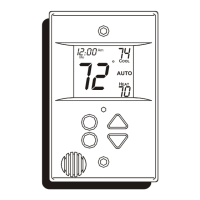
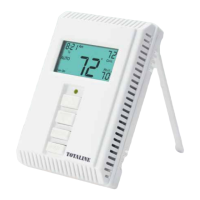
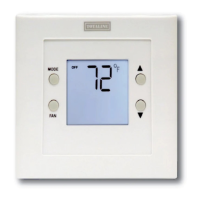
Fig. 1 — Thermostat Display and Programming Buttons
 Loading...
