EasyManua.ls Logo

TOTALINE P374-2900 User Manual

TOTALINE P374-2900
113 pages
To Next Page IconTo Next Page
Page #1 background imageLoading...
Page #1 background image
N
T
E
T
L O
I
A
U
O
A
T
I
2
:
0
0
u
S
P
m
H
E
A
T
O
O
L
C
2
7
7
4
COMMERCIALCOMMERCIAL
THERMOSTATTHERMOSTAT
P/N P/N
P374- P374- 29002900
TOTALINE
Signature
HEAT
COOL
HEAT
PUMP
HEAT
COOL
HEAT
PUMP
7-DAY
Commercial Systems & Services Carrier Corporation 08/05
Use with most Air Conditioning & Heating Systems including: 1 or 2 Stage
Electric Cooling & 3 Stage Gas Heating, Heat Pump, Electric or Hydronic Heat.
OWNER’S
MANUAL
OWNER’S
MANUAL
PROGRAMMABLE
OPTIONAL
HUMIDITY MODULE
OPTIONAL
HUMIDITY MODULE
Accepts the
Accepts the
3 Configurable Outputs
Control up to 3 Heat &
2 Cool Stages
Adjustable 2nd & 3rd Stage
Timers & Deadbands
Backlit Display & Button
Legends
Aux Heat Indicator
Dry Contact Equipped
Outdoor Sensor Ready with
High/Low Readouts for the Day
3 Configurable Outputs
Control up to 3 Heat &
2 Cool Stages
Set Point Limiting
Accepts EZ Programmer
Economizer Control
Preoccupancy Fan Purge
Remote Averaging
Programmable Output
Light Activation Equipped
Accepts Optional Humidity Module:
Controls Humidification,
Dehumidification and Reheat
Accepts Optional IR Remote Control
Optional Internet / Phone Control
Accessory
DIGITAL
THERMOSTAT

Table of Contents

Other manuals for TOTALINE P374-2900

Question and Answer IconNeed help?

Do you have a question about the TOTALINE P374-2900 and is the answer not in the manual?

TOTALINE P374-2900 Specifications

General IconGeneral
TypeNon-programmable
Voltage24 VAC
Stages1 Heat/1 Cool
DisplayDigital
BacklightYes
ProgrammableNo
Hold FeatureYes
Filter Change IndicatorNo
CompatibilityConventional Systems
Temperature Range45°F to 90°F

Summary

SECTION 1 Quick Start

Setting the Clock and Day

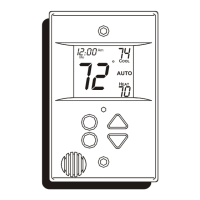
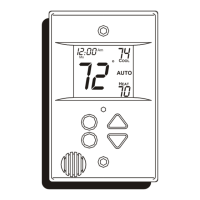
Procedure to set the thermostat's current time and day of the week.

SECTION 2 Getting to Know Your Thermostat

Front Panel Buttons

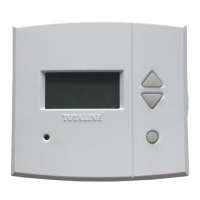
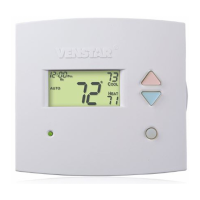
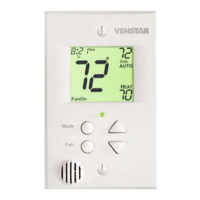
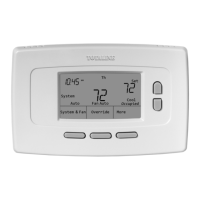
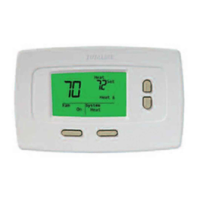
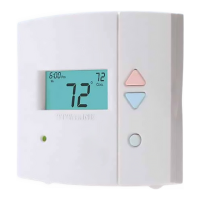
Identifies and describes the function of each button on the thermostat's front panel.

Display Features

Explains the meaning of icons and information displayed on the thermostat's LCD screen.

SECTION 3 Setting the Clock and Day

SECTION 4 Basic Operation

Programming for Auto or Program Operation

How to configure the thermostat for programmable or non-programmable modes.

Selecting the Proper Operating Mode

Details on choosing manual heat, cool, auto, or off operational modes.

SECTION 5 Viewing the Temperature and Humidity Sensors

SECTION 6 Programming the Daily Schedule

Programming a Daily Schedule

Guide to setting up daily heating and cooling schedules with time periods and setpoints.

SECTION 7 Programming the Fan Operation

SECTION 8 Thermostat Display Options

SECTION 9 Humidification

Installing the Humidity Module

Steps for physically installing the optional humidity control module.

Setting a Thermostat Jumper for Humidity Operation

Configuring the internal jumper to enable humidification control functions.

Adjusting the Humidification Setpoint

How to set the desired indoor humidity level for the humidification system.

SECTION 10 Dehumidification

Configuring a Thermostat Output Jumper for Dehumidification Operation

Setting the internal jumper to enable dehumidification control functions.

Adjusting the Dehumidification Setpoint

How to set the desired indoor humidity level for the dehumidification system.

SECTION 11 Viewing Equipment Run-Times

SECTION 12 Electric Heat and Heat Pump Operation

Using Emergency Heat

Instructions on how to activate and utilize the emergency heat feature.

SECTION 13 Timers and Deadbands

Adjusting the Heat/Cool Differential

Setting the minimum temperature difference between heat and cool stages for efficiency.

Adjusting the Deadband

Setting temperature ranges for activating and deactivating heating/cooling stages.

SECTION 14 Using the Programmable Output

Configuring a Thermostat Output Jumper for Programmable Output Operation

Setting MISC jumpers to enable control of programmable output functions.

Time-Based Control of the Programmable Output

Using the programmable output based on user-defined time schedules.

SECTION 15 Programming Remote Sensor Operation

Controlling or Reading the Remote Temperature (RS1)

Setting the thermostat to use or just read remote sensor data for temperature control.

SECTION 16 Programming the Dry Contact

SECTION 17 Light Activated Operation

SECTION 18 Energy Save Operation

How to Use the Energy Save Feature

Activating and understanding the thermostat's learning energy-saving feature.

SECTION 19 Programming Run-Time Alarms

SECTION 20 Programming Holiday Mode

SECTION 21 Configuring the MISC Outputs

SECTION 22 Factory Defaults, Calibration, and Sensors

Resetting the Thermostat to the Factory Default Settings

Procedure to restore the thermostat to its original factory settings and configurations.

SECTION 23 Accessories

Section 26 Warranty

Related product manuals