8
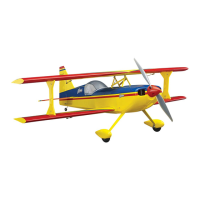
If installing all four aileron servos, this is what the servos and
hatch covers should look like.
❏
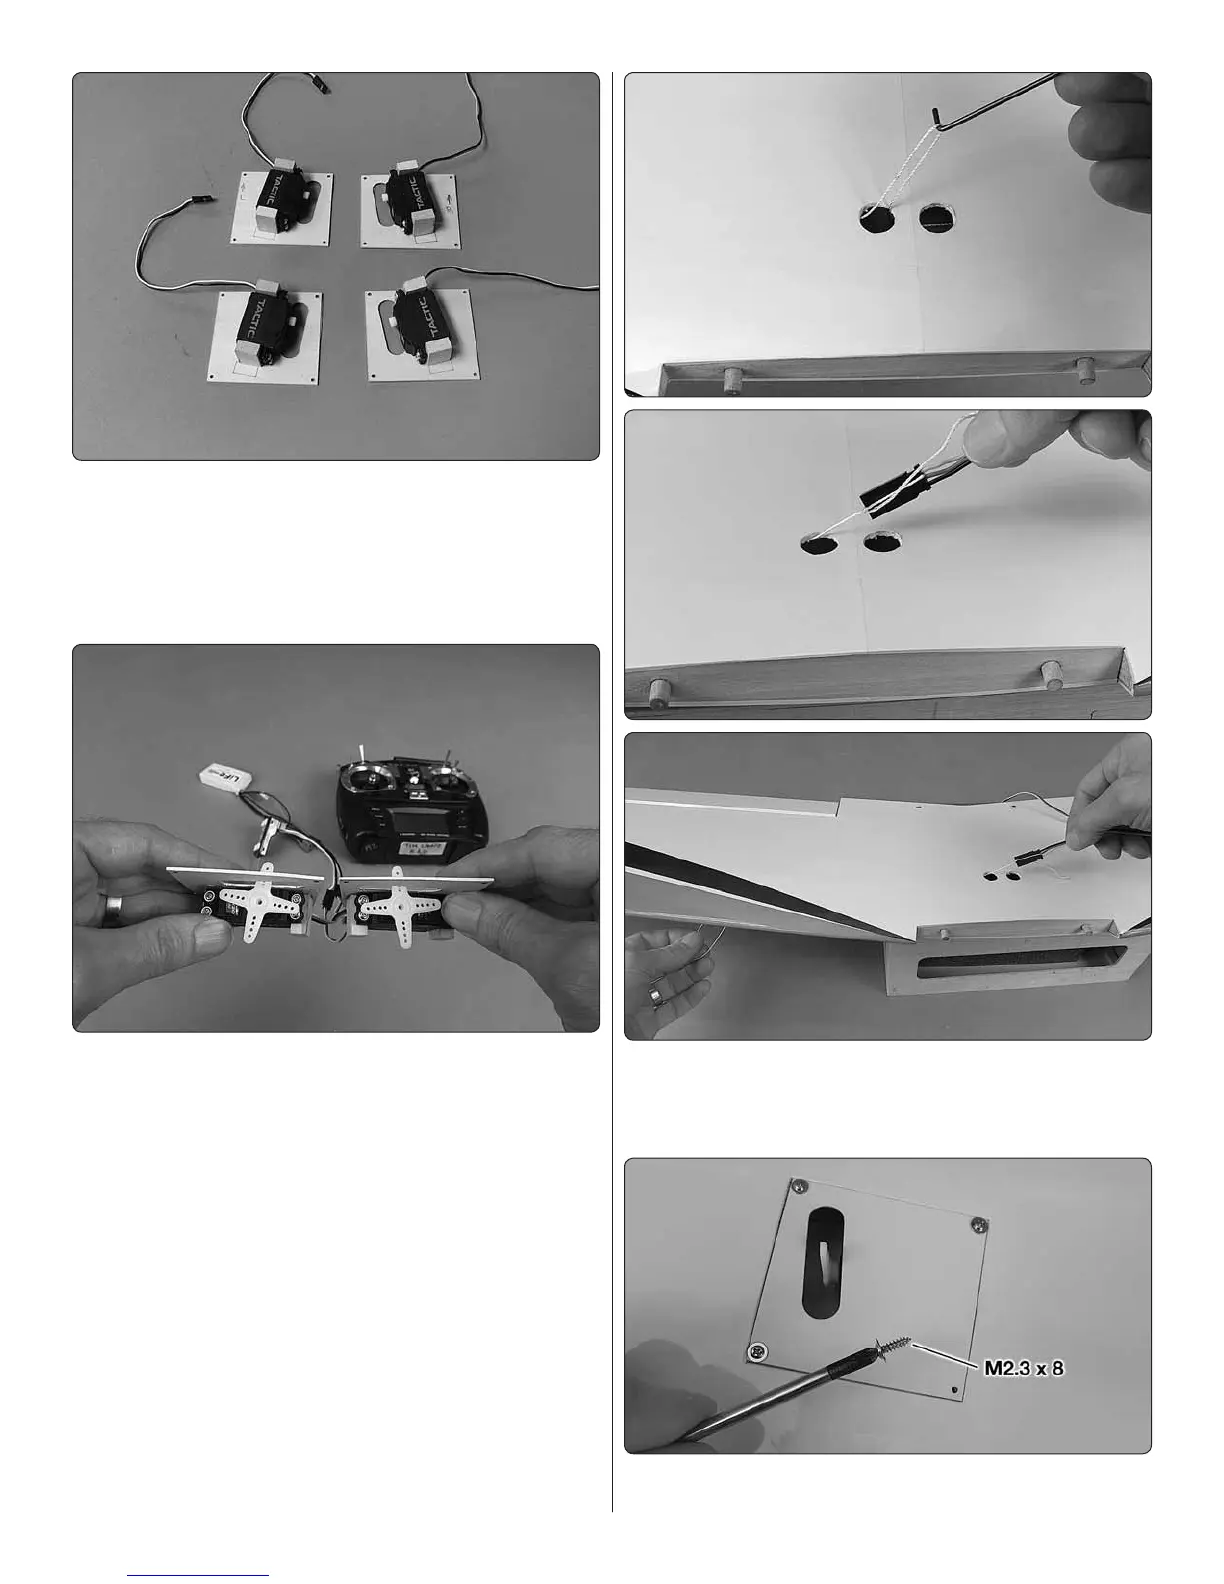
5. Connect the bottom aileron servos to your receiver
(with or without a Y-harness; whichever is your preference)
with a battery and turn on your transmitter to power up the
system so you can operate the servos.
❏
6. Fit servo arms on the servos positioned so the arms
will be angled forward approximately as shown—it’s more
important to have the arms on each servo angled the same
than it is to have any precise angle. The arms just need to
be angled forward so the pushrods will be approximately
perpendicular with the servo arms when connected to the
control horn on the aileron.
❏
7. Cut the unused arms from the servo arm and enlarge the
holes in the servo arm with a #50 (.070") drill for the pushrod
wires. Fasten the arms to the servos with the screws that
came with the servos.
❏
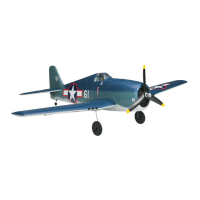
8. Cut the covering from one of the servo wire holes in
the top of the bottom wing. Use the string in the wing to pull
one side of the 20" [508mm] Y-harness through the hole and
out one of the aileron hatch openings.
❏
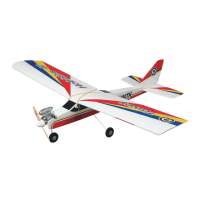
9. Connect the Y-harness to the servo and mount the
hatch/servo to the wing with M2.3 x 8 washer-head screws.