10
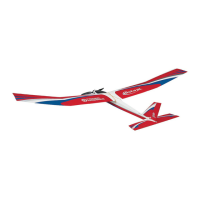
Mount the Receiver
❏
1. Cut a 1" [25mm] long piece of adhesive backed hook and
loop material. Apply one of the pieces to the receiver tray and
the opposite piece to the bottom of the receiver. Secure the
receiver on the receiver tray. Connect the servos and ESC to the
receiver. If you are fl ying with a 72 MHz receiver, use hemostats
or small needle-nose pliers to guide the antenna down and out
the antenna tube next to the elevator pushrod tube.
❏
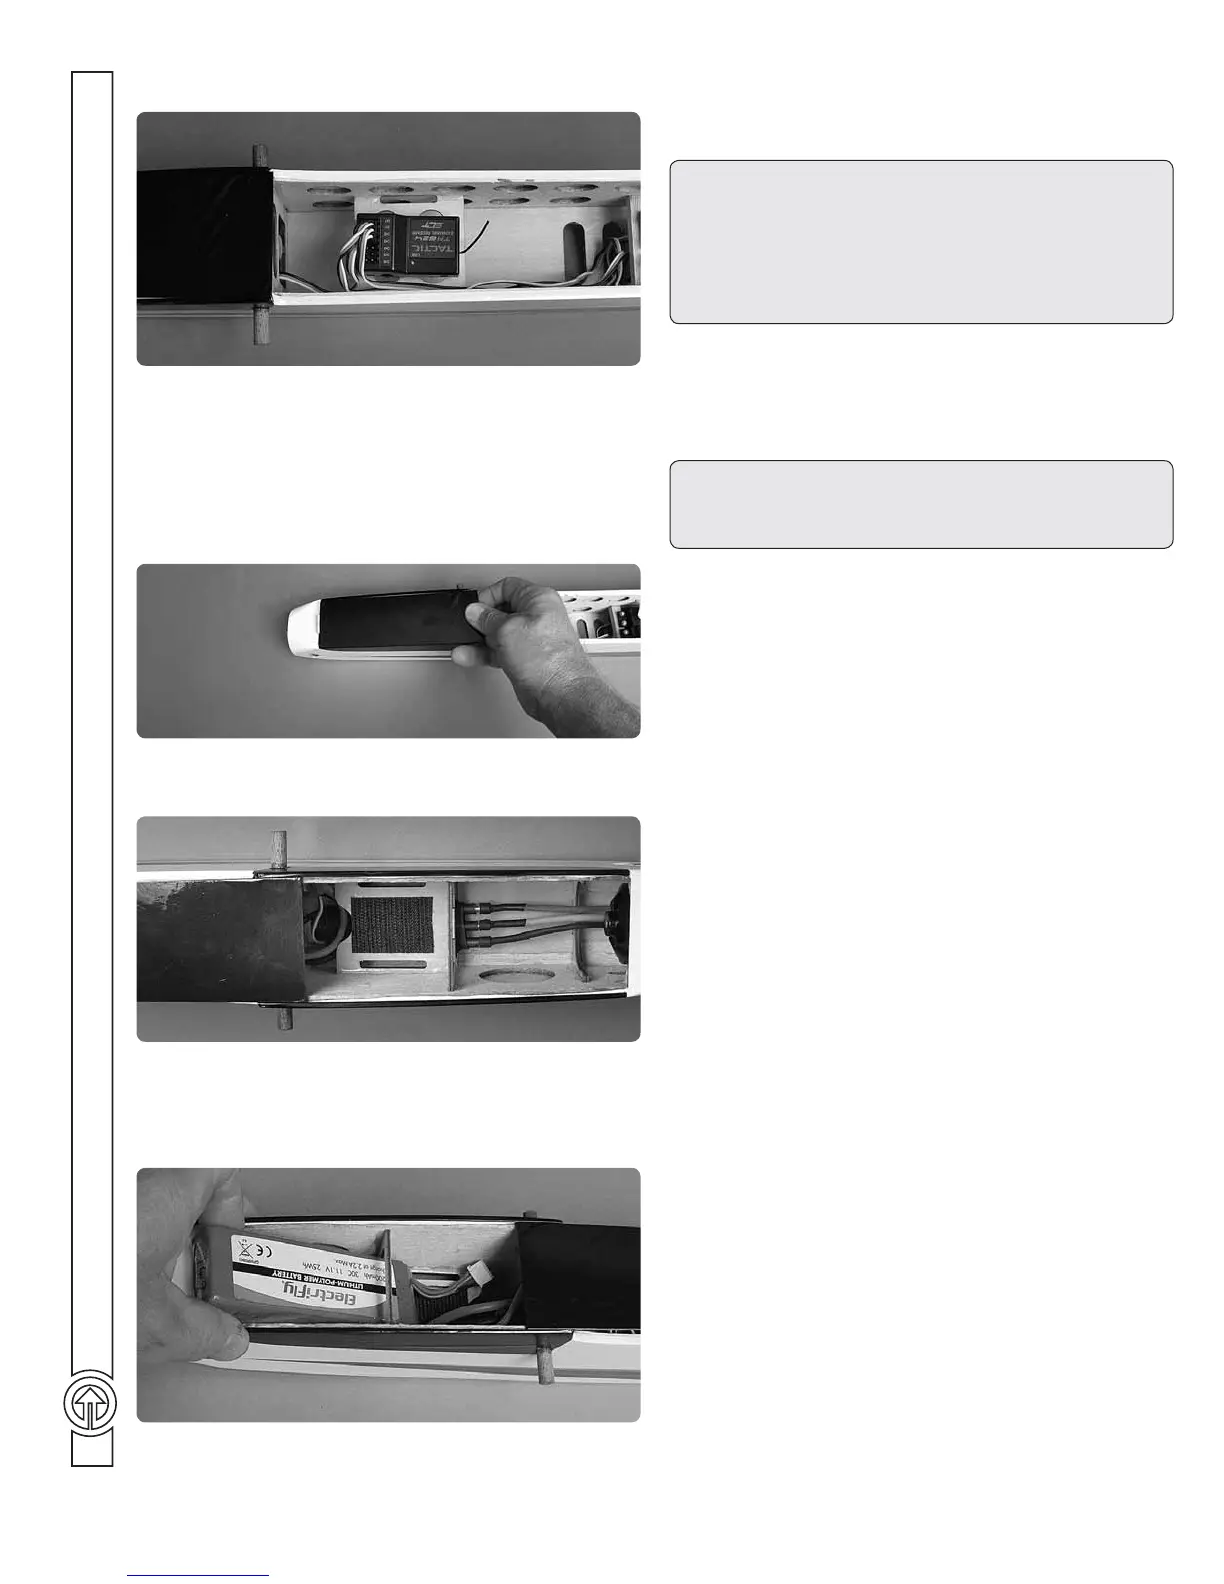
2. Remove the battery hatch cover by grabbing it at the back
end and pulling it back until the tab at the front clears the fuselage.
❏
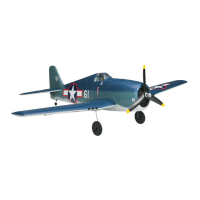
3. Apply the remaining piece of adhesive backed hook and
loop material to the top of the battery tray. Apply the opposite
piece of the adhesive back hook and loop material to the back
of your LiPo battery.
❏
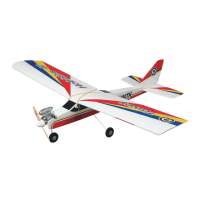
4. Insert the battery into the battery compartment from the
front. Do not connect the motor battery to the ESC until instructed
to do so when setting up the radio system later.
GET THE MODEL READY TO FLY
––––––
Check the ESC
ATTENTION!!! Great care must always be used when
working on electric-powered models. Unlike glow engines,
electric motors can turn on unexpectedly if you aren’t paying
attention and inadvertently activate the throttle. Follow these
instructions to operate the motor correctly and be certain it
is properly set up.
❏
1. Until the radio system has been properly set up and you
are familiar with the operation of your motor and ESC, the
propeller should not be installed on the model to prevent injury
if the motor is inadvertently powered up and the propeller turns.
The following steps will require charged batteries. If you
haven’t yet done so, charge the motor battery and the batteries
in your transmitter.
❏
2. If using Futaba and Tactic transmitters, set the reversing
function for the throttle control in your transmitter to reverse.
❏
3. Center the trims on the transmitter and lower the throttle
stick all the way.
❏
4. Swing the radio hatch cover to the side.
❏
5. Take the servo arms off of the servos. With the propeller
off the motor, switch on the transmitter and connect the battery
to the ESC (the battery does not have to be inside the model–you
may just set it to the side).
❏
6. At this time the ESC is in “safe” mode and will not allow
the motor to turn until the system is “armed.” To arm the ESC
advance the throttle stick all the way forward and hold it there
until the motor beeps twice. Lower the throttle stick until the
motor beeps twice. Now the ESC is armed and the motor will
turn the next time the throttle is advanced.
❏
7. Slowly advance the throttle and the motor will turn
counterclockwise. Move the throttle stick to different positions
and see that the motor will react accordingly. When the throttle
stick is returned to the “off” position the motor will abruptly
stop. This is the “brake” function which allows the propeller to
fold backward, thus reducing drag when the Vista BL EP ARF
is gliding.
NOTE: If the brake does not function, unplug the motor battery,
and move the throttle stick to full throttle. Reconnect the motor
battery. The motor will beep twice. Move the throttle stick to
off. The motor will beep twice. Move the throttle to full again
until the motor beeps twice and then lower the throttle stick to
off. The motor is now armed.
❏
8. The system will be turned off when the motor battery
is unplugged. When it’s time for the next fl ight the “arming”
procedure must be repeated. When you get to the fl ying fi eld do
not arm the motor until you are actually ready to launch the model.