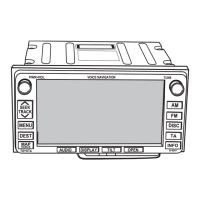
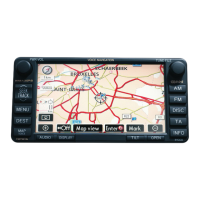
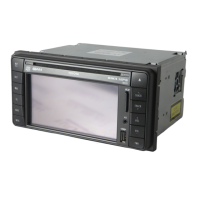
Do you have a question about the Toyota 08545-00805 and is the answer not in the manual?
Ensure the negative battery terminal is disconnected before proceeding with installation.
Prevent pinching of rear wiring or harness in tightened areas to avoid damage.
Utilize grommets when passing wires through panels to maintain water seal.
Always grip the connector body when disconnecting, avoid pulling the wiring.
Never pull car wiring harnesses forcefully to prevent connection damage or wire breakage.
Ensure all connectors and terminals are securely tightened for reliable electrical contact.
Check all wiring connections and harnesses are properly secured before connecting the power supply.
Procedure to safely remove the driver's seat.
Applying adhesive tape to the earth plate for secure mounting.
Mounting the earth plate to the instrument panel and attaching the GPS antenna.
Proper routing of the antenna cord through the vehicle interior.
Reinstalling the instrument cluster and steering column cover after antenna installation.
Routing the main wire harness and GPS antenna along the console to the ECU location.
Detailed steps for using the wire splicing connector.
Connecting the TX+ and TX- wires to the appropriate connectors.
Connecting the speed sensor wire to the vehicle harness.
Connecting the reverse sensor wire to the driver's side junction box.
Connecting the 10-pin harness connector and securing it to the vehicle harness.
Inserting the computer into the prepared slit and cleaning the mounting surface.
Connecting the GPS antenna, 8-pin, and 13-pin harness connectors to the computer.
Verifying system functionality after installation, including screen display and sound.
Confirming all disconnected electrical connectors are reconnected properly.
| Model Number | 08545-00805 |
|---|---|
| Category | Car Navigation System |
| Display Type | LCD |
| Screen Size | 6.1 inches |
| GPS Navigation | Yes |
| Bluetooth | Yes |
| USB Port | Yes |
| Auxiliary Input | Yes |
| AM/FM Radio | Yes |
| CD Player | Yes |
| MP3 Playback | Yes |
| Steering Wheel Controls | Yes |
| Power Supply | 12V DC |
| Compatible Vehicles | Toyota vehicles |
| Voice Control | No |


 Loading...