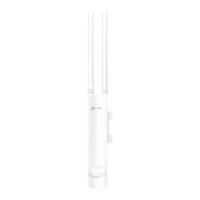
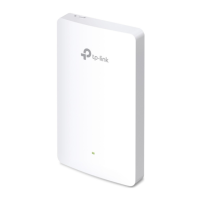
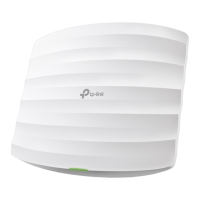
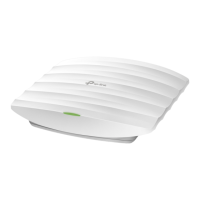
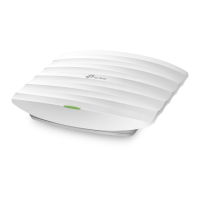
Do you have a question about the TP-Link EAP225-Outdoor and is the answer not in the manual?
Connect your PC and EAP to the LAN ports of your router with Ethernet cables.
Set your router to provide dynamic IP addresses for PC and EAP, enabling internet access.
Log in to the EAP wirelessly using its domain name (tplinkeap.net) without needing its IP address.
Log in to the EAP directly using its IP address, requiring an Ethernet connection.
Assign a static IP to your computer to access the EAP's default IP address (192.168.0.254).
Add a new SSID, set security mode (WPA-PSK recommended), and configure wireless settings.
| Frequency | 2.4GHz and 5GHz |
|---|---|
| Weatherproof Rating | IP65 |
| Button | Reset Button |
| Wireless Standards | IEEE 802.11a/b/g/n/ac |
| Antenna Gain | 2.4GHz: 5dBi; 5GHz: 6dBi |
| Power Supply | 802.3af/at PoE or 24V Passive PoE |
| Wireless Functions | MU-MIMO, Band Steering, Airtime Fairness |
| Mounting | Pole/Wall Mounting |
