Configuration
The router supports two configuration options:
Standalone Mode: Configure and manage the router singly.
Controller Mode: Configure and manage the network devices centrally. It is recommended in the large-scale
network, which consists of mass devices such as access points, switches, and gateways.
Note: When the router is managed by a controller, configurations of the router will be overriden by the controller.
Option 1: Standalone Mode
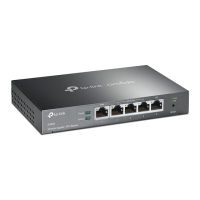
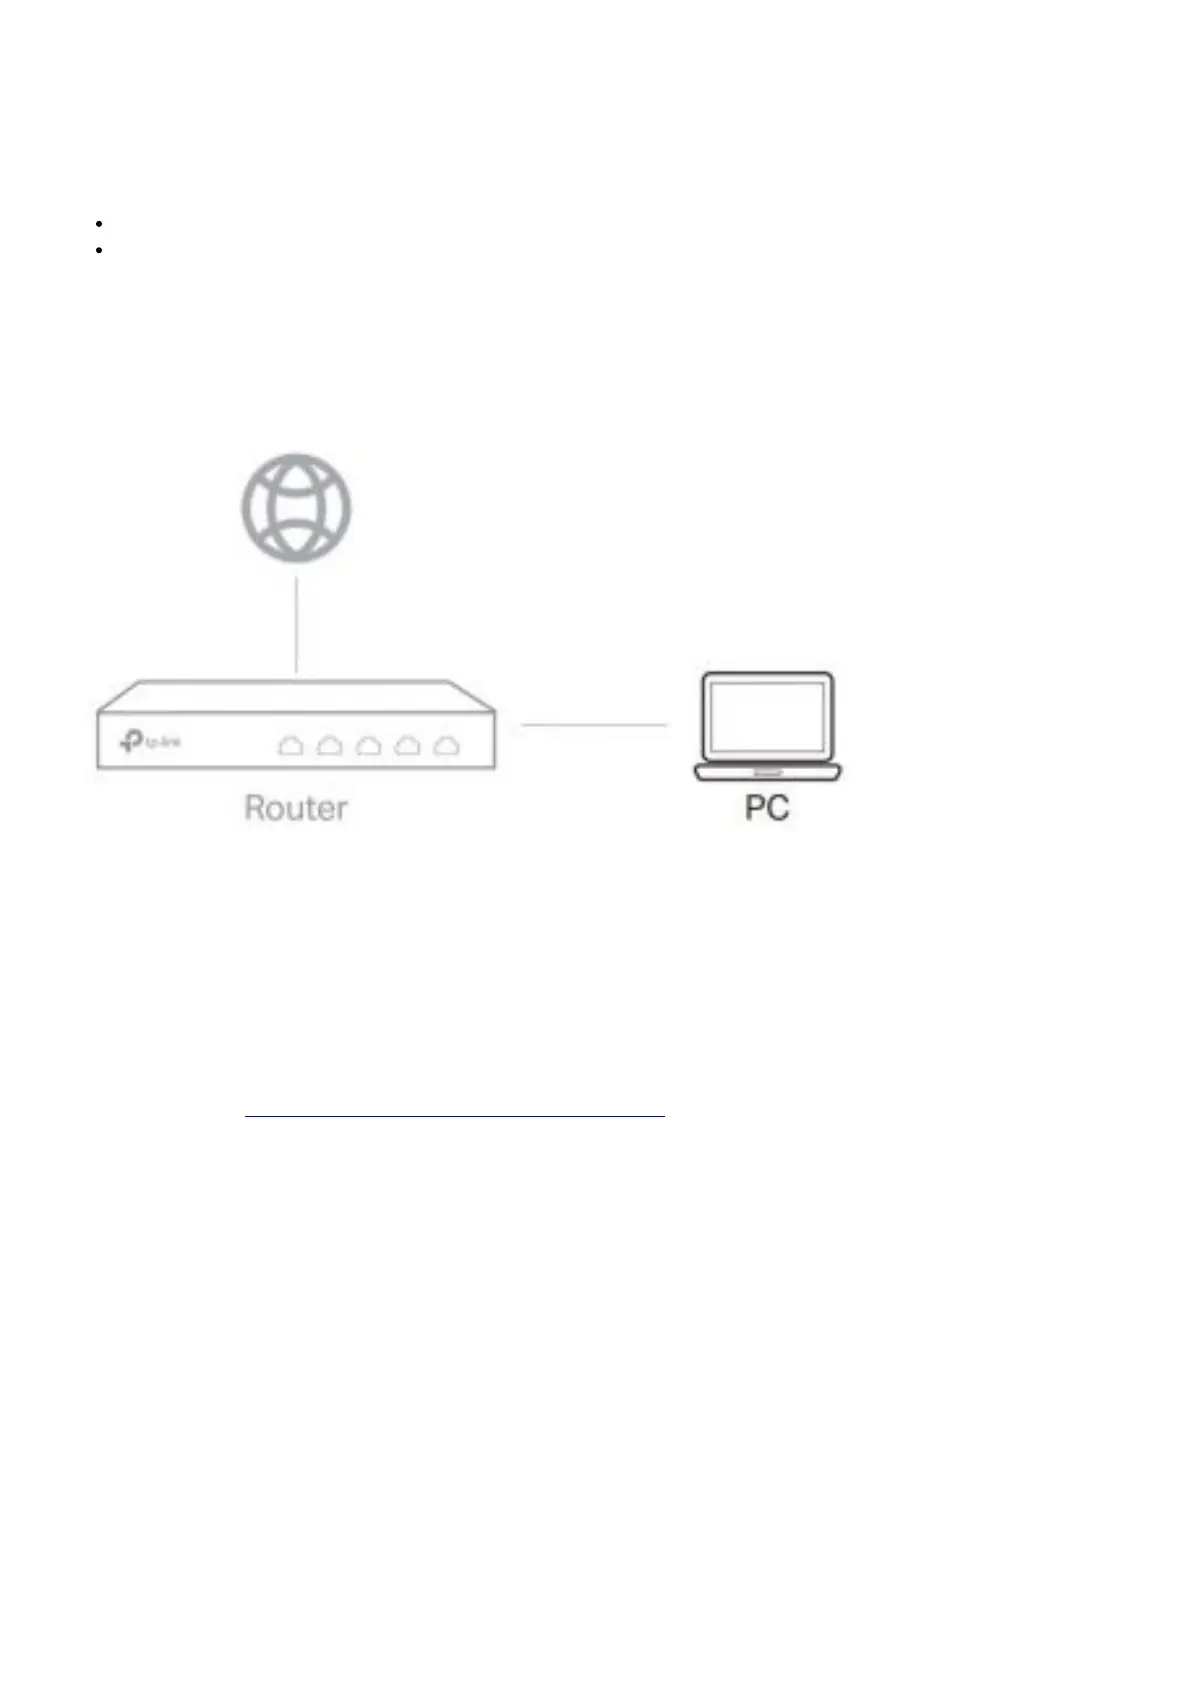
In Standalone Mode, use a computer to configure and manage the router.
1. Connect a computer to a LAN port of the router with an RJ45 cable properly. If your computer is configured with
a fixed IP, change it to Obtain an IP address automatically.
2. Open a web browser and type the default management address 192.168.0.1 in the address field of the browser,
then press the Enter key.
3. Create a username and a password for subsequent login attempts and for security.
4. Use the username and password set above to log in to the webpage.
5. After a successful login, you can configure the function by clicking the setup menu on the left side of the screen.
For detailed configurations, refer to the User Guide of the router. The guide can be found on the download center of
our official website: https://www.tp-link.com/support/download/.
Option 2: Controller Mode
Choose from the following two types of Omada Controller:
Type 1: Via Omada Hardware Controller (OC200/OC300)
Omada Hardware Controller (OC200/OC300) is a good alternative if you have no spare PC to keep running Omada
Software Controller in the network. It needs to be purchased additionally.
For more details, refer to the Installation Guide of OC200/OC300.