12
Chapter 2
Set Up Internet Connection
2. 2. 3. Method 3: Via the WPS Button
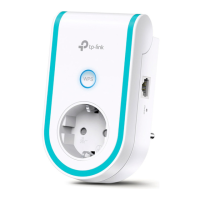
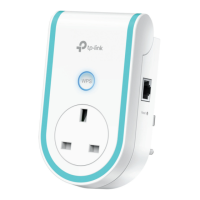
Use this way if your router has a WPS button. The button might look like one of these:
.
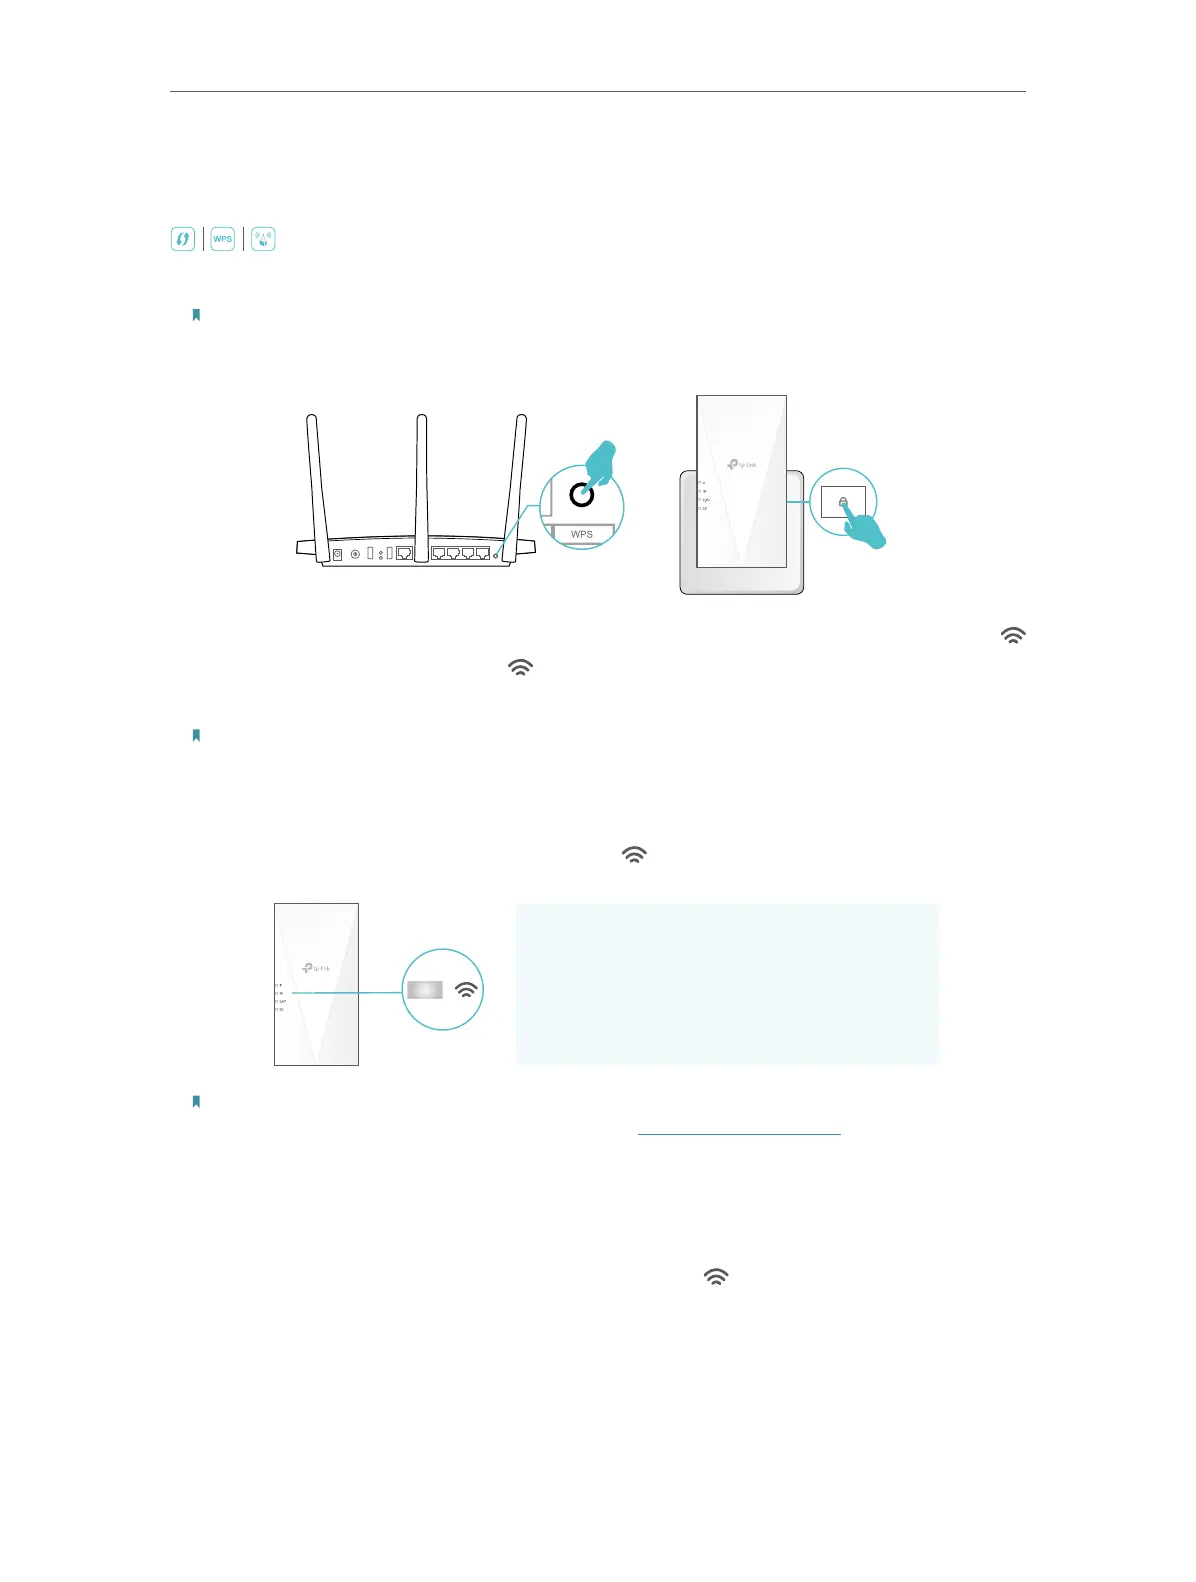
1. Activate the WPS function on your router by pressing the WPS button.
Note:
If you don’t know how to do it, refer to your router’s user manual, or you can use other methods to set it up.
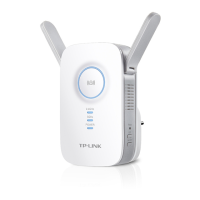
2. Within 2 minutes, press the WPS button on the extender for 1 second, and the
LED starts blinking. Wait for the LED, 2.4GHz LED and 5GHz LED to turn solid blue,
indicating a successful connection.
Note:
If only the 2.4GHz or 5GHz LED is solid blue, check to see if the router has both 2.4GHz and 5GHz bands turned on. If
both are turned on, try WPS again or use other methods.
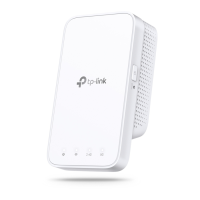
3. If the extender connects to a dual band router, repeat steps 1 and 2 above to connect
to the other band. Wait until the Signal LED
turns solid on, and the setup is done.
Extended Network Names:
Same as your router
Passwords:
Same as your router
Solid On
Note:
If you want to customize the extended network name, refer to Configure Wireless Network.
4. Relocate your extender for optimal Wi-Fi coverage and performance.
1 ) Plug in the extender about halfway between your router and the Wi-Fi dead zone.
The location you choose must be within the range of your router.
2 ) Wait for about 2 minutes until the Signal LED
turns solid blue. If it doesn’t,
relocate the extender closer to the router to achieve better signal quality.