Set the DHCP IP Pool Address Range
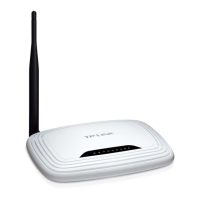
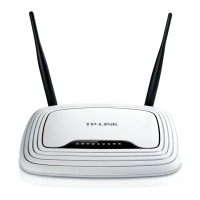
By default, the TP-Link WR841N router enables one-hundred computers at one time to connect. If you
set the Default Gateway address to 192.168.234.1 as described in step 19 on page 7, the range of IP
addresses that will be assigned to computers and other devices (cell phones, tablets, etc.) is from
192.168.234.100 to 192.168.234.200. You may want to reduce the size of this range to a smaller value.
One reason for doing so is to allocate a few addresses outside of what DHCP assigned to use for devices
you’ve assigned fixed IP addresses, printers, for example.
1. Access the router login page. Open a web browser and type 192.168.234.1 (or the custom gateway
address you picked for your site) in the address bar
and press Enter. The Login dialog will be displayed.
Enter the router’s new Username and Password you
defined in step 18 on page 6 then press “Log In”.
2. Select “DHCP” then “DHCP Settings” in the left-hand
menu:
3. Select your desired “Start IP Address” and “End IP Address”. For example, a starting address of
192.168.123.20 with an ending address of 192.168.123.50 will support thirty connected computers
or other devices:
Press the “Save” button once you’ve entered your desired start and end IP addresses.
Note: We recommend that network connected printers (connected either through a hard-wired
Ethernet or WiFi connection) are set up to use a fixed IP address outside of the DHCP range. For
example, given the settings shown above, you might set the IP address of the printer to
 Loading...
