Note: If you accidentally lose the connection, get lost, or otherwise fail, you can always start
over at step 4.
Router Setup
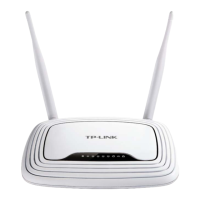
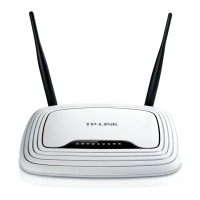
4. Restore router default settings. Connect the router to power, then push and hold the
“WPS/Reset” button until the lights flash, and the power indicator light alone flashes. Shortly
thereafter the WiFi signal light will turn on.
5. Connect to the router. Left click the WiFi symbol
in the Windows system tray (normally in the
lower-right corner of the Windows desktop),
select the SSID for the TP-Link router, click the
“Connect” button, type in the router’s factory
wireless password (printed on the label on the
bottom of the router), then press the “Next”
button.
6. Access the router login page.
Open a web browser and type
192.168.0.1 in the address bar
and press Enter. The Login
dialog will be displayed:
7. Log in to the router administration page. Type admin in both the Username and Password fields
then click the “Log In” button.
8. Run Quick Setup. When the “Quick Setup—Start” page opens, click the “Next” button.
 Loading...
