Note:
After a device is successfully added to the network by WPS function, the WPS LED will keep on
for about 5 minutes and then turn off.
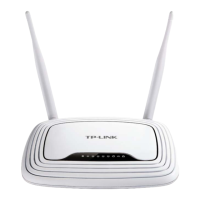
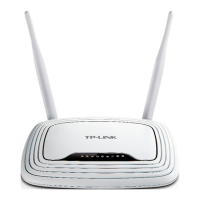
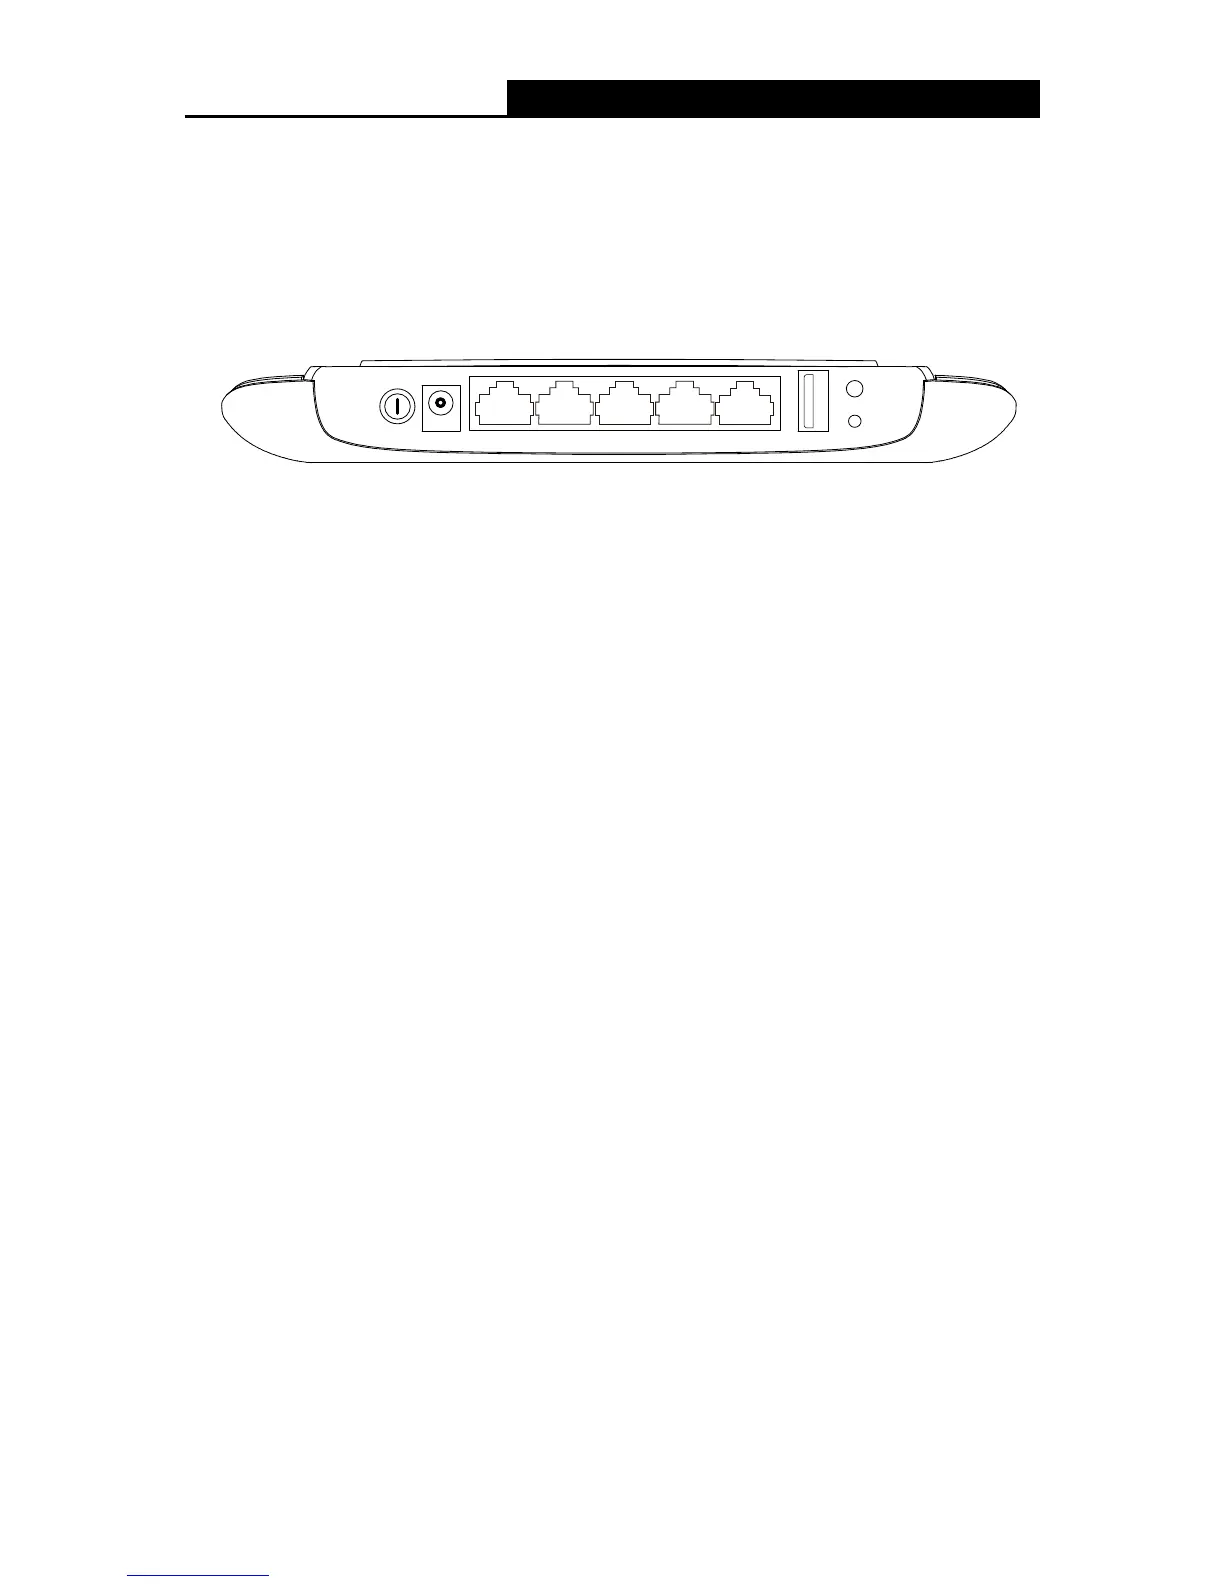
1.4.2 The Rear Panel
Figure 1-2 Rear Panel sketch
The following parts are located on the rear panel (View from left to right).
ON/OFF: The switch of the power.
POWER: The Power socket is where you will connect the power adapter. Please use the
power adapter provided with this TL-WR842N 300Mbps Multi-Function Wireless N Router.
INTERNET: This port is where you will connect the DSL/cable Modem, or Ethernet.
1,2,3,4 (LAN): These ports (1, 2, 3, 4) connect the Router to the local PC(s).
USB: The USB port connects to a USB storage device or a USB printer.
Wi-Fi: With the router powered on, press and hold the Wi-Fi button (approximately 2 seconds)
until the WLAN LED turns on or off.
WPS/RESET: Press this button to quickly establish a connection between the Router and
client devices that support Wi-Fi Protected Setup. Press and hold this button for more than 5
seconds (approximately 8 seconds) to reset the Router.
There are two ways to reset to the Router's factory defaults:
1) Use the Factory Defaults function on “System Tools
Factory Defaults” page in the
Router's Web-based Utility.
2) Use the Factory Default WPS/RESET button: With the Router powered on, use a pin to
press and hold the WPS/RESET button (approximately 8 seconds) until the SYS LED
becomes quick-flash from slow-flash. And then release the button and wait the Router to
reboot to its factory default settings.
Wireless antenna: To receive and transmit the wireless data.
 Loading...