13
Chapter 3 Customize Your Network
Visit http://tplinkrepeater.net, and log in with the password you set for the extender.
¾ To extend another host network:
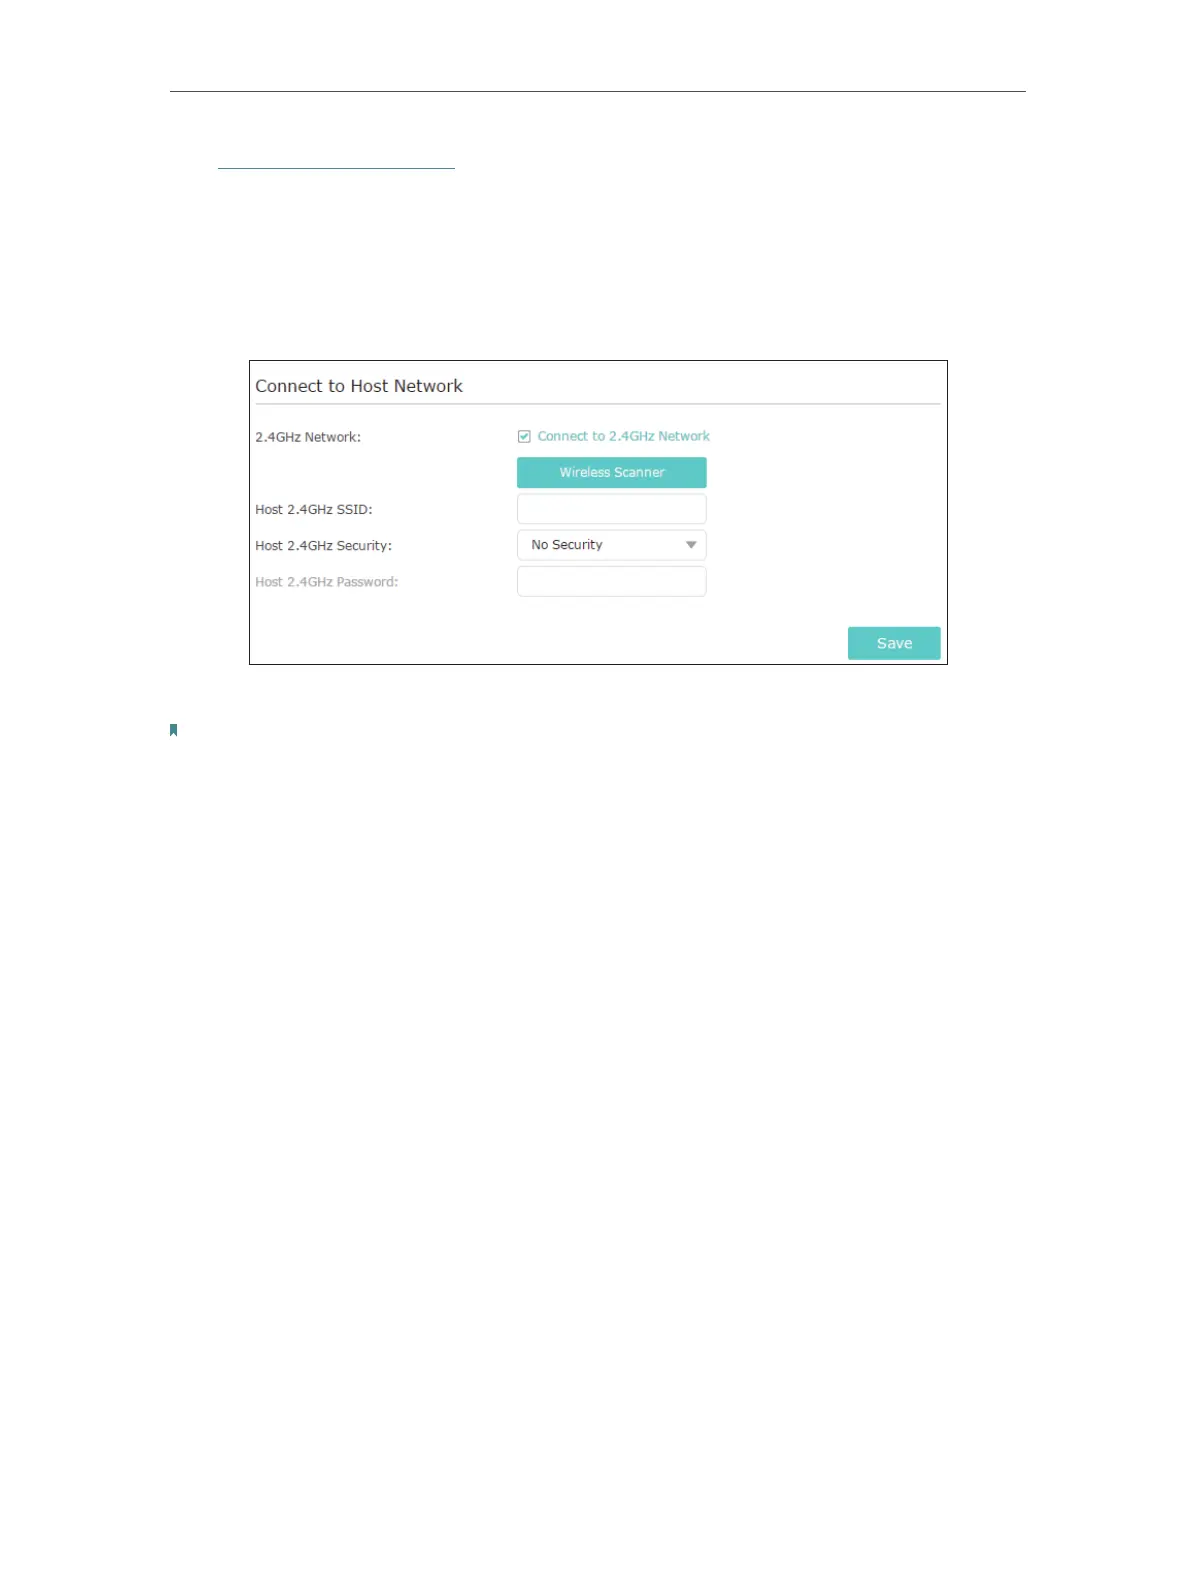
1. Go to Settings > Wireless > Connect to Network.
2. Enable Connect to 2.4GHz Network and click Wireless Scanner to find all available
networks.
3. Select the host network you want to extend.
Note:
If the network you want to extend is on but not listed, please try the following steps.
1. Move the extender closer to your router, and click Rescan in the top-right corner of the list.
2. You can manually enter the parameters of the network you want to extend, and click Save.
4. Once a host network is selected, the SSID and security type will be automatically
filled in. If the selected network is encrypted, enter the password in the Password
field.
5. Click Save.
¾ To enable or disable the extended network:
1. Go to Settings > Wireless > Extended Network.
2. The extended network is enabled by default. If you want to disable the wireless
function of a certain band, just clear the Enable checkbox. In this case, all the wireless
settings of this band will be invalid.
3. Click Save.
¾ To change the wireless network name (SSID):
1. Go to Settings > Wireless > Extended Network.
2. Create a new SSID in Extended 2.4GHz SSID or click Copy Host SSID. The value is
case-sensitive.
3. Click Save.
 Loading...