INTRODUCTION
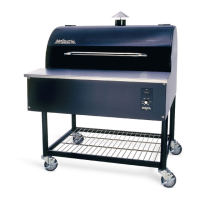
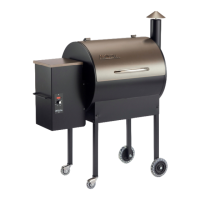
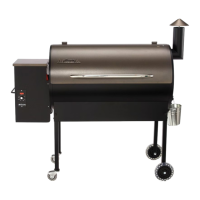
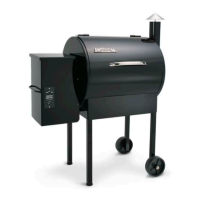
Congratulations on your purchase of this Traeger Wood Pellet Grill, model BBQ125/126
Executive. With the proper set-up, operation, and maintenance, this grill will provide
years of cooking enjoyment.
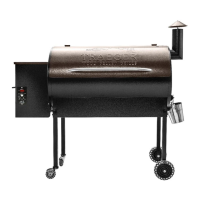
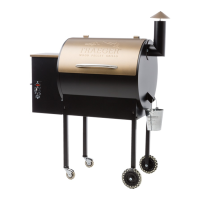
Your BBQ125/126 is 99% assembled. Please refer to the component diagram on the
proceeding page to help you locate where and how each part should be situated
inside your grill. You will need to complete the assembly process which includes:
1) Remove the nickel plated grills from under the unit by carefully cutting the two tie-
down straps
2) Remove the four (4) ¼” hex head screws which hold the unit to the wooden skid.
3) With one person on each end of the unit, carefully lift the barbecue off the wooden
skid and place on a level surface.
4) Open the grill lid and remove the U-shaped firepot cover, angled drip pan and
grease catch bucket from inside the barbecue.
5) Hang the grease bucket on the grease drain tube which is located on the right-hand
side of the unit.
When you un-box your new grill make sure you have, and can identify the following
parts: (1) Grease bucket
(1) Secondary grill
(2) Primary grills
(2) Locking casters
(2) Regular casters
TOOLS REQUIRED FOR ASSEMBLY:
¼” socket set and/or driver to remove the four (4) ¼” hex bolts, allowing you to
remove the unit from the wooden skid. There is no other assembly required.