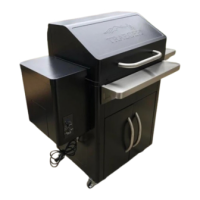
PLACE INNER GRILL COMPONENTS AND BUCKET
4
ASSEMBLE DOORS AND UPPER GRILL COMPONENTS
3
In this step:
10
15
16
2
1
1
3
You are ready to season your grill and get Traeger’ing!
Refer to your Use & Care Instructions for operation instructions.
In this step:
6
x2
18
D
x 2
E
x2
H
x 2
4 5
6
2
ASSEMBLY
GUIDE
For English-only assistance
with assembly, installation, parts,
and customer service, contact
Traeger's VIP-365 Customer Service.
Phone: 1-800-TRAEGER
Email: service@traegergrills.com
Mail: Traeger Pellet Grills LLC
1215 E. Wilmington Ave.
Salt Lake City, UT 84106
traegergrills.com
WARNING!
Many parts of the grill will become very hot during
operation. Care must be taken to avoid burns, both during
operation and afterwards while the grill is still hot.
• Never leave the grill unattended when young children
are present.
• Never move the grill when it is operating.
• Let the grill cool thoroughly before moving or attempting
to transport.
• Grill is very heavy. Always lift grill with TWO people.
A MAJOR CAUSE OF FIRES IS FAILURE
TO MAINTAIN REQUIRED CLEARANCES
(AIR SPACES) TO COMBUSTIBLE
MATERIALS. IT IS OF UTMOST
IMPORTANCE THAT THIS PRODUCT
BE INSTALLED ONLY IN ACCORDANCE
WITH THESE INSTRUCTIONS.
3
In this step:
8
11
F
x 8
In this step:
13
14
In this step:
12
This will require TWO people.
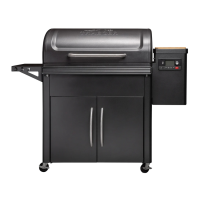
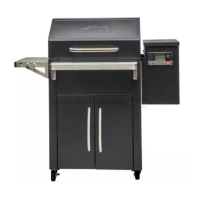
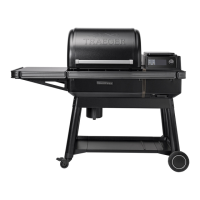
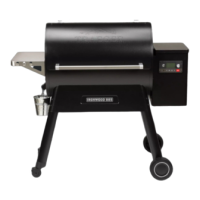
Wood Fired Grills – Silverton
IMPORTANT, RETAIN FOR FUTURE
REFERENCE: READ CAREFULLY
In this step:
17
G
x 6
Please read this entire manual before installation and use of this pellet
fuel-burning appliance. Failure to follow these instructions could result in property
damage, bodily injury, or even death. Contact your local building or re ofcials
about restrictions and installation inspection requirements in your area.
TFS62PLD