22
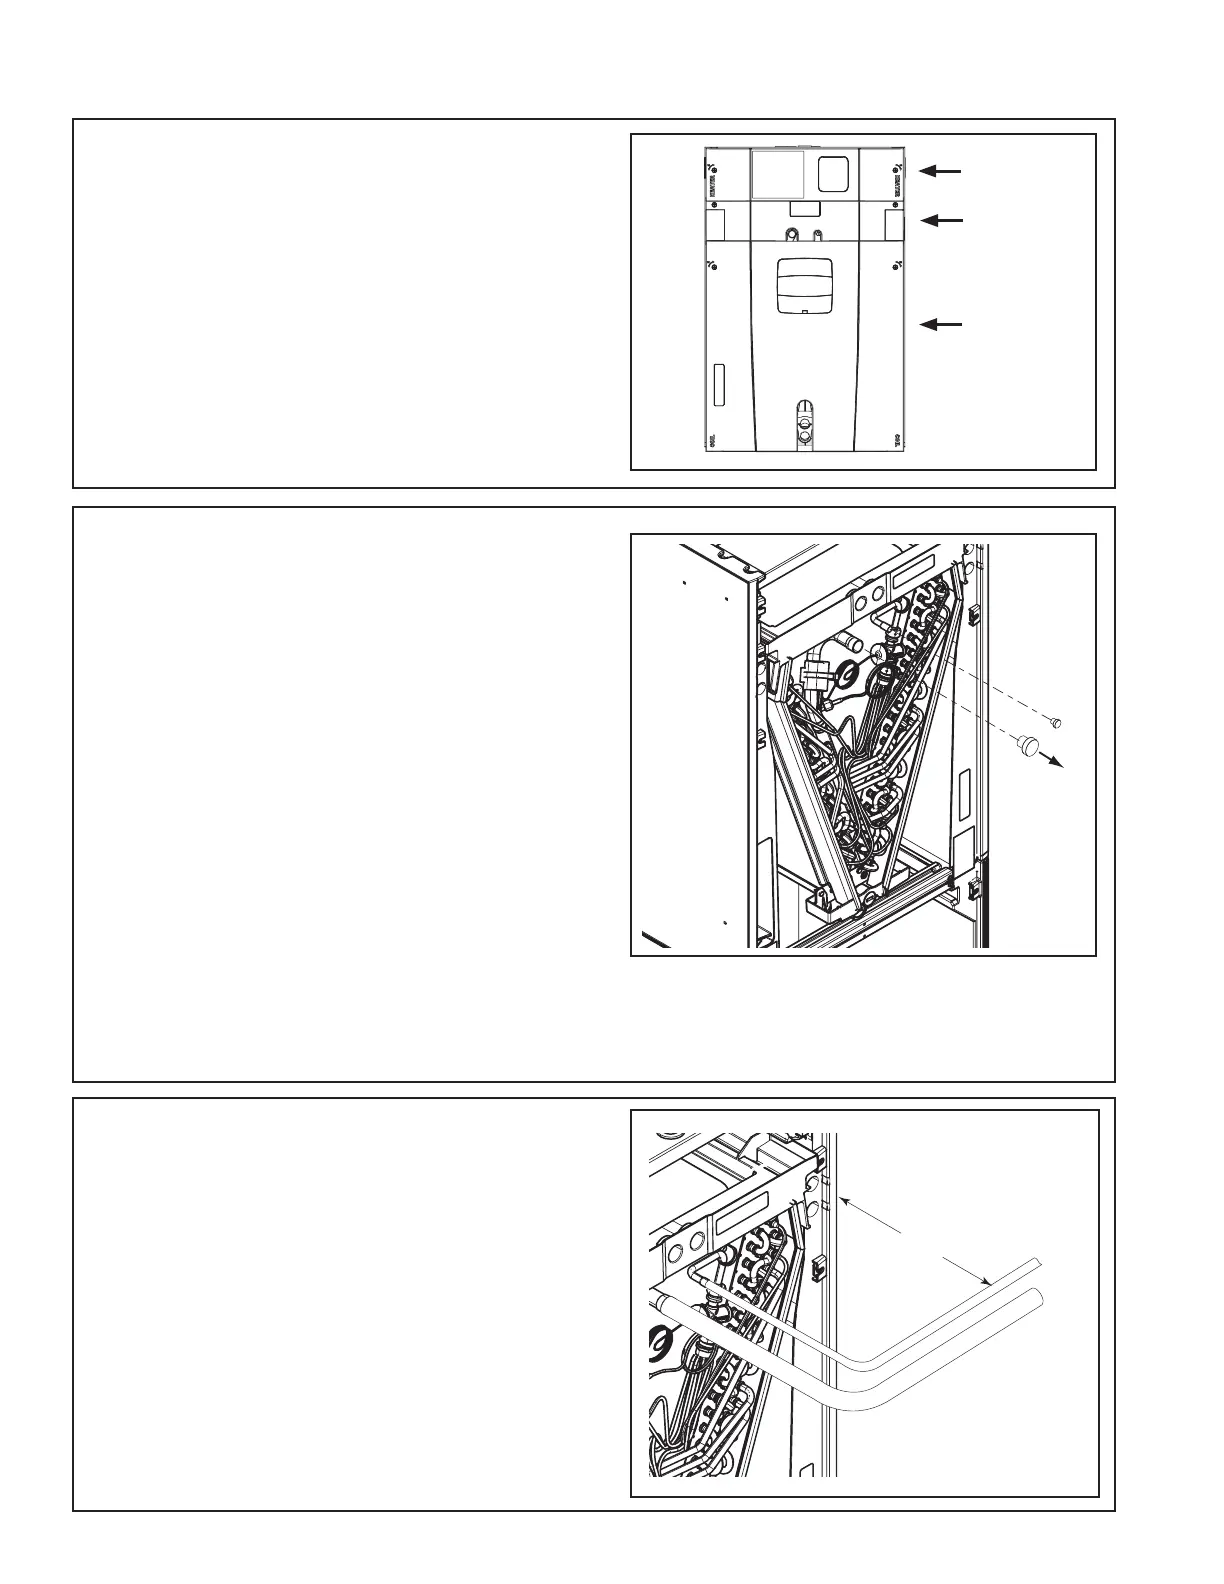
STEP 1 - Remove Heater, Coil, and Line Set panels.
(See Section 2.2 Panel Removal)
Section 11. Refrigerant Line Brazing
11.1 Braze The Refrigerant Lines
STEP 4 - Connect, but do not braze, field line set to
indoor coil.
Allow a minimum of 1.5 inches of refrigerant line
set before using an elbow coupling.
Important: Service access to the auxiliary heater
must remain unobstructed.
Important: Do NOT unseal coil refrigerant connec-
tion stubs until ready to make connections.
Important: Heat Sensitive Bulb.
The TXV sensing bulb must be removed or a wet rag
must be wrapped around the suction line between
the Bulb and the braze joint to protect the Bulb from
failure due to overheating.
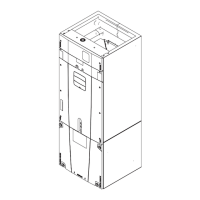
Caution: This coil is pressurized with 8-12 psig of
dry air. Do not stand directly in front of the coil con-
nections when removing sealing plugs.
STEP 2 - Remove the sealing plug from the indoor
coil suction (vapor) line.
STEP 3 - Remove the sealing plug from the indoor
coil liquid connection.
Heater
Panel
Line Set
Panel
Coil
Panel
1
2
3
1.5” MIN