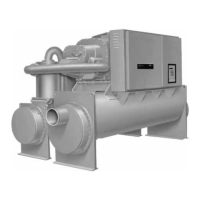
Compressor Load-Unload Solenoid
RTHC-SVD01B-EN 41
4. Enter the Service Test menu on the CLD and scroll down to “Slide
Valve Control is:”. Change the setting to “Load”.
NOTE: The red alarm light on the front panel will energize and remain
steady any time an item in the Service Test menu is set to something
other than “AUTO”.
5. Scroll to the next display “Manual Load/Unload Duty Cycle” and
increase the percentage to 50%. This will provide a 2.5 second
pulse every 5 seconds sent sent to the solenoids to load and
unload the compressor faster.
6. Monitor the pressure behind the piston and the amp draw of the
unit. Both should gradually increase with each pulse of the load
solenoid. Ensure that the load solenoid is actually being ener-
gized.
NOTE: All limits are still active. If the chiller enters into a condenser,
current, or evaporator limit it will affect the load signals sent to the sole-
noid. Continuously monitor the operating mode under the Chiller
Report during this process.
7. After monitoring the unit for 5-10 minutes change the “Slide Valve
Control is:” display under Service Tests from “Load” to “Hold”,
after recording the pressure behind the piston.
8. In the “Hold” mode, the pressure behind the piston should remain
relatively constant. (No more than 10-15 psi variation).
9. After monitoring for 5-10 minutes, change the “Slide Valve Control
is:” display to “Unload”. The pressure behind the piston and the
RLA of the unit should gradually decrease with each pulse sent to
the unload solenoid.
NOTE: The pressure behind the piston should be approximately suc-
tion pressure when the compressor is fully unloaded. The RLA will be
dependent on the application.
10. After monitoring the system in the three positions of load, hold,
and unload, change the “Slide Valve Control Is:” display back to
“Auto” to allow for automatic control of the slide valve.
With the results from the above checkout procedure use Table 6-1 to
determine the possible causes of the loading problem

 Loading...