8
Tips for a Successful Installation
IMPORTANT INSTALLATION INFORMATION
• Read this Installation Manual to understand how all components are to
be located and properly installed.
• The vehicle’s cargo area must be designed and built for refrigeration
applications with insulated walls, ceilings and floors. All cargo doors
must close and seal tightly.
• The vehicle’s exterior roof must be able to adequately support the
combined weight of the rooftop mounted components. Additional
supports (installer supplied) may be required. See “Dimensions and
Weight - Model 50 SPECTRUM” on page 12.
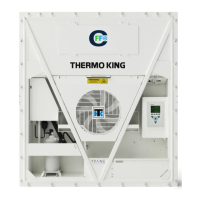
Model 50 SPECTRUM Refrigeration, Power Pack and Condenser
Modules - approximate weight 86 kg (190 lbs.)
• The vehicle’s interior ceiling must be able to adequately support the
weight of two (2) ES300 evaporators. Additional internal structural
supports (installer supplied) may be required. See “Dimensions and
Weight - ES300 Host Evaporator” on page 13.
ES300 HOST (Frozen Compartment) Evaporator - approximate
weight 18 kg (40 lbs.)
ES300 REMOTE (Fresh Compartment) Evaporator with
accumulator - approximate weight 33 kg (72 lbs.)
• Thermo King recommends securely installing steel support plates with
mounting studs or threaded inserts (installer supplied) to the truck’s
interior roof structure to mount the V-520 RT refrigeration module,
condenser module and the ES500 evaporator prior to insulating and
finishing the cargo area.
ES300 HOST - Allow a minimum distance of 152 mm (6.00 in.)
from the cargo area wall to the rear
of the evaporator for refrigerant
hose and drain hose connections.
ES300 REMOTE - Allow a minimum distance of 152 mm
(6.00 in.) from the cargo area wall to the rear
of the accumulator
assembly for refrigerant hose and drain hose connections.
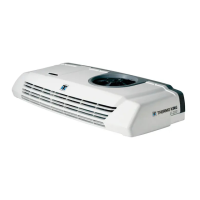
• The V-520 RT must be installed with the refrigeration module facing
towards the front of the vehicle.
• Verify tools and special equipment required for the installation are
available and in good operating condition before beginning the
installation.
• Verify all measurements before drilling holes in vehicle.
• Verify there is no interference with OEM electrical wiring, internal
supports, etc. before drilling holes in vehicle.
• Provide protection to vehicle's finish to prevent damage during the
installation process.
• Install all components using the correct hardware for your particular
application and tighten securely.
• All access holes through the cargo area must be sealed with a neutral/
alcohol cure silicone sealant to prevent moisture from entering and air
from escaping.
• Always use protective grommets when routing electrical harnesses or
refrigeration hoses through sheet metal floors or walls.
• Always keep electrical harness and refrigeration hoses from rubbing or
chafing against sharp metal objects or rotating components.
• The fabrication and installation (by the installer) of protective covers
for any exposed refrigerant hoses, drain hoses and electrical wiring
inside or outside the cargo area is recommended.
• Verify the air outlet of each ES300 evaporator is facing the correct
direction for proper airflow before installing.
• ES300 evaporator drain hoses should be installed and routed correctly
with no kinks or sharp bends to provide for proper drainage.
REFRIGERATION HOSES
• Always keep refrigeration system fittings capped and sealed until the
installation of the refrigeration hoses.
• Only cut refrigerant hoses with the correct hose cutting tool (204-677).
NEVER USE A SAW!
• Always use the correct hose fitting tool (204-1045 or 204-1128) when
assembling refrigerations hoses.
 Loading...