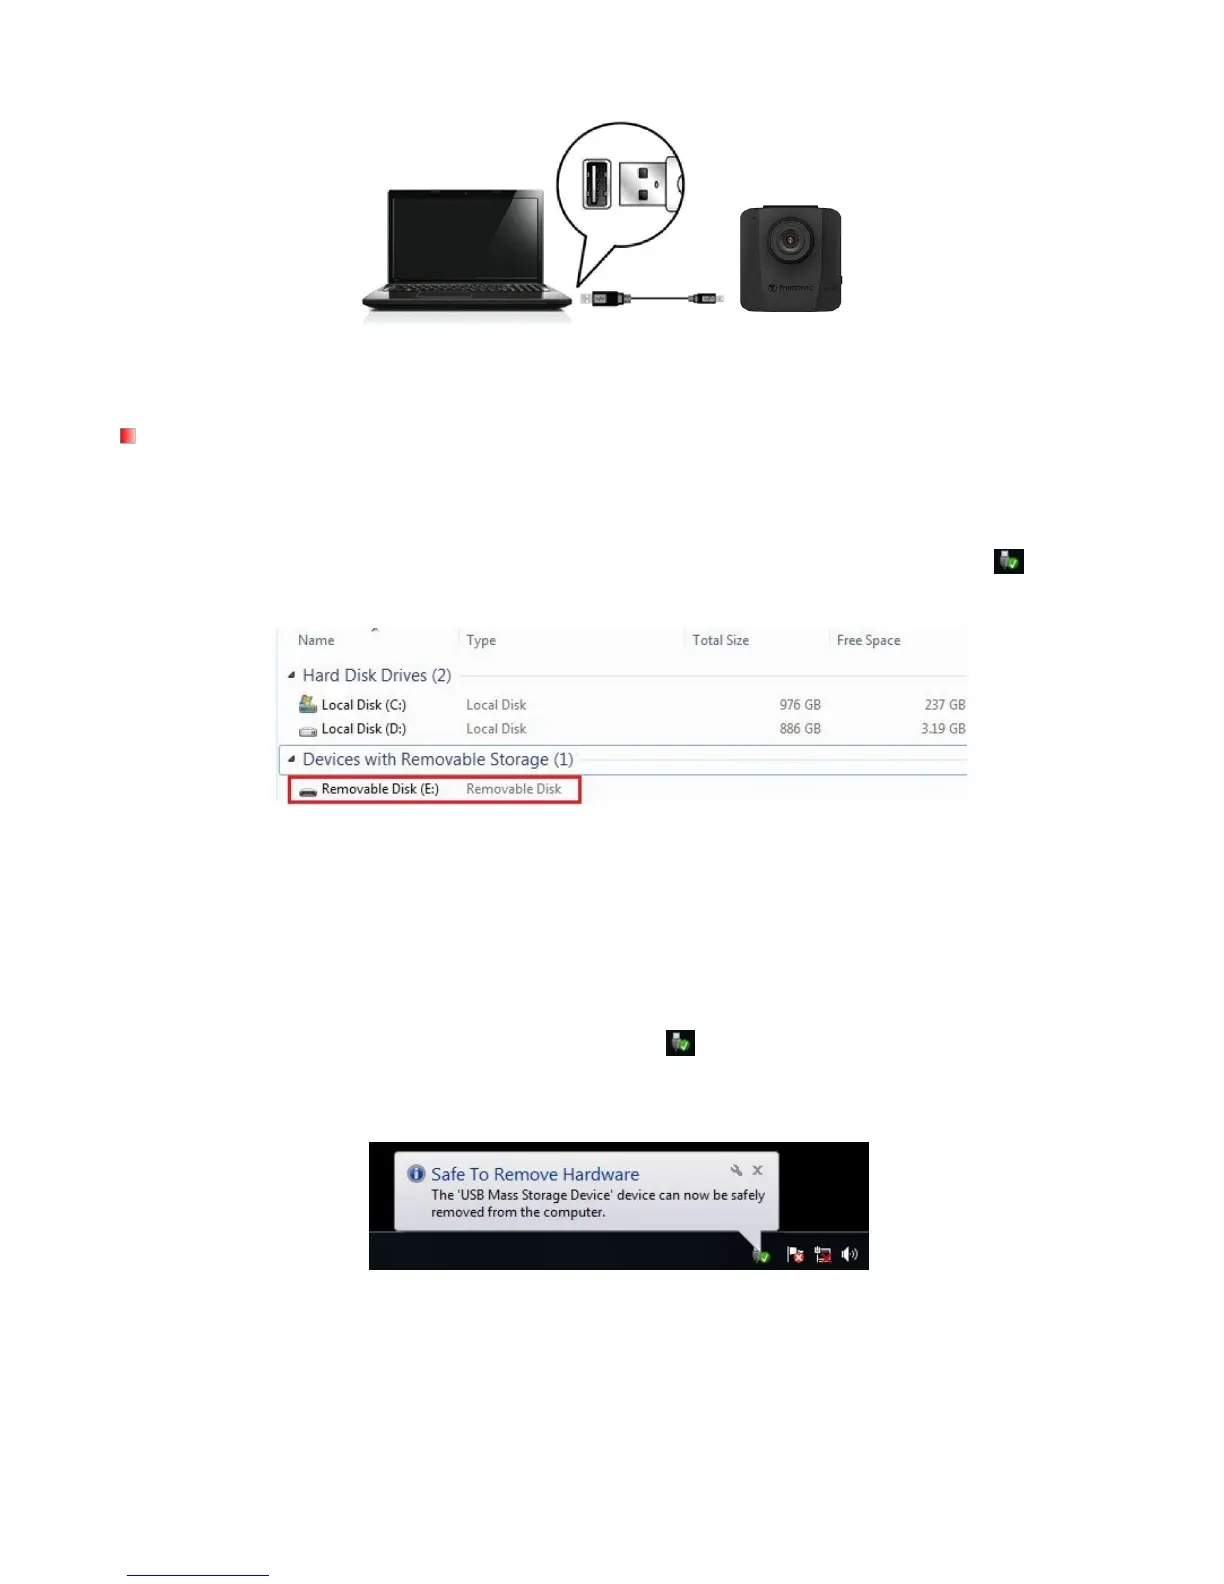
3. Plug the large end of the cable into an available USB port on your desktop or laptop.
Note: DrivePro™ package does not contain any USB cable.
Windows
®
7 / 8 / 8.1 / 10
No drivers are required for connecting the DrivePro™ to your desktop or laptop. Windows®
Operating Systems have built-in drivers to support your DrivePro™. Upon successful connection to
your computer, a new Removable Disk drive with a newly assigned drive letter representing the
DrivePro™ will automatically appear in My Computer, and a Removable Hardware icon will
appear in the Windows System Tray.
*Note: (E:) is an example drive letter – the letter in your “My Computer” window may differ.
Your DrivePro™ is now ready to transfer data just like an external hard drive. To transfer videos,
simply drag-and-drop files from the folder that represents the DrivePro™.
Proper removal of your DrivePro™ from Windows:
1. Click once on the Removable Hardware icon in the system tray.
2. A Safely Remove Hardware window will pop up. Click to continue.
3. Unplug your DrivePro™ from the USB port.