13
to USB-ZIP. Save & Exit Setup. Then at SAVE to CMOS and EXIT
(Y/N)? Type Y and press Enter.
d. Now, your system can boot from JetFlash. During boot-up, JetFlash
will be assigned drive letter A (A:\> appears on the screen). If your
computer has a Floppy Drive, it will be assigned drive letter B.
e. You can see boot up files in Removable Disk. Please don’t delete or
move any of these files or boot-up function will fail.
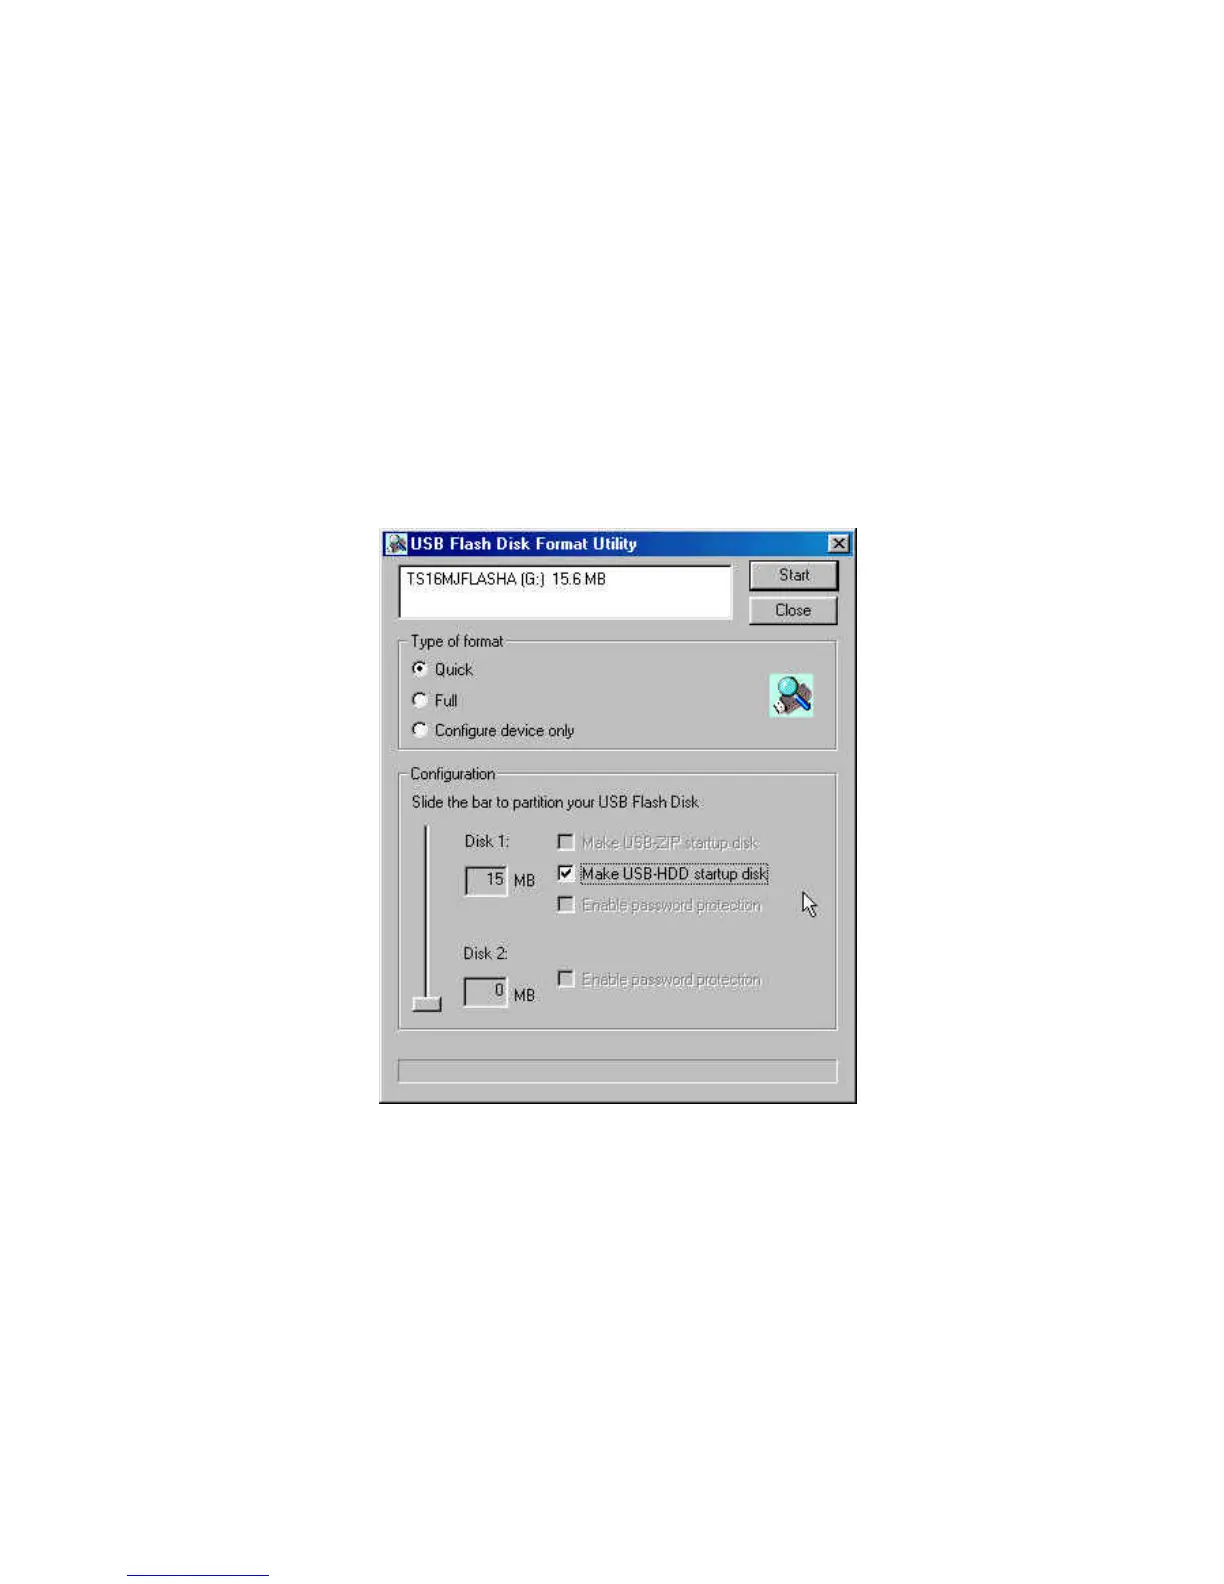
Option 2: Make USB-HDD startup disk (Only for Windows 98/98SE)
a. Select format type (Quick, Full or Configure device only) and Make
USB-HDD startup disk option. Click Start to continue.
b. After the completion of format, you need to re-plug JetFlash to
enable the setting. Restart your computer and press the Delete key
(or whatever key combination is correct for your computer) during
boot-up to enter Setup (CMOS Setup Utility) to reconfigure BIOS.
c. Within the Advanced BIOS Features menu, change First Boot
Device to USB-HDD. Save & Exit Setup. Then at SAVE to CMOS
and EXIT (Y/N)? Type Y and press Enter.
d. Now, your system can boot from JetFlash. During boot-up, JetFlash
will be assigned drive letter C (C: \ > appears on the screen). If your