cover. While unlikely, humidity or tiny amounts of moisture or
condensation may enter the receiver box during running. This
can cause long-term problems with the sensitive electronics in
the receiver. Removing the receiver box cover during storage
allows the air inside to dry. This step can improve the long-
term reliability of the receiver. It is not necessary to remove the
receiver or unplug any of the wires.
Receiver Box:
Maintaining a Watertight Seal
Removing and Installing Radio Gear
The unique design of the receiver box allows the removal and
installation of the receiver without losing the ability to maintain a
watertight seal in the box. The patent-pending wire clamp feature
gives you the ability to also install aftermarket radio systems and
maintain the watertight features of the receiver box.
Removing the Receiver
1. To remove the cover, remove the two 3x10mm button-head
cap screws.
2. To remove the receiver from the box simply lift it out and set
to the side. The antenna wire is still inside the clamp area and
cannot be removed yet.
3. Remove the wire clamp by removing the two 2.5x8mm
cap screws.
4. Unplug the servo cables from the receiver and remove
the receiver.
Receiver Installation
1. Always install the wires into the RX box before installing
the receiver.
2. Install the antenna wire
and the servo cables into
the receiver box.
3. Arrange the wires neatly
using the wire guides in
the receiver box. The
excess wire will be
bundled inside the
receiver box. Label which
wire is for which channel.
4. Apply small bead of silicone grease
(Traxxas part #1647) to the wire clamp.
5. Install the wire clamp and tighten the
two 2.5x8mm cap screws securely.
6. Install the receiver into
the box and plug the wires
into receiver.
7. Make sure the O-ring is properly
seated into the groove in the
receiver box so that the cover
will not pinch it or damage it in
any way.
8. Install the cover and tighten the
two 3x10mm button-head cap
screws securely.
9. Inspect the cover to make sure that the O-ring seal is not visible.
Tuning Adjustments
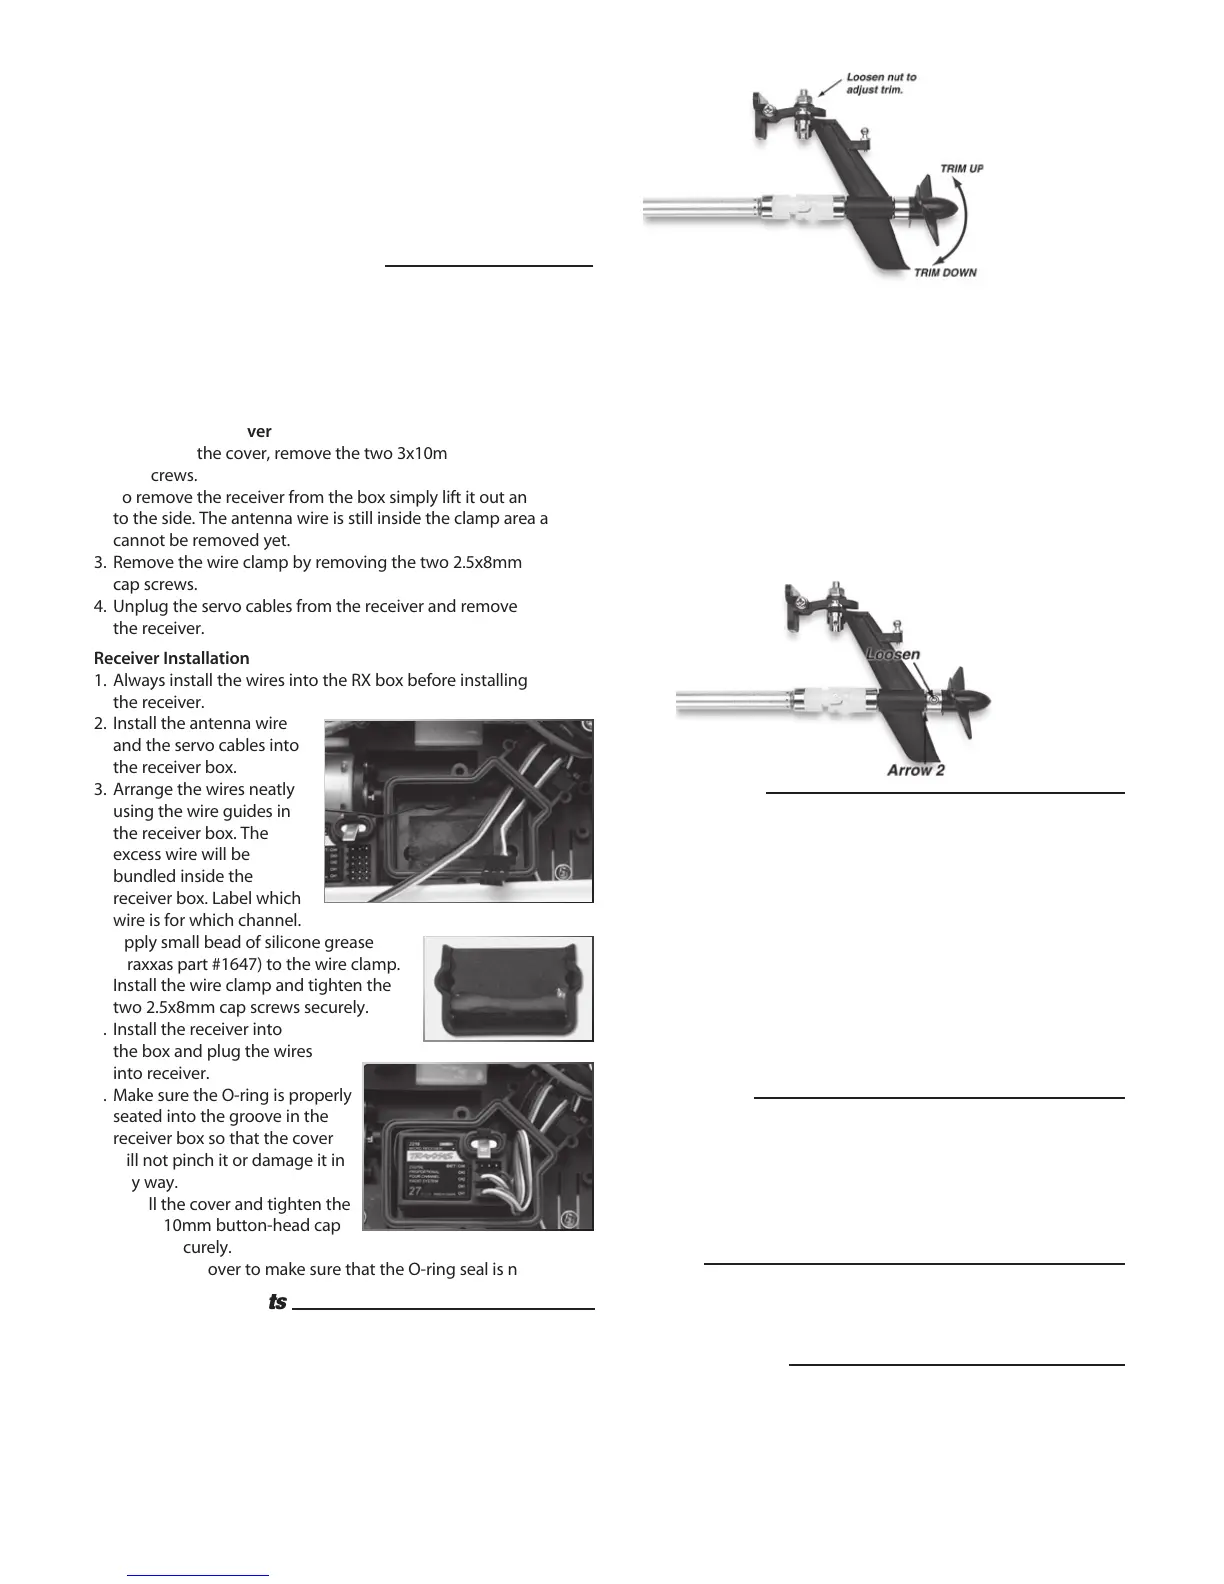
Adjusting the Trim Angle
The outdrive strut on the Blast will allow you to adjust the trim
angle of the propeller. The trim angle changes how high the bow
of the boat rides out of the water. Setting the trim angle correctly
will provide the maximum speed and efficiency from the Blast.
As the outdrive is trimmed up, the bow (front) of the boat will ride
higher causing the boat to run slightly faster, however, it will be
more unstable in the wind. Do not trim the outdrive up on windy
days or when running in choppy water. If the trim is set to high,
the bow will bounce up and down (“porpoise”), and the prop may
begin to cavitate. As the outdrive is trimmed down, the bow of
the boat is lowered thus increasing the wetted surface of the boat.
This will slow the Blast slightly but, stability and control will be
improved. Experiment with this adjustment to find out what works
best for your particular conditions.
Adjusting the Outdrive Shaft End Play
There should be a slight amount of shaft end play in the outdrive
housing. To adjust the end play loosen the set screw on the U-joint
yoke (see drawing). Pull the propeller shaft until there is no more
than 1mm of distance at “arrow 2” in the drawing. Retighten the
set screw.
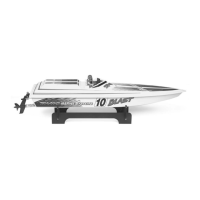
Boat Retrieval
If the Blast accidentally flips over and fills with water, it is equipped
with foam flotation to help prevent it from sinking. Traxxas does
not recommend ever trying to swim or wade to retrieve a boat. If
you have chosen your launch sight carefully (downwind), the Blast
will probably drift back to you on its own.
If there is no wind, you will need a tennis ball and a length of string.
Tie the tennis ball securely to one end of the string and then throw
the ball over the drifting boat. Pull the ball in and try to entangle
the boat in the string. Pull the boat back slowly to shore. If only the
bow of the boat remains visible, try using a fishing lure with many
hooks and a fishing pole. Try to snag the lip of the upper deck or
drive mechanism with the hooks.
Maintenance
• Keep the Blast clean of accumulated dirt and oil.
• Re-oil the motor bushings before each day of running. Use an oil
made for electric motors such as 3-in-1 Oil.
™
• Periodically re-oil the bushing in the outdrive housing and
the driveshaft tube. The oil-hole for driveshaft tube is located
underneath the sealed receiver box.
Storage
Drain all water out of the Blast and thoroughly dry it before you
store it. Store the Blast with the hatch cover removed so that any
remaining moisture will have an opportunity to evaporate.
Painting the Hull
If you wish to paint your hull some other color than the factory
white, choose your paint with caution. Only use paint made for
plastic models (available from your hobby dealer). Test the paint on
an inconspicuous and non-critical area before painting the entire
boat. The paint on the bottom must be smooth to prevent a loss
of performance.
5
 Loading...