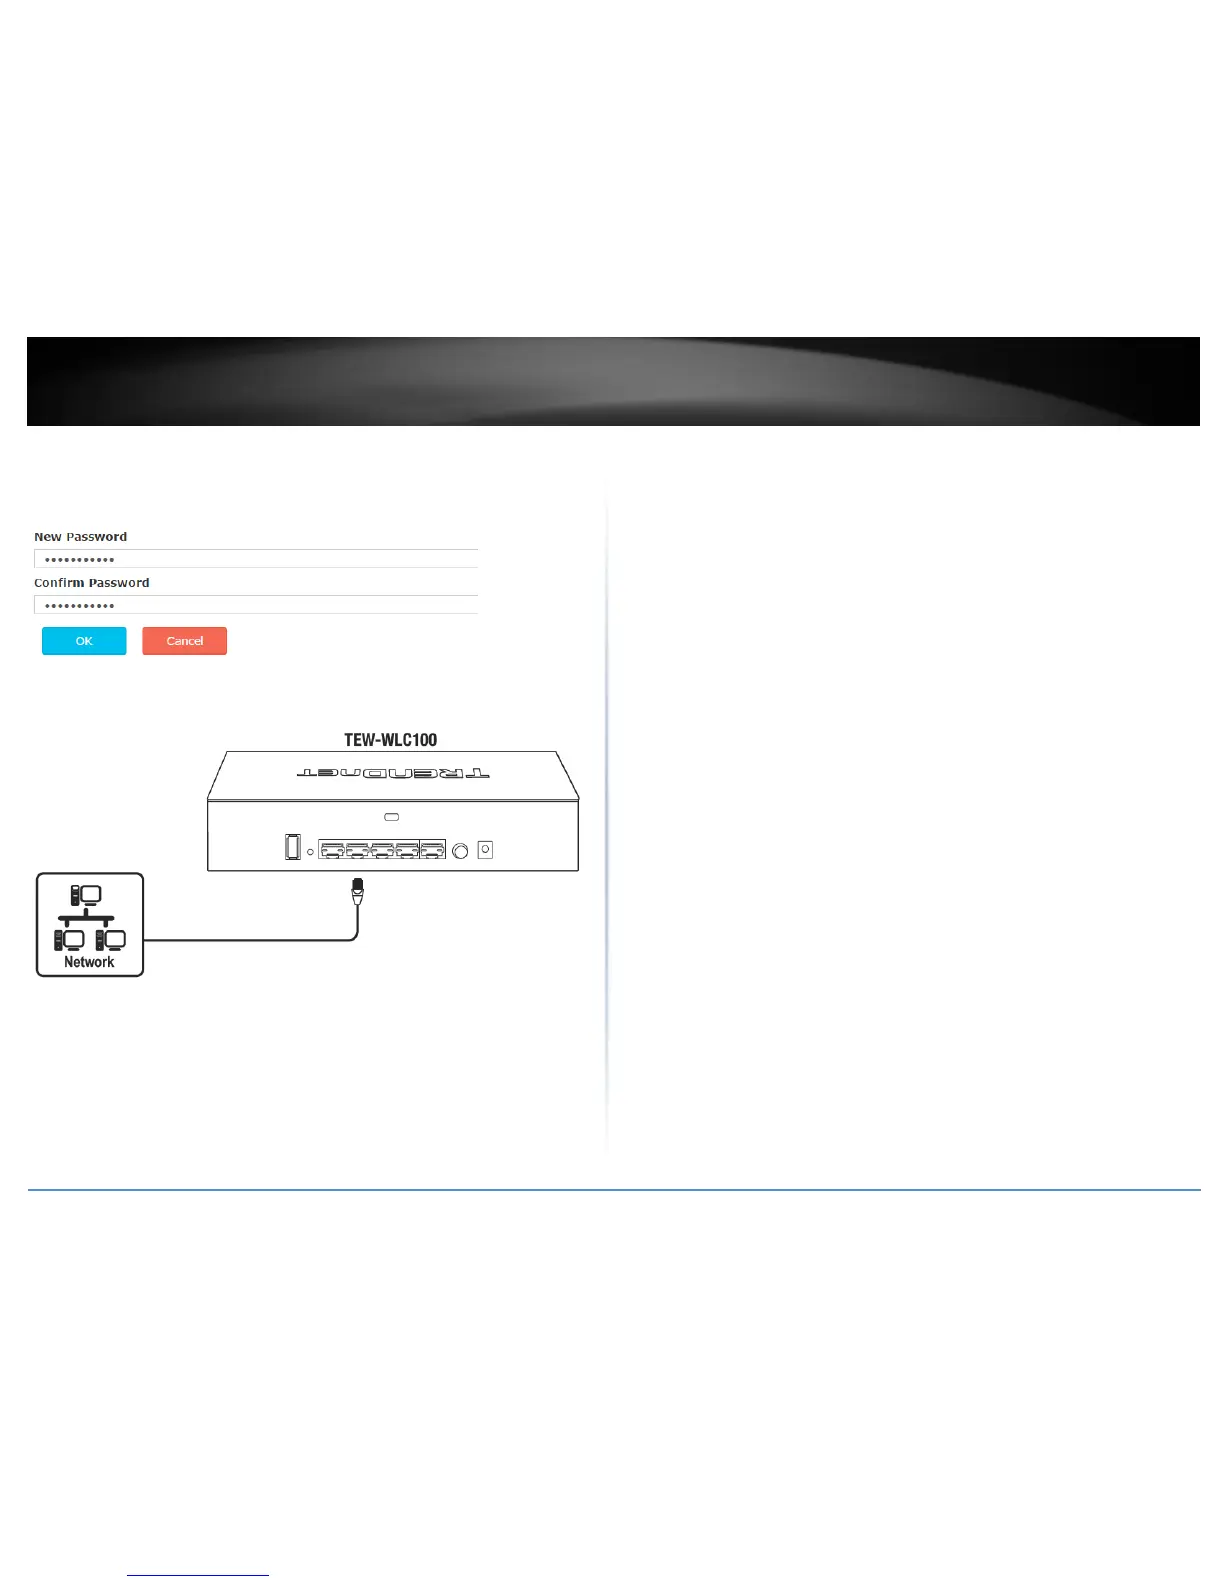
9. In the New Password and Confirm Password fields, enter the new administrator
password and click OK to save the new password settings. You will be prompted
immediately afterwards to login to the controller management page with the password.
10. Using an Ethernet cable, connect one of the five Gigabit Ethernet ports located on
the back of the wireless controller to your network (e.g. router, switch, etc.)
B. Connect your wireless access points
Note: Before mounting the access points to the desired locations, connect the access
points directly to the wireless controller first for initial configuration. The access points
are standard IEEE 802.3af PoE compliant and may also be connect to a PoE/PoE+ switch
for data and power, however, for the purposes of this installation guide we will reference
installation using the supplied PoE injectors.
1. Connect the included Pole injector power adapters (48V DC, 0.5A) to the supplied PoE
injectors DC IN power ports. Connect the adapters to available power outlets to power
on the PoE injectors.
2. Using the included Ethernet cables, connect the wireless controller to the DATA IN
ports of the PoE injectors.
3. Using additional Ethernet cables, connect the access points to the PWR+DATA OUT
ports of the PoE inejctors.
 Loading...