Preliminary Instructions
1. Verify that the heat exchanger kit is correct for
the model of boiler. See table on page 1.
2. Turn off power to the unit at the main service
panel and allow the unit to cool.
ELECTRICAL SHOCK HAZARD!
Ensure power to the boiler has been switched off
prior to servicing the unit.
3. Remove the front jacket panel of the boiler by
removing the thumbscrew located on the upper
edge of the unit. Lift the panel up and pull for-
ward to remove the front panel from the unit.
4. Using a voltmeter verify there is no electrical
power to the boiler by checking for power on
the boiler’s power supply terminals L and N
5. Shut off gas supply to the inlet of the unit at the
external main manual shutoff valve.
6. Close external system isolation valves to the
boiler supply and return piping and on the sys-
tem make up / fill piping.
7. Attach a hose to external boiler drain. Place
other end of this hose to a suitable drain.
8. Open external boiler drain valve and begin
draining the boiler.
To assist in the draining of the boiler, remove the
air vent at the top of the unit or manually lift
open the pressure relief valve.
NOTICE
WARNING
PRESTIGE Solo 60, 110, 175 and 250
HX Field Replacement
Kit
2
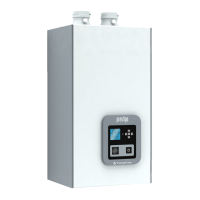
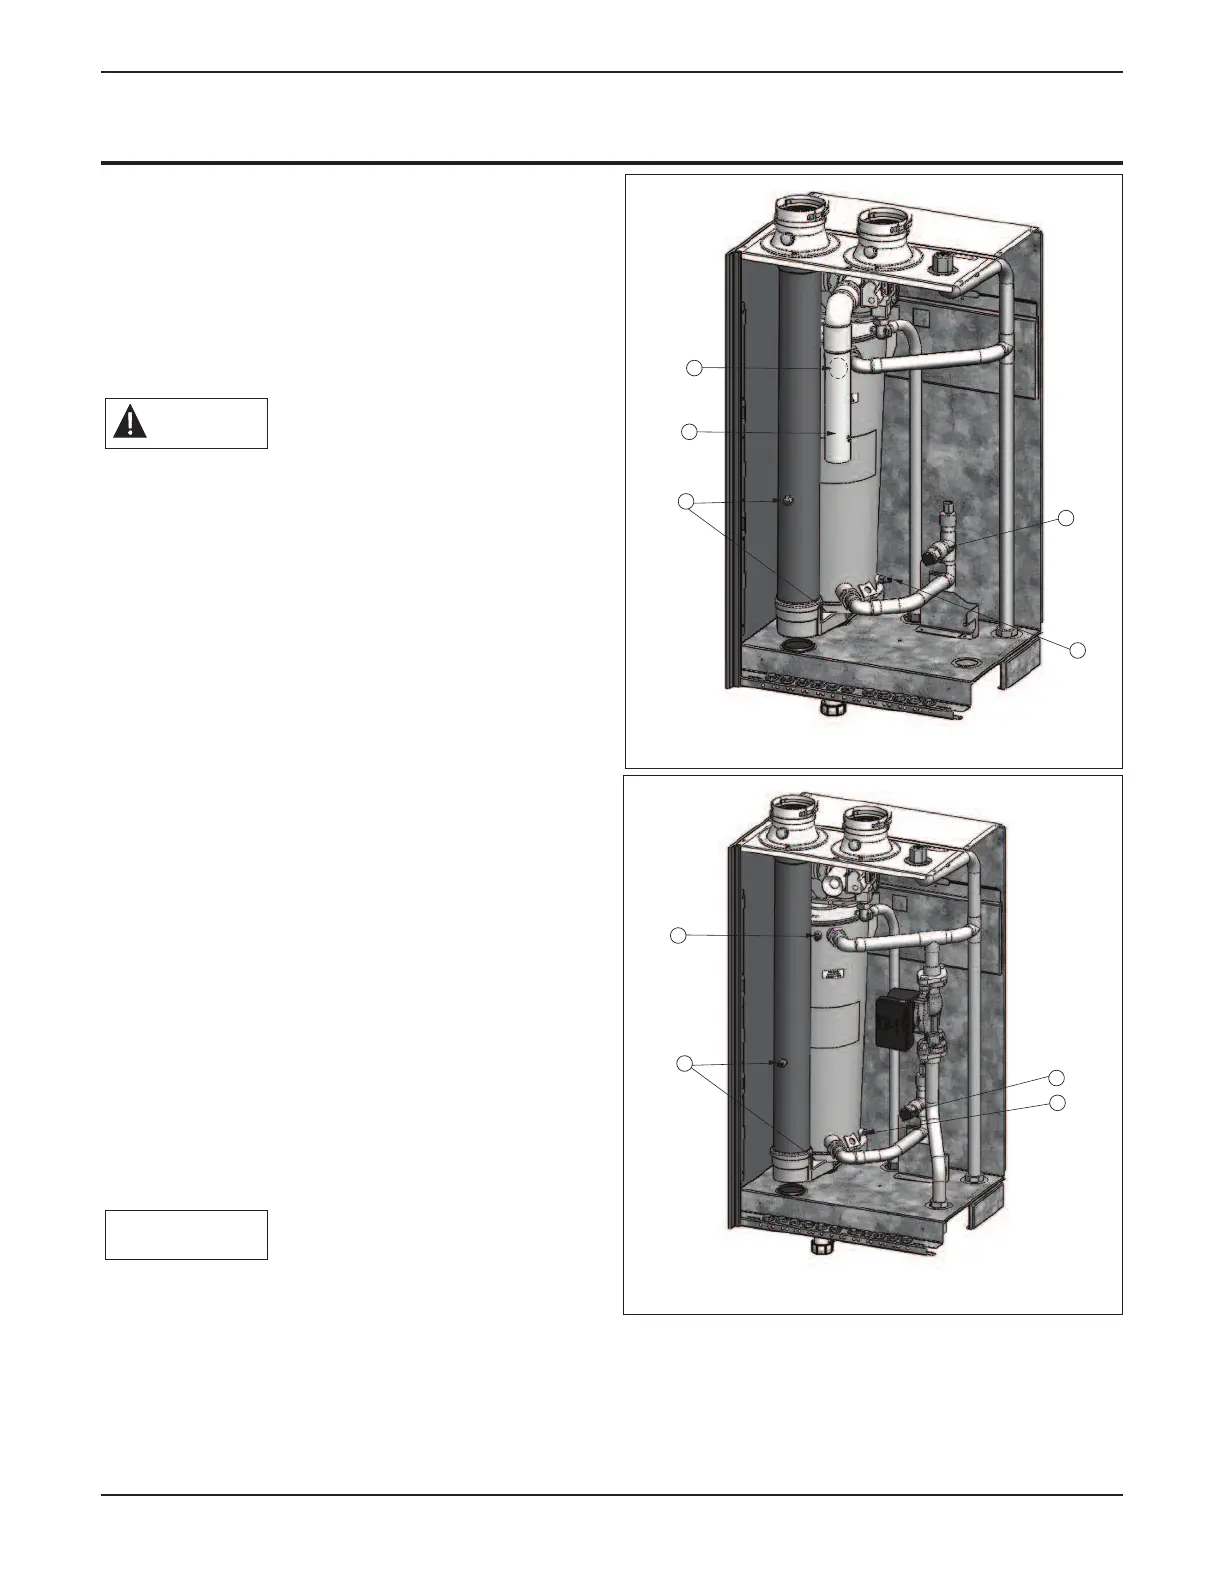
Fig. 1: Prestige Solo 60
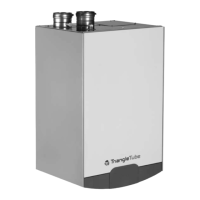
Fig. 2: Prestige Solo 110