4
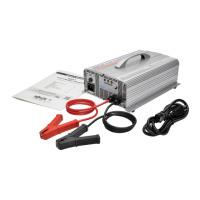
Operation
Mounting (Optional)
LED Indicators
LED (Color) LED Status Operation Status Description/Solution
Normal Operation
Bulk/Accept (Yellow) Solid Soft start Current is charging slowly
Slow flash Bulk constant current charging Battery drawing maximum charge current
Fast flash Absorption constant voltage charging Battery reaches set voltage limit; adjusts to draw
less charge current
Very fast flash Finish constant voltage charging Battery near 100% capacity; approaching
floating status
Charging/Float (Green) LED Slow flash Floating Battery charge full
Fast flash Floating Battery charge full and floating current < 0.5 A
Abnormal Operation
Error (Red) Flash 2x Charger cannot connect to battery or broken
DC fuse
Check fuse and replace if broken
Flash 3x Battery voltage is too high or too low Check that battery voltage selected on charger
matches battery’s voltage
Flash 4x Shorted internal thermal sensor or open circuit
Defective thermal sensor; follow the Service
instructions on the next page
Flash 5x Internal overheat protection Unit cooling down; will automatically restart upon
reaching average internal operating temperature
Notes:
• Battery voltage selection cannot be changed during charging; the battery must be disconnected before selecting the charger voltage.
• The battery is fully charged when the green LED is illuminated. You can stop charging the battery at this point or keep it connected in floating status.
• To end a charging session, disconnect the AC power cord from the source, then disconnect the charger’s clamps from the battery terminals.
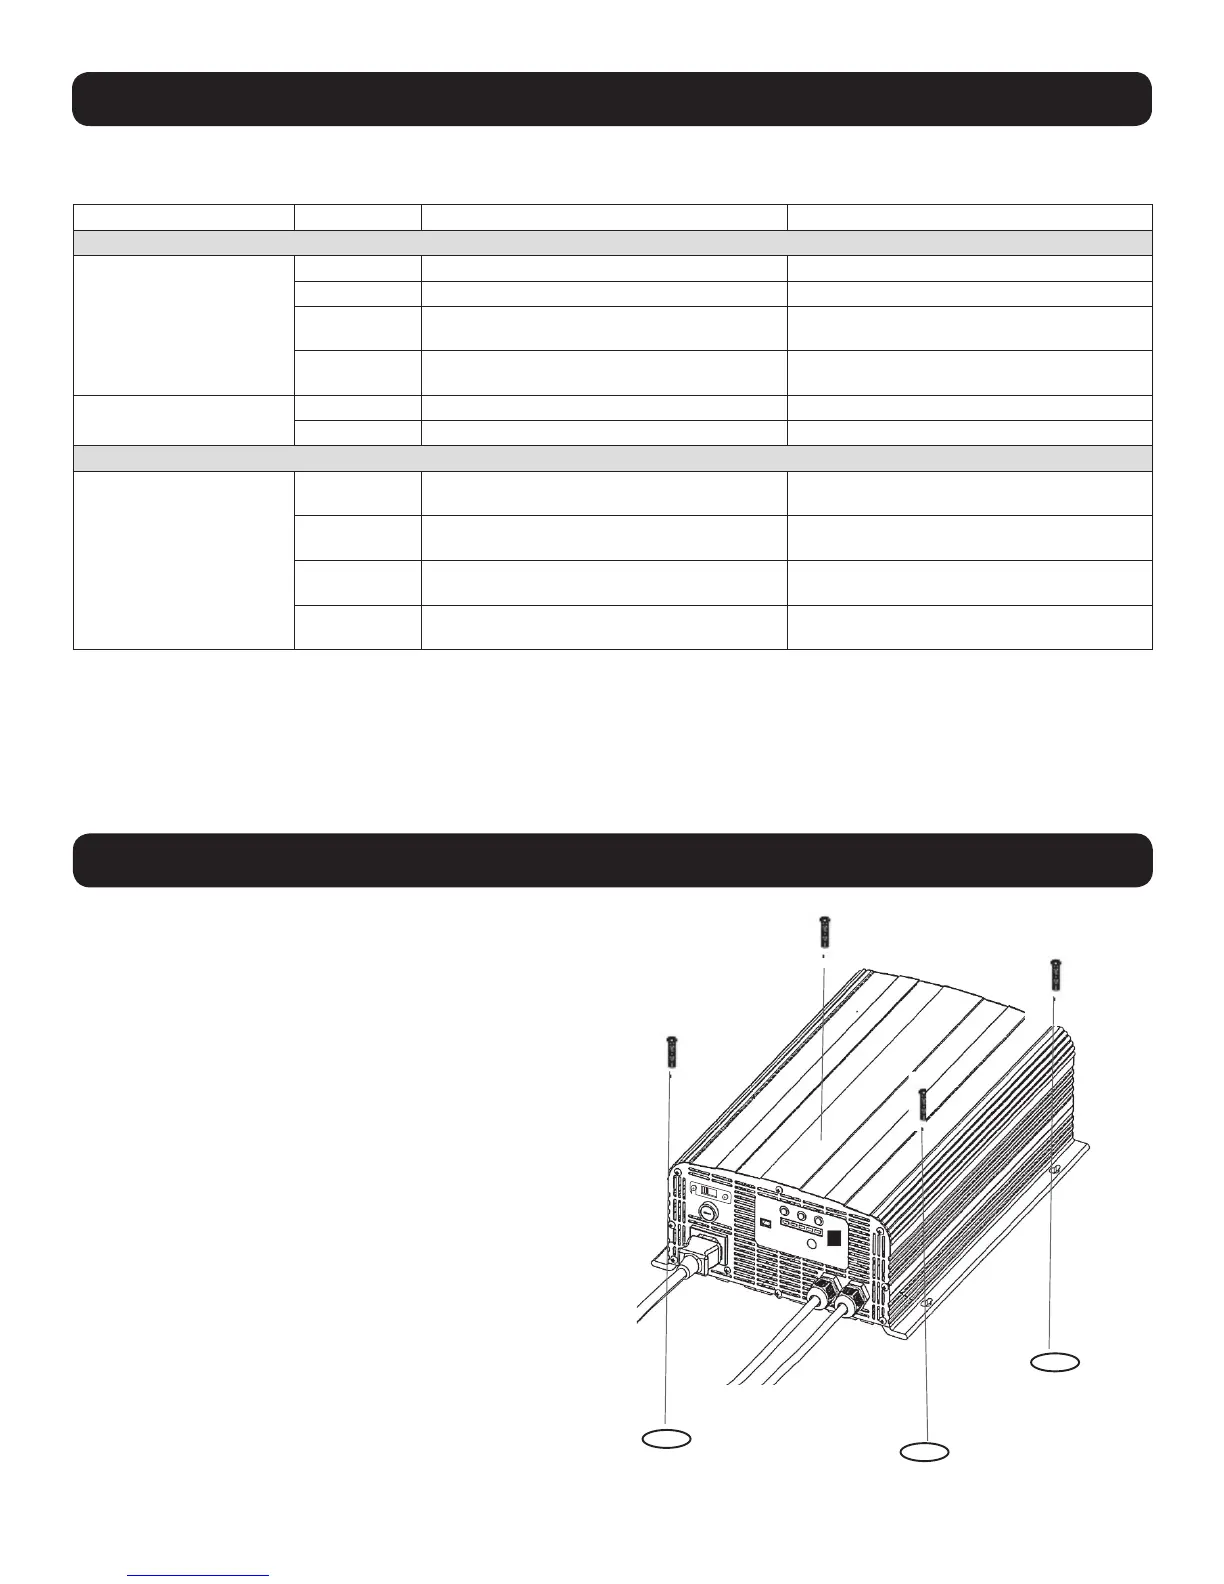
The 4-in-1 Charger can be mounted to a horizontal surface. To
mount, install four fasteners (not included) through the charger’s
mounting slots into a rigid surface. Secure the fasteners as far
back in the mounting slots as possible, otherwise the fasteners
may loosen and cause the charger to slide back and forth.
Note: The user is responsible for determining if the hardware and mounting
surface are suitable to support the charger.
115