Do you have a question about the Trojan SOLO 200 and is the answer not in the manual?
Read all precautions, maintain balance, tighten parts, keep children away, and note weight limits.
Consult a physician before starting exercise, especially if over 35 or pregnant.
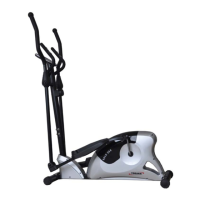
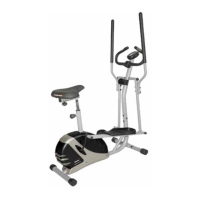
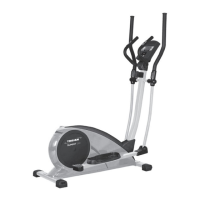
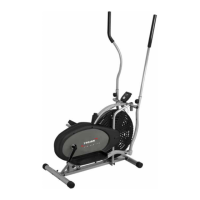
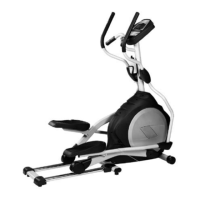
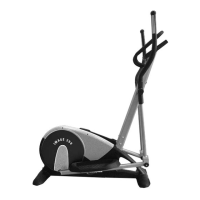
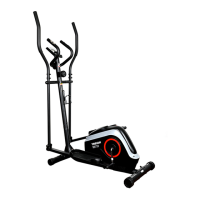
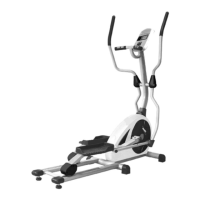
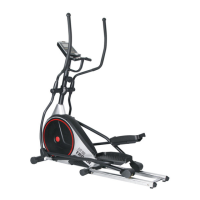
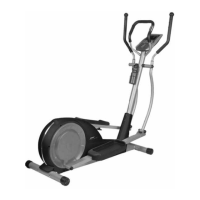
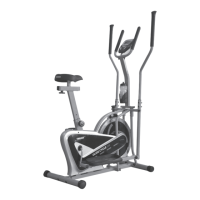
Familiarize yourself with the labeled parts of the TROJAN SOLO 200 ELLIPTICAL before proceeding.
Check the hardware packing to ensure all described parts are included before assembly.
Attach front and rear stabilizers to the main frame using specified hardware.
Connect sensor/extension wires, tension cable, and attach upright tube to the main frame.
Attach sleeves to upright tube and connect pedal tubes to the crank.
Connect pedals to pedal tubes with knobs and washers, noting L/R markings.
Insert pulse wire and attach pulse handlebar to the handlebar post.
Connect computer to handle rod, attaching extension and pulse wires.
Attach handlebars to the handlebar post axles with bolts, washers, and nuts.
Explanation of MODE, SET, and RECOVERY buttons on the console.
Details on Scan, Speed, Time, Distance, Calories, and Pulse readings.
How to use the recovery function and interpret the results.
Definition and benefits of aerobic exercise for fitness and health.
Importance of weight training for toning and strengthening muscles.
Illustration of muscle groups worked by the elliptical trainer.
Guidance on maintaining heart rate within target zones for effective exercise.
Recommended structure: warm-up, training exercise, and cool-down.
Recommended frequency for maintaining or improving fitness levels.
Descriptions and illustrations of five basic stretches for warm-up and cool-down.
What is not covered by the warranty (disaster, misuse, commercial use, etc.).
Customer waives other warranties and liabilities related to product use.
How to claim under the warranty within 7 days of purchase.
Steps for logging faults, service calls, and home repairs.
Details on repair costs for under-warranty and out-of-warranty items.
| Brand | Trojan |
|---|---|
| Model | SOLO 200 |
| Category | Elliptical Trainer |
| Language | English |