Do you have a question about the TRONXY X1 and is the answer not in the manual?
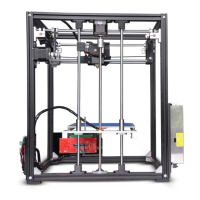
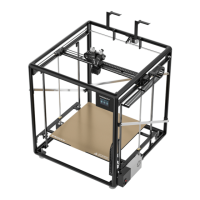
Secure 250mm aluminium profile to base plate using M4-10mm screws and T-nuts.
Attach 70mm aluminium profile to base plate using M4-8mm screws and T-nut.
Use corner brackets and M4 screws/T-nuts to fix profiles together.
Mount 310mm aluminium profile to base plate using M5-10mm screws.
Secure profiles using a corner bracket, M4-8mm screws, and T-nuts.
Secure L-shape acrylic block to aluminium profile with M4-8mm screws and T-nuts.
Attach GT2-16 pulley to motor shaft, then motor to mount with M3-8mm screws.
Secure motor mount to Y slide rail using M4-8mm screws and T-nuts.
Attach wheels to bed frame using M5-30mm screws, nuts, and pillars.
Fasten one end of the timing belt to the bed frame using zip-ties.
Position the assembled base frame onto the 2040 aluminium profile.
Connect pulley mount, washers, and belt pulley using M5 fasteners.
Secure Y belt pulley assembly to Y slide rail using M4-8mm screws and nuts.
Route belt along profile, through pulleys, and secure to bed frame with zip-ties.
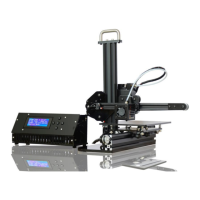
| Build Volume | 150 x 150 x 150 mm |
|---|---|
| Layer Resolution | 0.1 - 0.4 mm |
| Nozzle Diameter | 0.4 mm |
| Filament Diameter | 1.75 mm |
| Max Print Speed | 100 mm/s |
| Printing Speed | 20 - 100 mm/s |
| Connectivity | USB, SD card |
| Bed Leveling | Manual |
| Display | LCD screen |
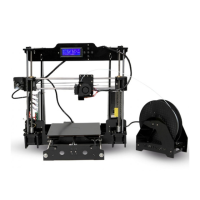
| Print Technology | FDM (Fused Deposition Modeling) |
| Supported Materials | PLA, ABS |
| Print Bed | Heated Bed |
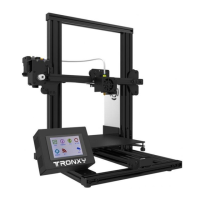
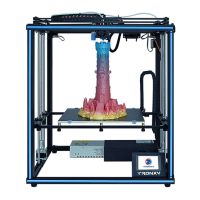
| Frame Structure | Aluminum |
| Power Supply | 110V/220V, 240W |