Do you have a question about the TRONXY X3A and is the answer not in the manual?
Read instructions thoroughly, take your time, and address any issues before starting calibration.
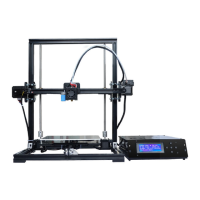
Ensure the printer frame is level and then level the X-axis beam using a bubble level.
Level the print bed using adjustment nuts and set the print nozzle to approximately 6mm above the bed.
Command HOME ALL and place a metal object under the inductive sensor as the Z-axis moves down.
Manually set the Z gap at each corner to .004" by adjusting nuts and rechecking.
Pre-heat the printer for PLA and re-check Z gap at all corners as temperature affects leveling.
Set Z offset via keypad, store the setting, and load it to update printer behavior.
Command auto-home and carefully adjust the sensor height until it triggers correctly for bed leveling.
Clean the print bed, load filament, and start the test print, monitoring the first layer for adherence.
Allow the print bed to cool to at least 35°C before using a scraper to remove the print.
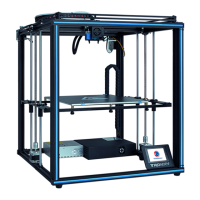
| Brand | TRONXY |
|---|---|
| Model | X3A |
| Category | 3D Printers |
| Language | English |