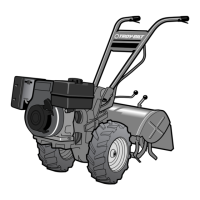
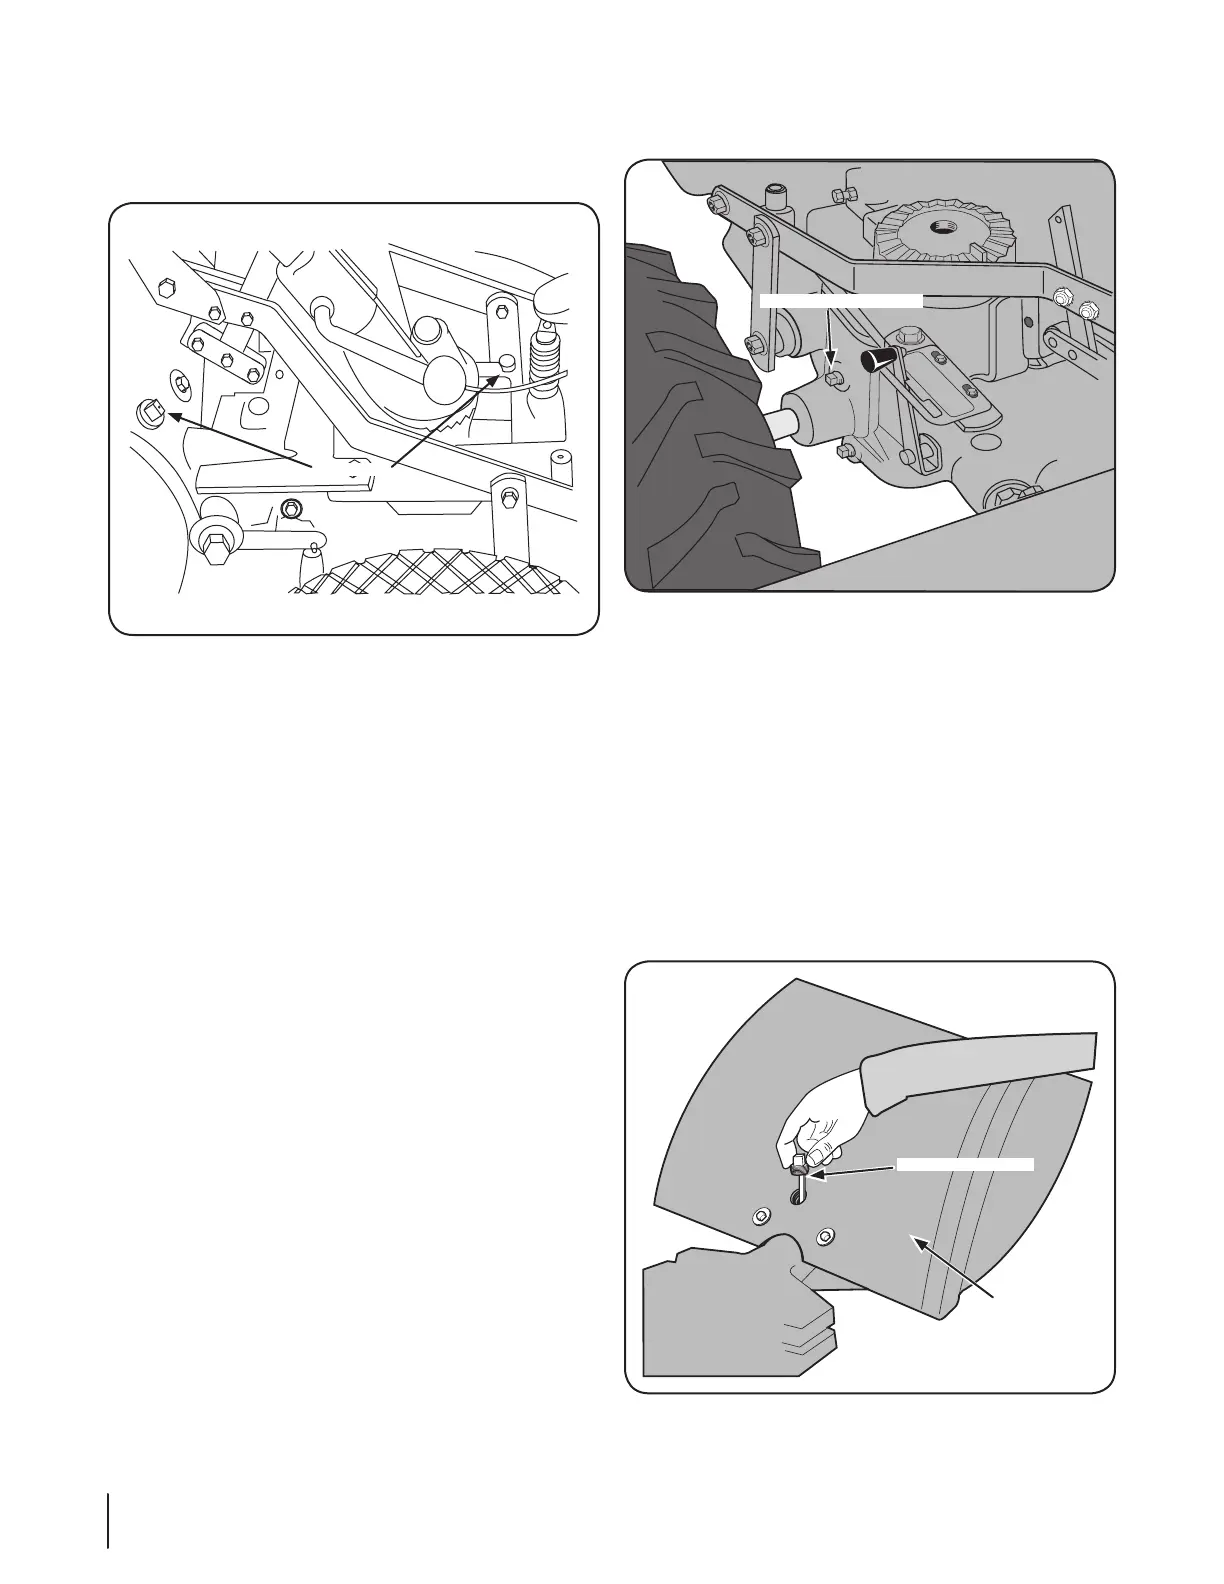
Use a ⁄” wrench to remove the oil level check plug on the
left side of the transmission housing. See Fig. 6-6.
If the oil level is correct, oil will seep out of the check hole
(allow extra time in cold weather). If it does, the level is fine
and you should replace the check plug. If no oil seeps out
add oil as demonstrated in the Adding Oil Section on the
next page.
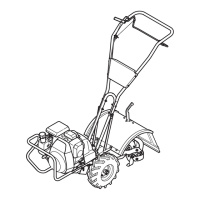
Tine Attachment Oil Level
NOTE: Two different gear oil checking procedures for the tine
attachment transmission are described next. Use the first
procedure if the dipstick in your tine attachment has only a
‘Check Cold’ marking. Use the second procedure if the dipstick
has both cold and hot markings at the end. First remove the
dipstick from the tine attachment transmission to see which type
dipstick you have. See Fig. 6-7. Then replace the dipstick with the
markings on dipstick facing to rear.
4.
5.
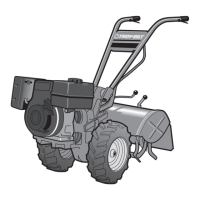
If tilling during very hot weather, the gear oil may heat up
and expand inside the transmissions. To allow for this oil
expansion, both the power unit transmission and the tine
attachment transmissions have oil relief vents. See Fig. 6-5.
The vents allow small amounts of oil to seep out.
If a serious leak is discovered, please contact your
authorized dealer or the Factory Technical Service
Department for service advice.
Checking Gear Oil Levels
Every 30 hours of operation, check the gear oil level in both the
power unit transmission and the tine attachment transmission.
Operating them while low on gear oil — even briefly — can
cause serious damage to internal components.
The transmissions must be cool, since hot gear oil expands
and gives a false reading.
The power unit transmission and the tine attachment
transmission must be connected when checking — or
adding — gear oil.
Move the tiller to level ground. Move the Depth Regulator
up so the tines rest on the ground.
•
•
•
1.
2.
3.
Gear Oil Dipstick
Back of
Tine Shield
Figure 6-7
Figure 6-6
Figure 6-5
28 sectiOn 6— Maintenance & adjustMents