............ www.truemfg.com ............
............ www.truemfg.com ............
True Food Service Equipment, Inc.
True Food Service Equipment, Inc.
11
11
11
11
INST
INST
ALLA
ALLA
TION / OPERA
TION / OPERA
TION INSTRUCTIONS
TION INSTRUCTIONS
Step 6
A. The compressor is ready to operate. Plug in the
cooler.
B. Temperature control set at No. 4 position gives
refrigerators an approximate temperature of 35°F. Allow
unit to function several hours, completely cooling
cabinet before changing the control setting.
C. Excessive tampering with the control could lead to
service difficulties. Should it ever become necessary to
replace temperature control, be sure it is ordered from
your True dealer or recommended service agent.
D. Good air flow in your True unit is critical. Be careful
to load product so that it neither presses against the
back wall, nor comes within four inches of the
evaporator housing. Refrigerated air off the coil must
circulate down the back wall.
NOTE
If the cooler is disconnected or shut off, wait five
minutes before starting again.
RECOMMENDATION
Before loading product we recommend you run your
True unit empty for two to three days. This allows you
to be sure electrical wiring and installation are correct
and no shipping damage has occurred. Remember,
our factory warranty does not cover product loss!
REPLACEMENT PARTS
TRUE maintains a record of the cabinet serial number
for your cooler. If at any time during the life of your
cooler, a part is needed, you may obtain this part by
furnishing the model number and serial number to the
company from whom you purchased the cooler. Call
Toll-Free: (800)-424-TRUE (Direct to Parts
Department). (800)-325-6152 (U.S.A. & Canada only)
or call: (636)-240-2400.
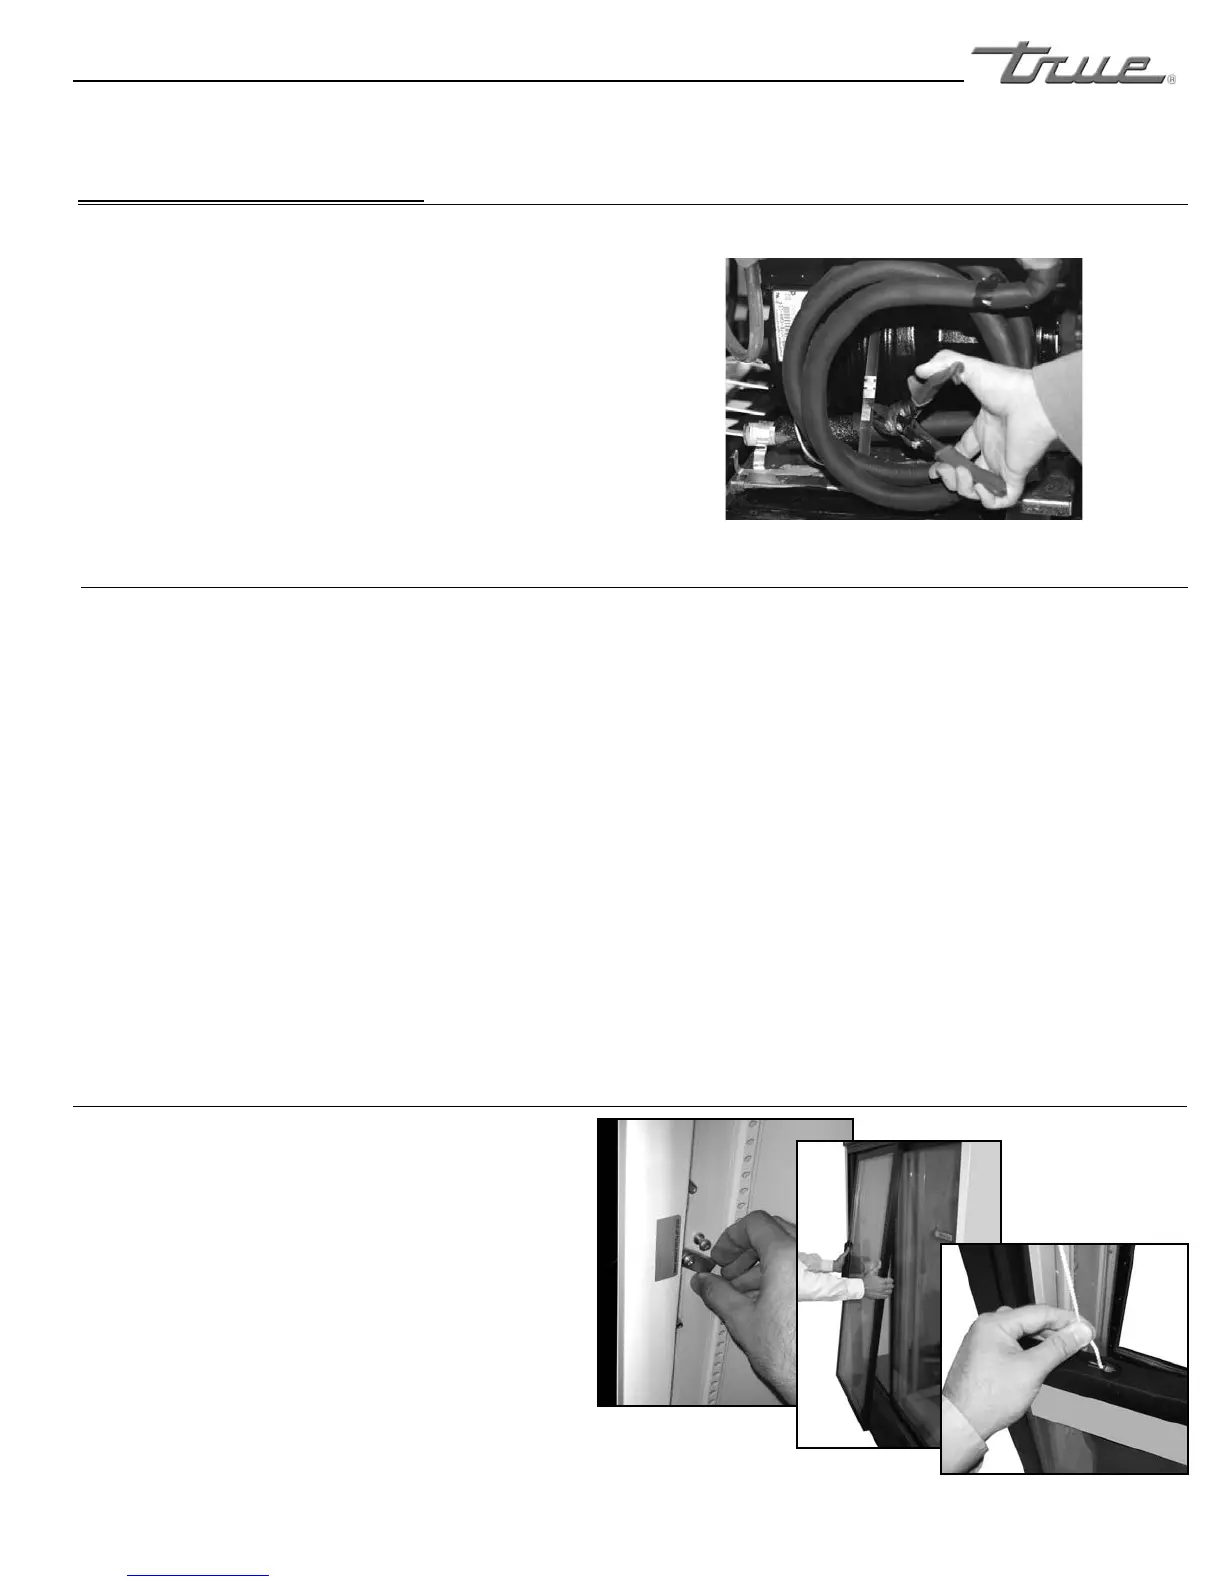
STARTUP
WARNING:
COMPRESSOR BAND MUST BE REMOVED
BEFORE UNIT IS CONNECTED TO POWER
SUPPLY.
The metal band can be reached from the rear of the
unit. A pair of tin snips will cut through the band. Once
the band is located and removed. You may proceed with
the installation of your new equipment. (See image to
the right).
FREEZERS ONLY! (COMPRESSOR BAND REMOVAL)
PLEASE CHECK YOUR COMPRESSOR. IF THERE IS A SHIPPING BAND, PLEASE REMOVE.
Cutting band around compressor
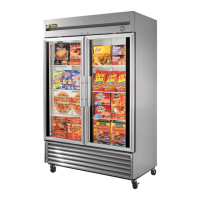
SLIDE DOOR OPERATION
When installing unit, loading product or rearranging
shelving, the slide doors must be propped open with
the door latch. The door latch is located on the
inside wall of the unit. (See image 1).
If the door must be removed open it to full extension
and then lift the door latch. Then lift the door up and
out of the bottom track and then out of the top door
frame. (See image 2). Unhook the door cord from
the top of the door. (See image 3). Set the door to
the side with the bottom rollers facing up. Never set
the slide door on it’s rollers. Resting door on rollers
can cause damage and the door will not operate
correctly when opening and closing. To reinstall door
do the steps in reverse order.
Image 1.
Image 2.
Image 3.