21
TRUE
milk coolers
www.truemfg.com
CLEANING THE CONDENSER COIL
When using electrical appliances, basic safety precautions should be
followed, including the following:
TOOLS REQUIRED
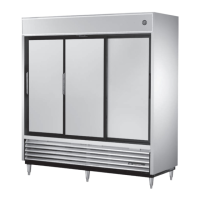
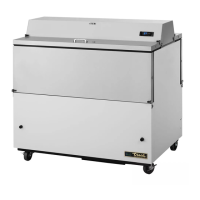
STEP 1 - Disconnect power to unit.
STEP 2 - Take off rear lower grill assembly by removing four (4) side
screws. See images 1 and 2.
STEP 3 - If necessary, remove bolts connecting frame rail cross bar
to allow access to compressor. Remove bolts anchoring compressor
assembly to frame rails and carefully slide out. (tube connections are
flexible).
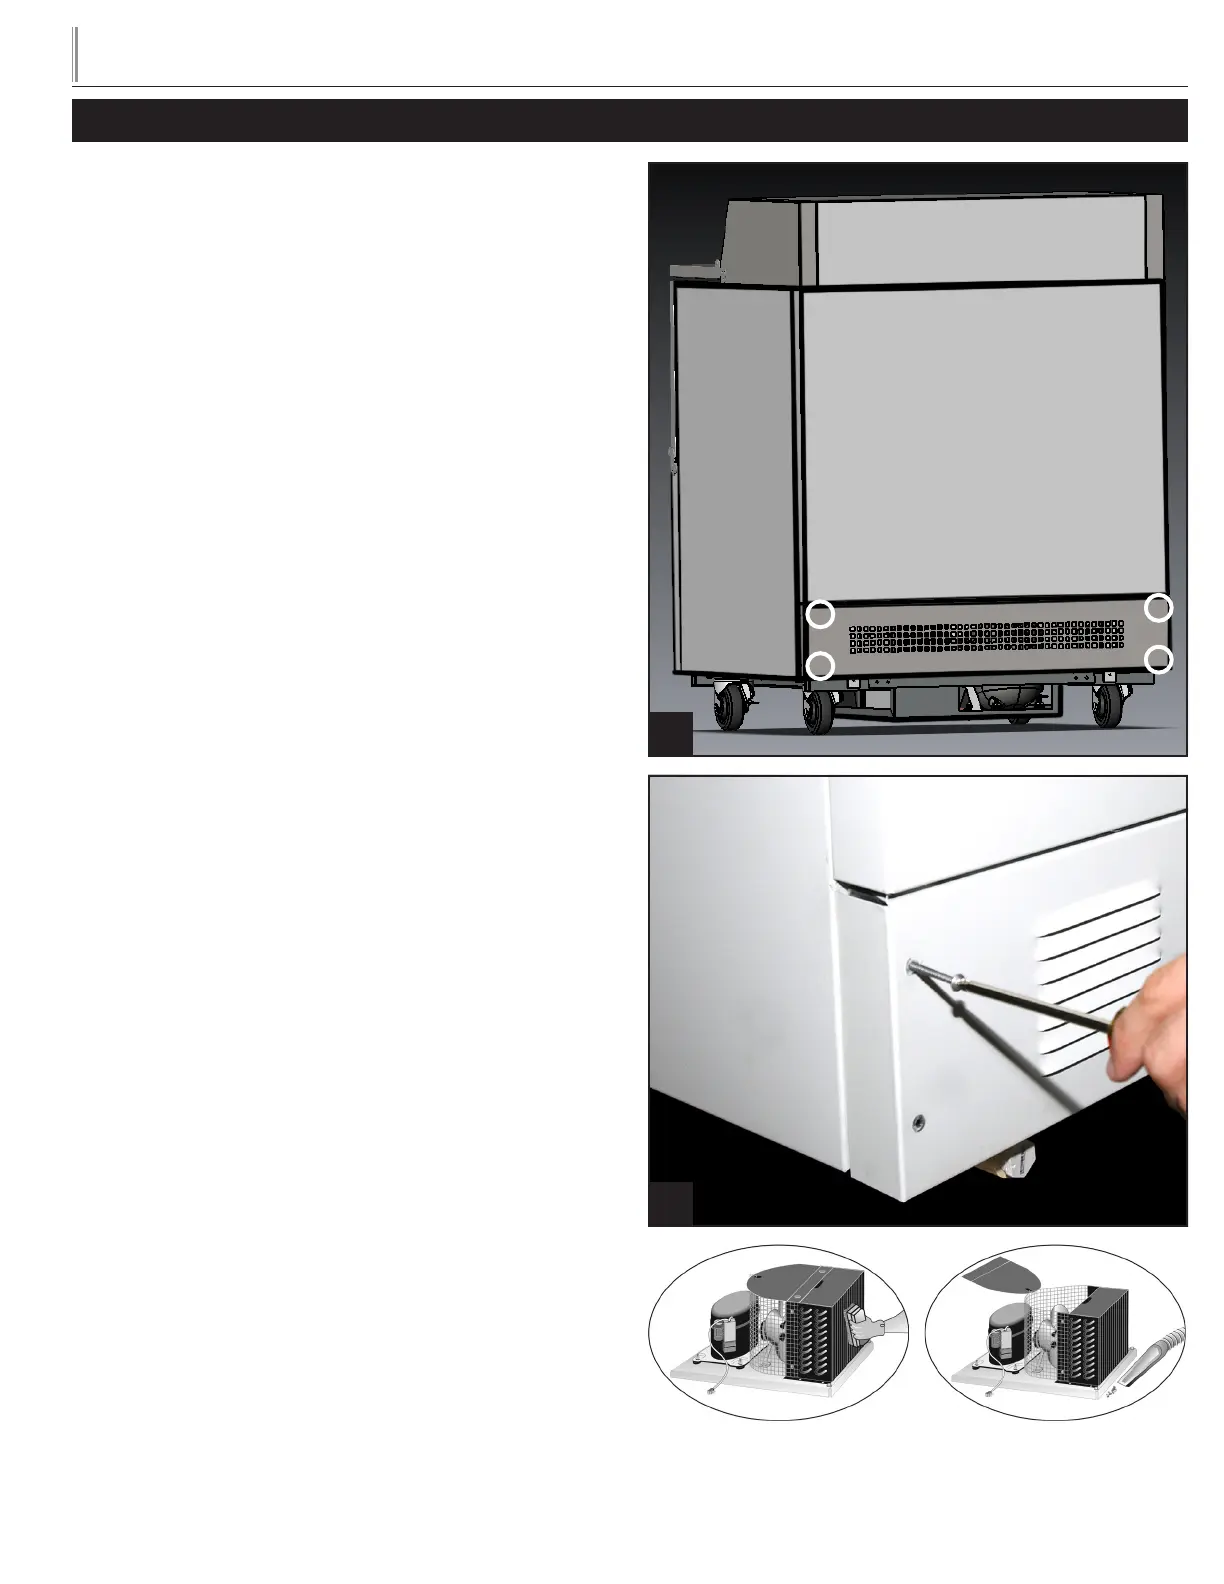
STEP 4 - Clean off accumulated dirt from condensing coil with a
stiff bristle brush.
STEP 5 - Lift cardboard cover above fan at plastic plugs and carefully
clean condenser coil and fan blades.
STEP 6 - After brushing condenser coil vacuum dirt from coil, and
interior floor.
STEP 7 - Replace cardboard cover. Carefully slide compressor
assembly back into position and replace bolts.
STEP 8 - Reinstall louver assembly onto unit with appropriate fas-
teners and clips. Tighten all screws.
STEP 9 - Connect unit to power and check to see if condenser is
running.
• Phillips Screwdriver
• Stiff Bristle Brush
• Adjustable Wrench
• Air Tank or CO2 Tank
• Vacuum Cleaner
MAINTENANCE, CARE, CLEANING
1
2
 Loading...