6. TROUBLESHOOTING page 23
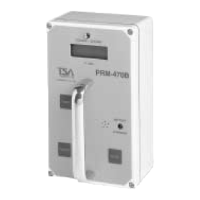
Model PRM-470B
6.1.2. HHV-454:
Refer to "HHV-454 High Voltage Power Supply Schematic Diagram" Drawing 6 and "HHV-454
High Voltage Power Supply Component Designator" Drawing 7 (Appendix F.).
To access the HHV-454, open the enclosure by removing the four screws. Lift the lid off and set
it to one side, being careful to avoid damaging the wiring harness. The High Voltage board can
be seen in the bottom of the enclosure. It is connected to the detector assembly and lid by the
wiring harness and covered with a RFI shield.
NOTE:
The RFI shield that covers the high voltage board is made up of a mylar layer covered with a
copper tape layer. A ground wire is soldered onto the copper layer and connected to the Molex
connector. The shield can be easily separated from the board.
Disconnect the Molex connectors from either end of the board. The board can then be removed.
To replace the board, slide the board back into the shield, and re-attach the connectors.
6.1.3. Voltage Divider Assembly:
Refer to "PB-10M Voltage Divider Schematic Diagram" Drawing 8 and "PB-10M Voltage
Divider Component Designator" Drawing 9 (Appendix F.)
The voltage divider assembly is made up of a tube socket with attached components and the
plastic cover. To access the assembly, open the enclosure by removing the slotted screws. The
voltage divider assembly is visible, attached to the PMT. Remove the black electrical tape which
secures the socket and cap to the PMT. The cables from the voltage divider go to the HHV-454
and to the PRCB-001 boards.