e. ROTOR CHANGE OVER
Remove Blue Arms and return to storage position. Release Red Arms and lower Hydraulic
Puller. Slide old rotor forward onto Rotor Support Cradle, then roll rotor into bracket on
carousel of Support Trolley. (Fig. 13)Tighten knob to secure rotor.
Rotate carousel through 180° and roll new rotor onto Rotor Support Cradle.
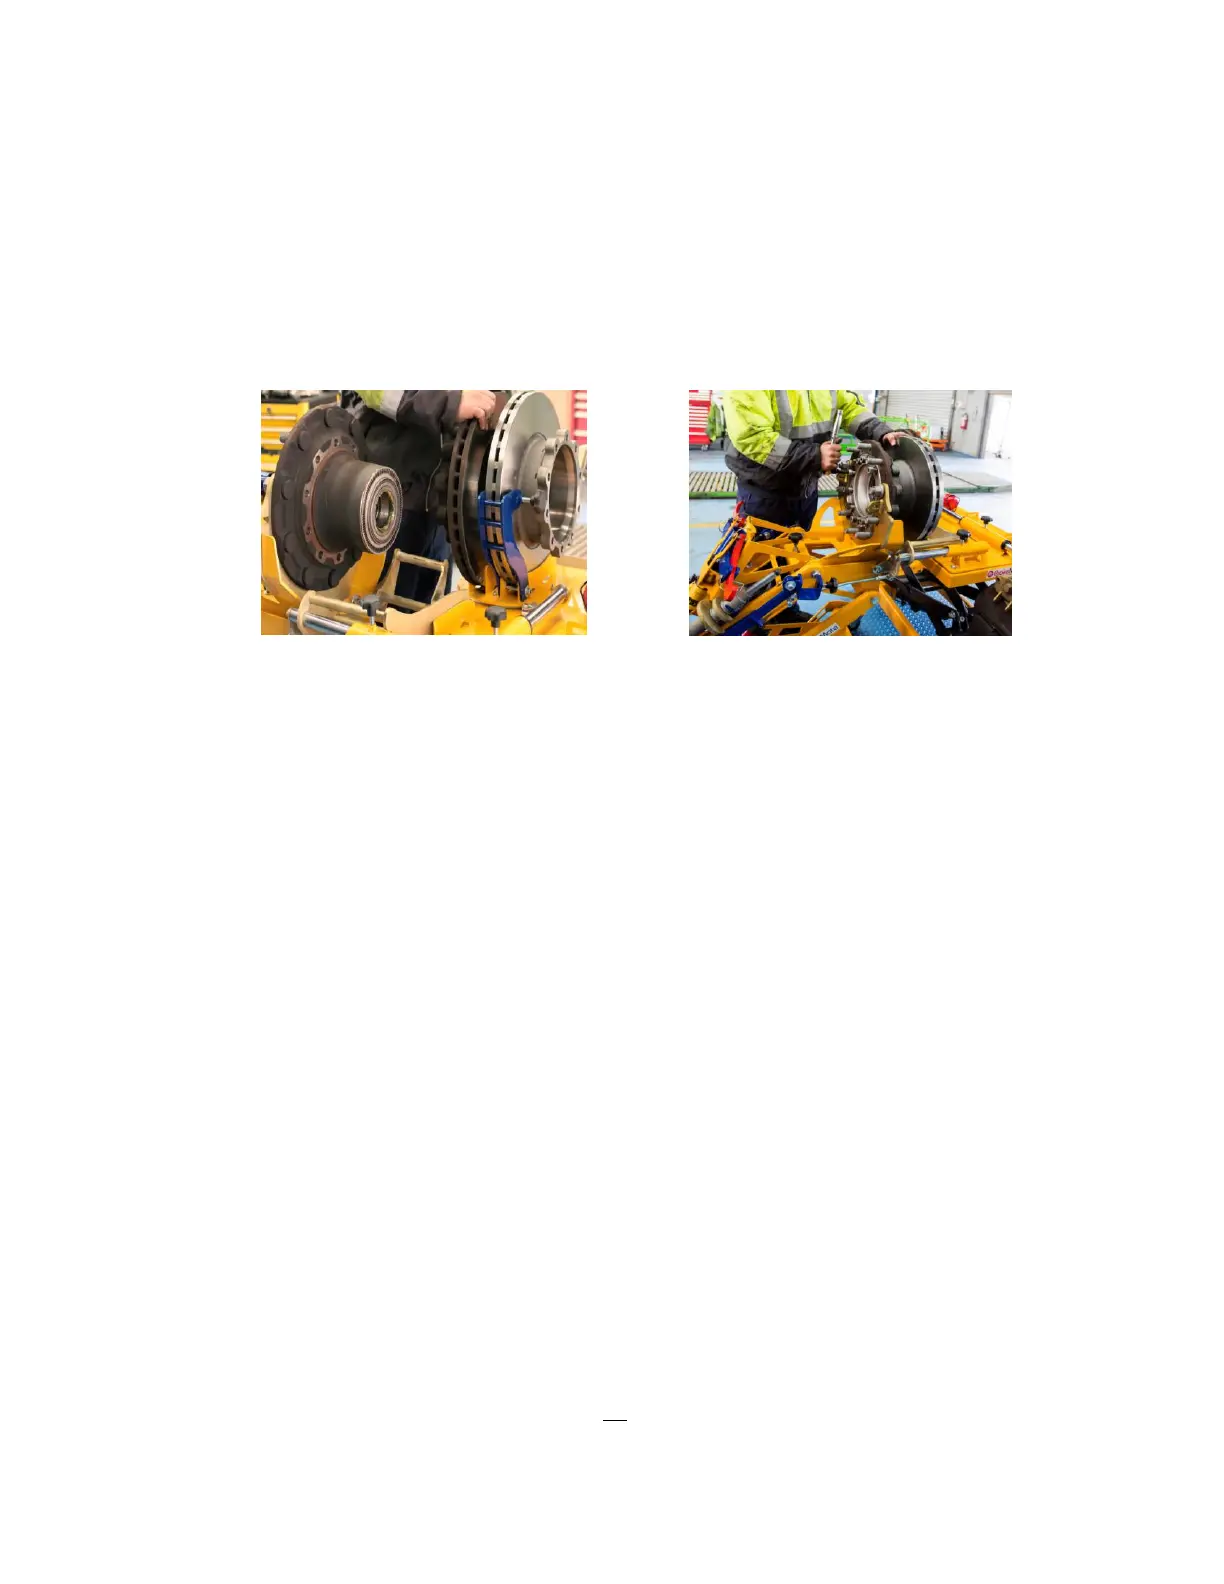
Manoeuvre new rotor onto hub and reinstall bolts to secure. (Fig.14)
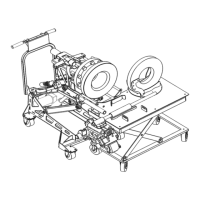
Fig. 13 Rolling rotor onto carousel Fig. 14 Securing new rotor to hub
f. RE-FITTING HUB/ROTOR ASSEMBLEY
Separate Hub/Rotor Trolley from Service Trolley.
Adjust height of Hub/Rotor trolley and manoeuvre to align with axle.
Secure hub/rotor using procedures applicable to vehicle.
g. RE-FITTING CALLIPER
Extend Linear Shaft with Calliper attached and manoeuvre Service Trolley and adjust
height to position calliper directly above rotor. Carefully lower calliper onto rotor,
allowing calliper to rotate into position around rotor. Use blue handle on Calliper Clamp
for fine adjustment of mount hole alignment. Insert two calliper bolts. Withdraw linear
shaft from Calliper Clamp, then remove Calliper Clamp from calliper. Return Calliper
Clamp to storage position on Service Trolley. Refit remaining calliper bolts following usual
procedure.
ENSURE ALL FASTNERS ARE TORQUED TO MANUFACTURERS SPECIFICATIONS AT APPROPRIATE
TIMES DURING SERVICE.
10