5. OPERATING INSTRUCTIONS
a. PREPARATION OF VEHICLE
The following steps must be undertaken to prepare the vehicle prior to using BrakeMate®.
Remove wheel
Remove Brake Booster
Remove Calliper bolts (Leave 2 bolts finger tight for security)
Remove Hub Nut and/or Drive Axle
Ensure vehicle is correctly supported and standard workshop practices are followed during this
process. Tidy floor of work area to allow clear access of BrakeMate® Trolleys
b. CALLIPER REMOVAL
Remove Calliper Clamp (Fig. 3) from Service Trolley bracket.
Attach Calliper Clamp to calliper by positioning directly above the rotor, between the
inner calliper surfaces and the outer edge of the rotor. Tighten Calliper Clamp using a
30mm socket or spanner until firmly attached by winding threaded shaft until the clamp
locks. A rocking motion may be required to ensure clamp settles between calliper and
rotor.
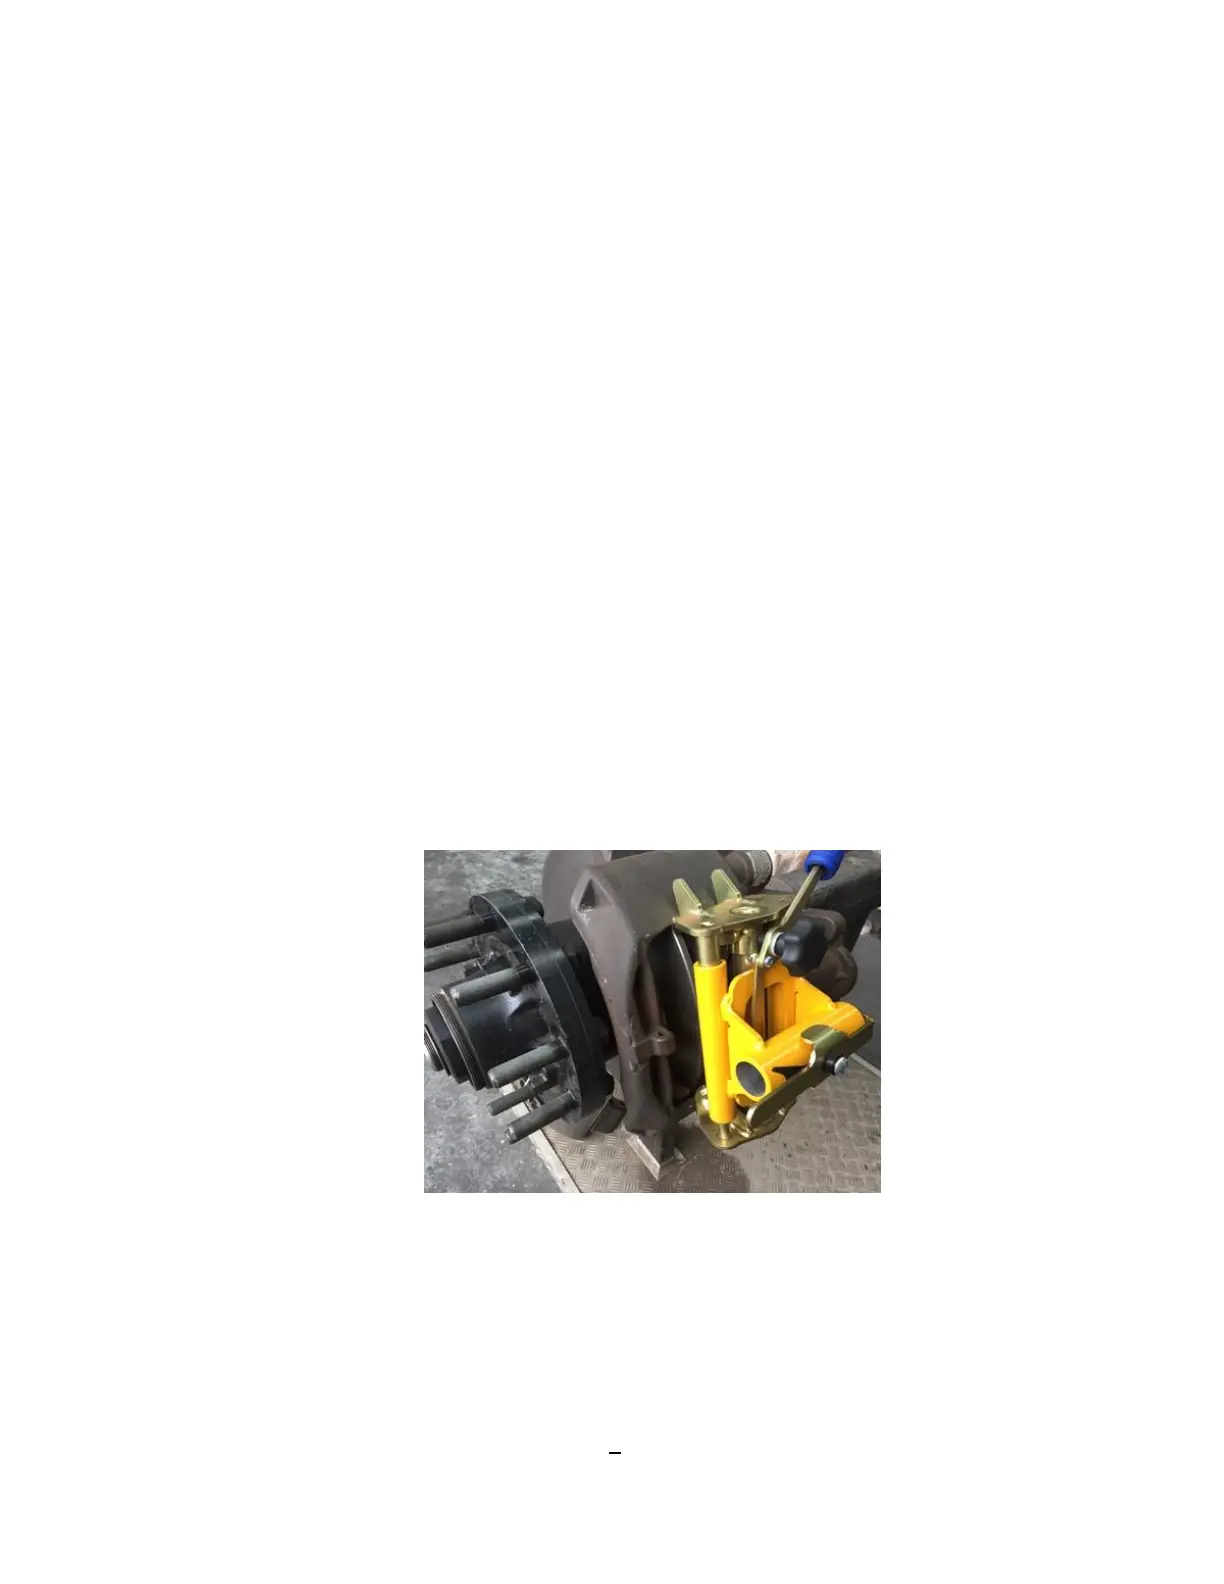
Fig 3. Calliper Clamp mounted on calliper
Fully extend linear shaft on Service Trolley and tighten knob to lock in position.
Manoeuvre Service Trolley and adjust height using foot pedal so that linear shaft aligns
with Calliper Clamp. Insert lineal shaft into Calliper Clamp until spring loaded clip locates
in groove.(Fig.4)
6